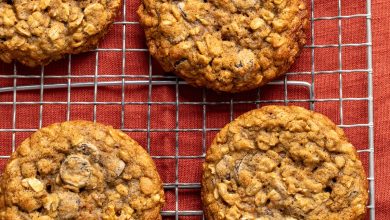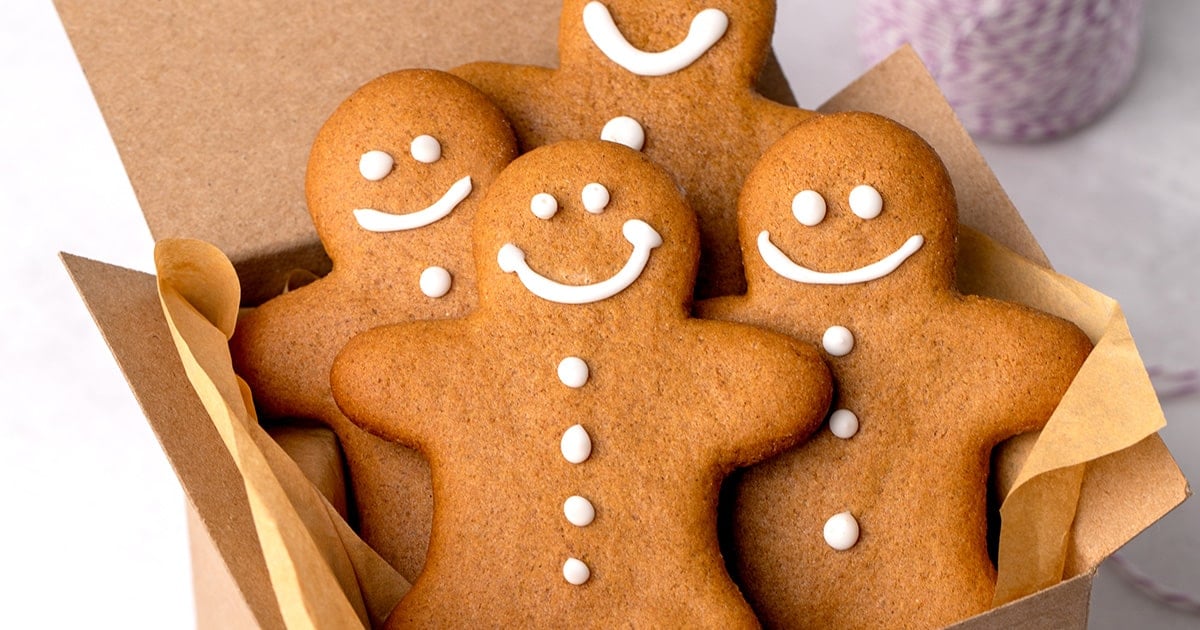
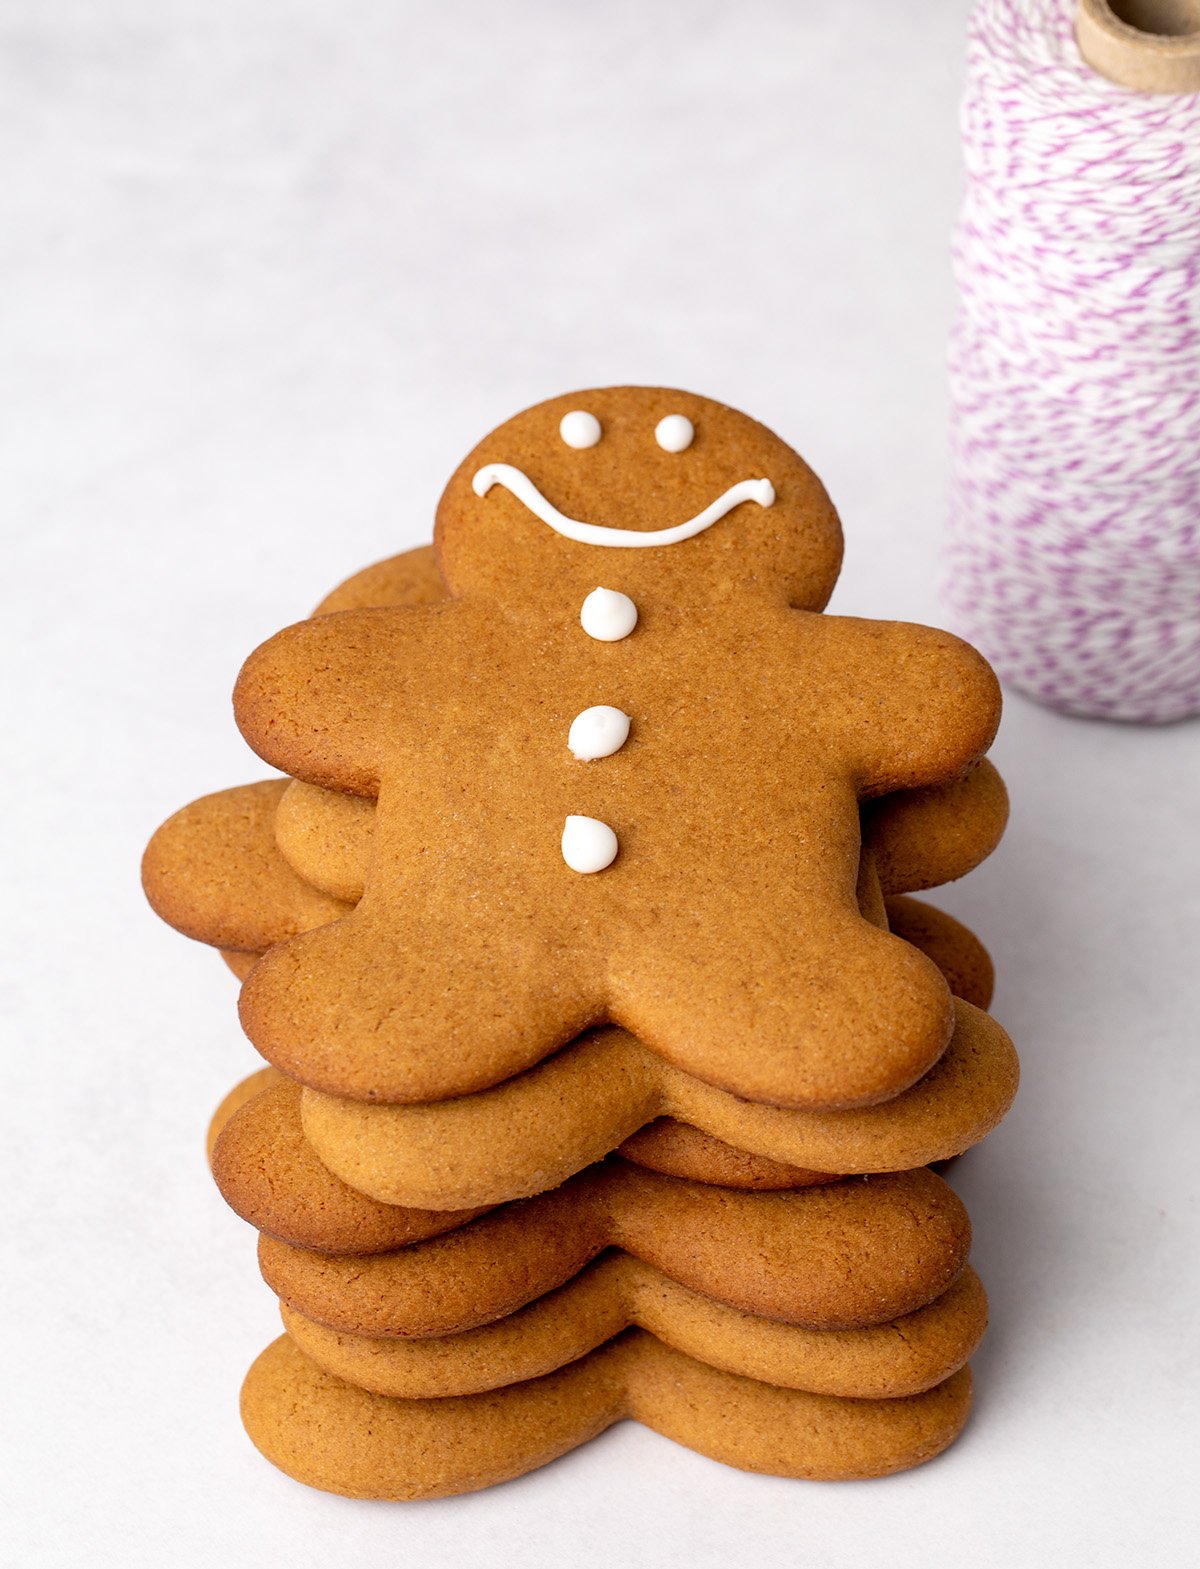
These gluten free gingerbread cookies are soft, chewy, and perfectly spiced for all your holiday cookie-baking needs, or any time of year. In the oven, they brown quickly, the centers rise evenly for a smooth finish, and the spices bloom into that unmistakable holiday fragrance.
I’ve shaped these as gingerbread men, but the dough handles cleanly and works with any cutter in your collection, from intricate stars to simple rounds!
Why this recipe works
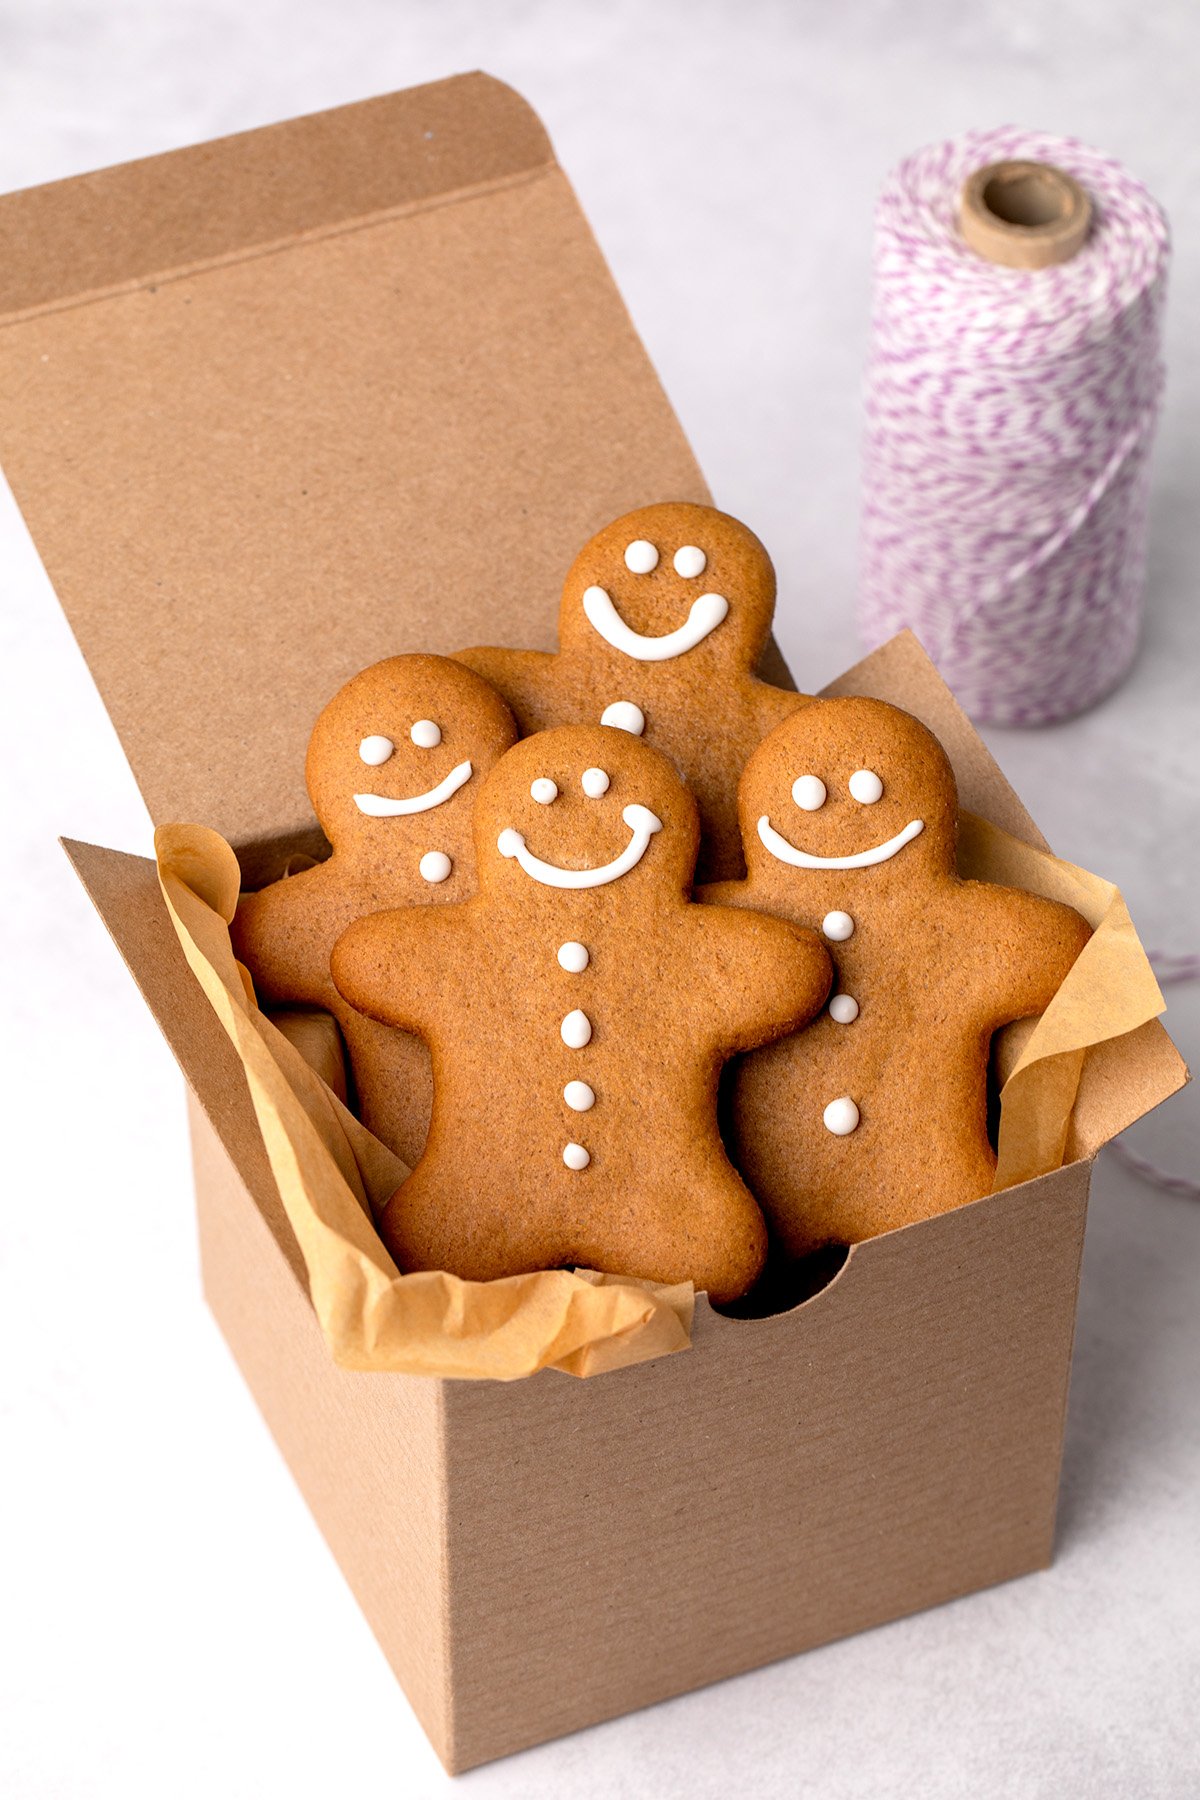
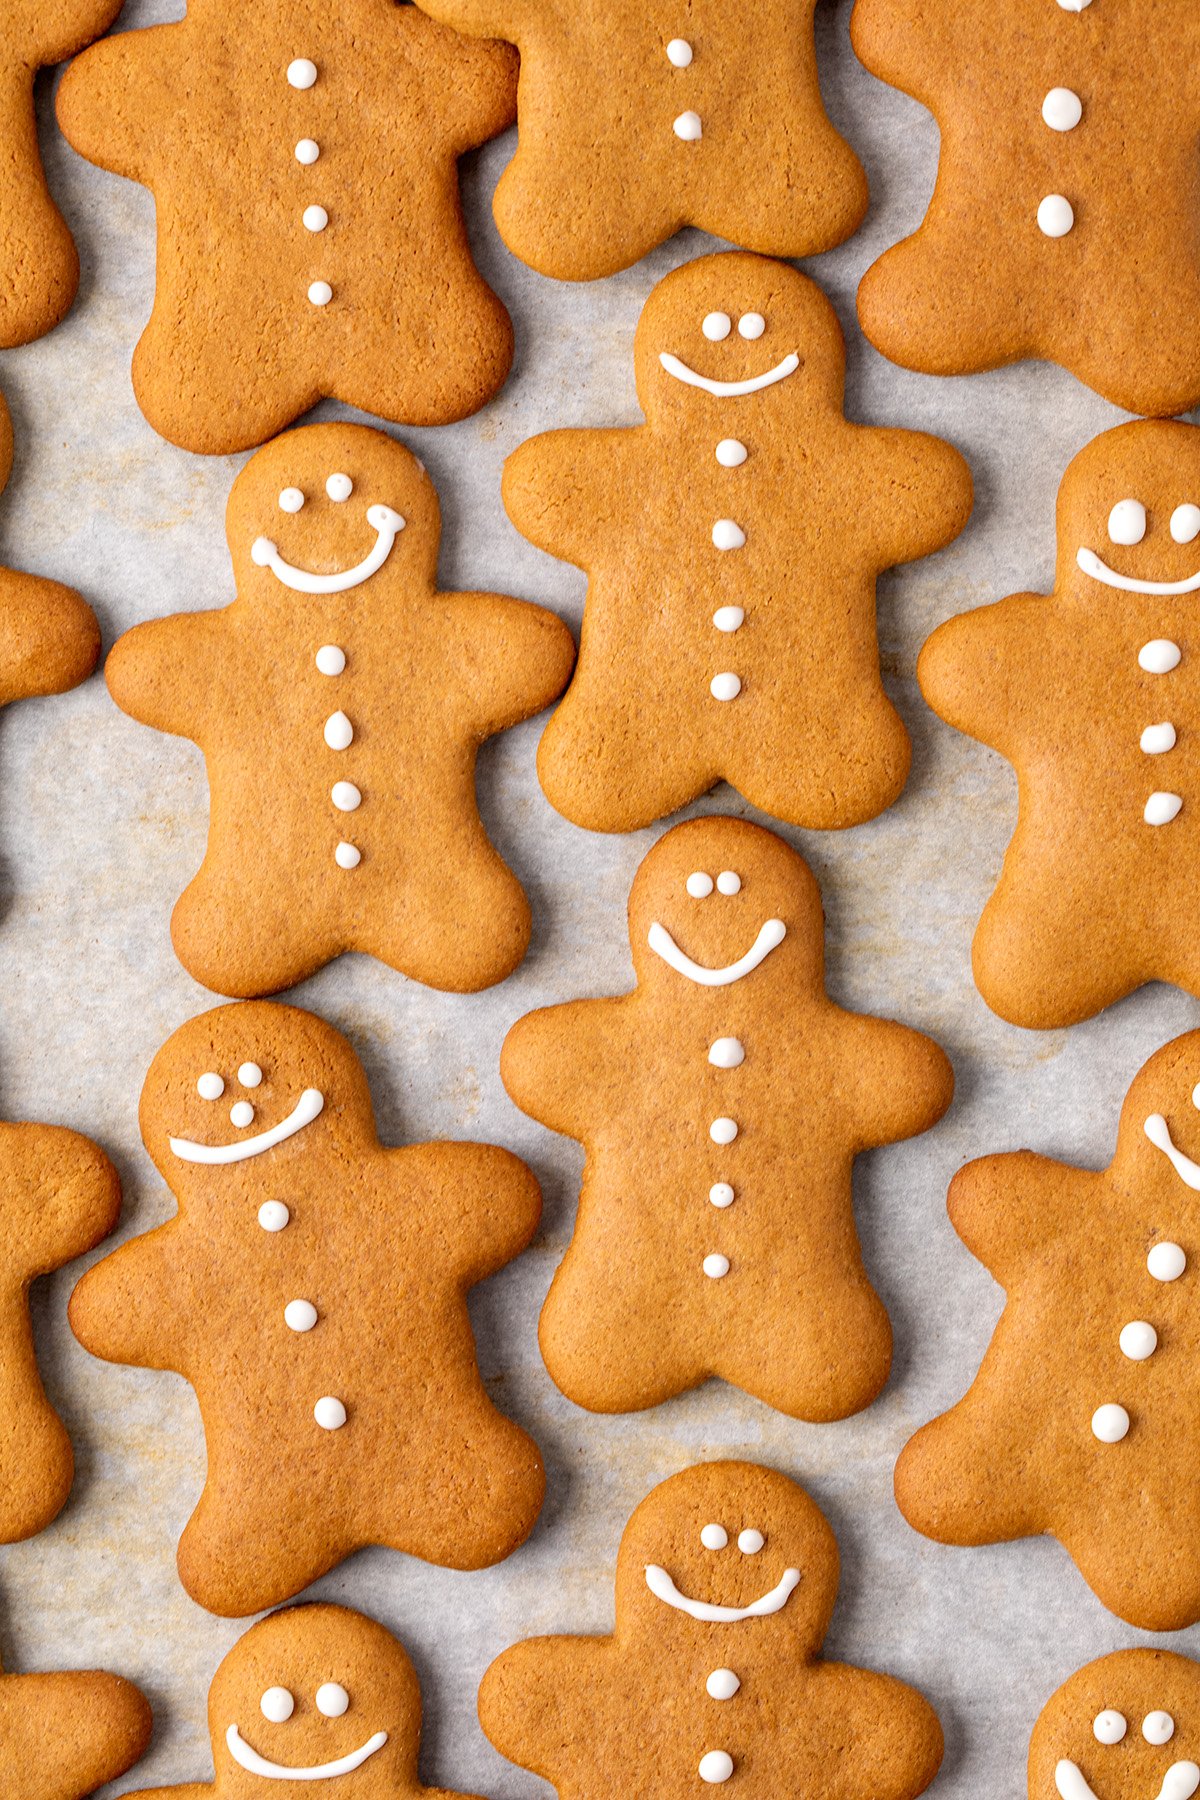
These cookies keep their classic gingerbread shape, with every little arm and leg staying exactly where it should. The dough rolls out smoothly, cuts cleanly, and bakes without spreading too much, so they’re ideal for decorating and filling out a big holiday cookie tray.
Their texture is soft and chewy, with balanced warmth from molasses, brown sugar, and honey. Stored properly in a sealed glass container, they’ll stay tender for days without turning dry or brittle.
And the dough is genuinely easy to handle. A short chill and the right ingredient balance make it simple to roll, lift, and transfer your cutouts without tearing, stretching, or sticking. Whether you’re baking with kids or powering through multiple trays alone, the whole process feels intuitive and reliable right from the start.
Key ingredients
Here’s what you’ll need to make these cookies at home, along with an explanation for what the purpose is of each ingredient to the perfect gingerbread men:
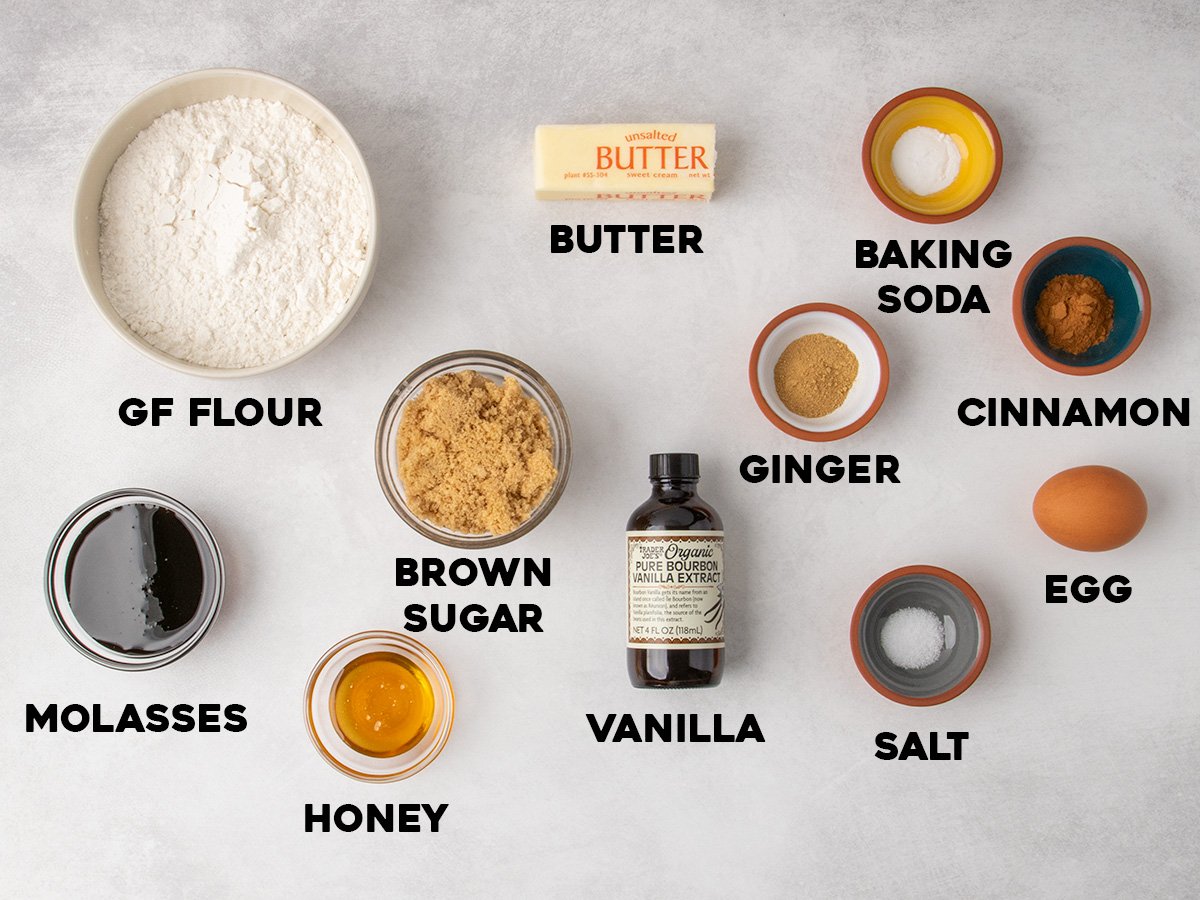
- Gluten free flour: Provides most of the structure for the cookies, with enough xanthan gum to bind the wet ingredients together with the flour. I like Better Batter’s classic blend, which has enough xanthan gum already to bind the cookie dough together, or Nicole’s Best multipurpose, with added xanthan gum. If you’re using Bob’s Red Mill 1-to-1 in the blue bag, it should work, but add another 1/4 teaspoon xanthan gum or the cookies will not hold their shape as well.
- Brown sugar: Adds sweetness, depth of flavor, and locks in moisture for soft, tender cookies.
- Baking soda: Helps the cookies brown in the oven by making the dough less acidic.
- Spices: A combination of ground ginger and ground cinnamon adds deep, woodsy flavor and some bite to these gingerbread cookies. Make sure your spices are fresh so they have a lot of aroma and flavor.
- Salt: Balances sweetness and brightens the other flavors.
- Butter: Add moisture, buttery flavor, and helps the cookies brown and spready slightly during baking.
- Molasses: Adds a deep earthy flavor, moisture, and color to the cookies. Helps them stay chewy for longer, too.
- Honey: Adds a light, fruity sweetness and moisture.
- Egg: Helps bring the cookies together, adds moisture, some fat for tenderness and rise.
- Vanilla: Adds complex depth of flavor.
How to make gluten free gingerbread cookies (step by step photos)
Detailed instructions are in the recipe card. Below is a visual overview of how to make these cookies with explanations for each step to guide you as you work at home:
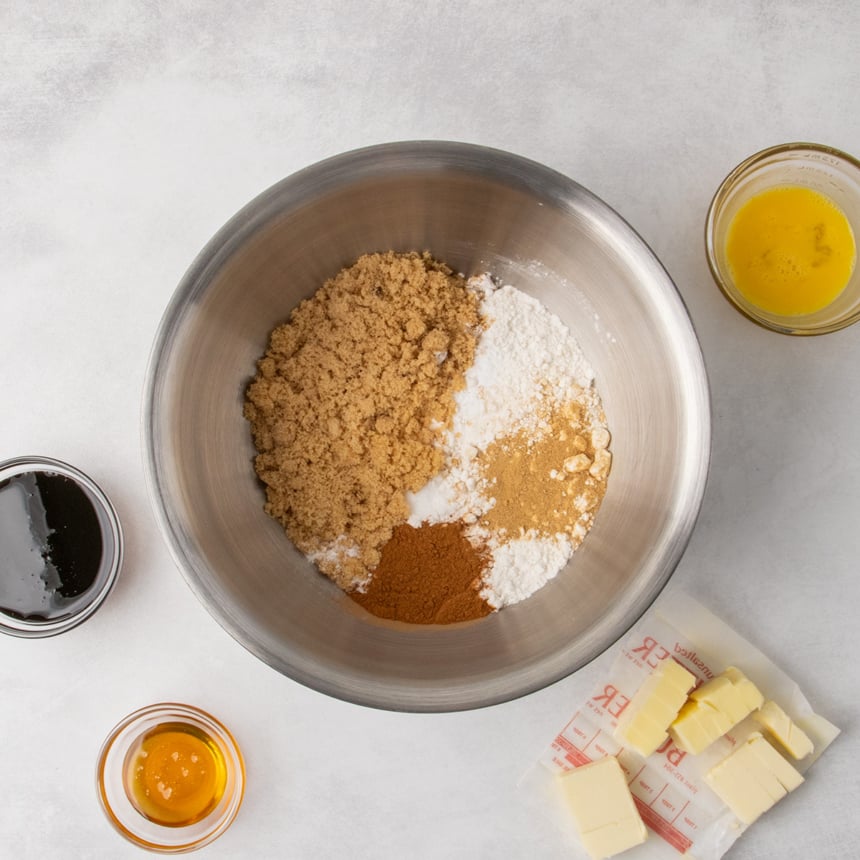
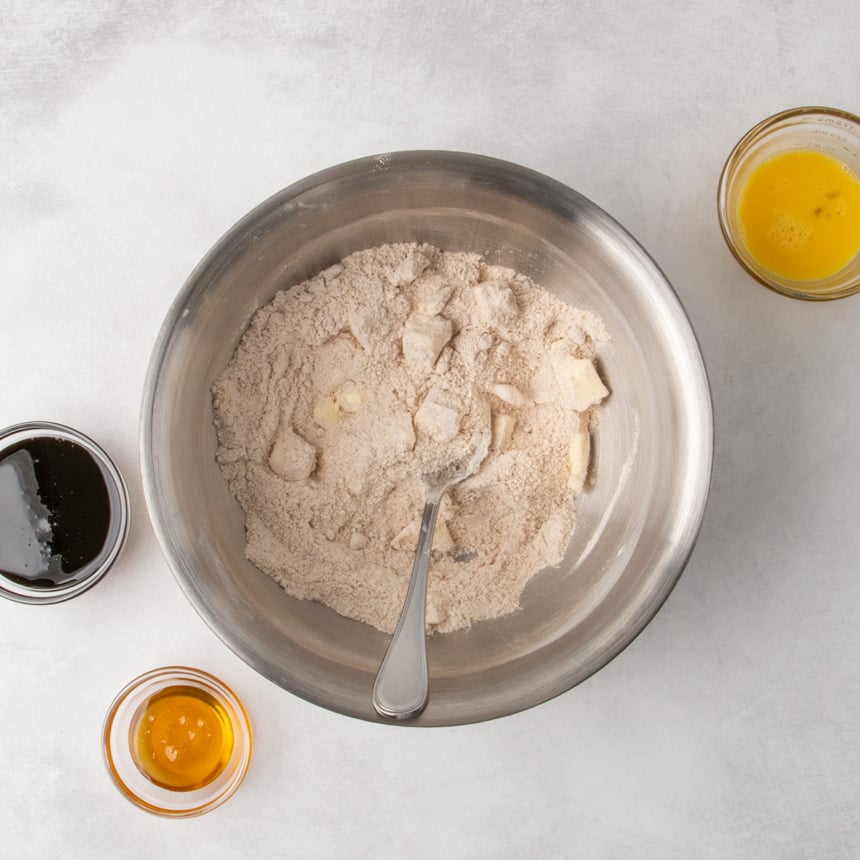
1. Work the butter into the dry ingredients
Whisk together the gluten free flour with xanthan gum, baking soda, cinnamon, ginger, salt, and brown sugar in a large mixing bowl. Chop room temperature butter roughly and toss it in the whisked dry ingredients.
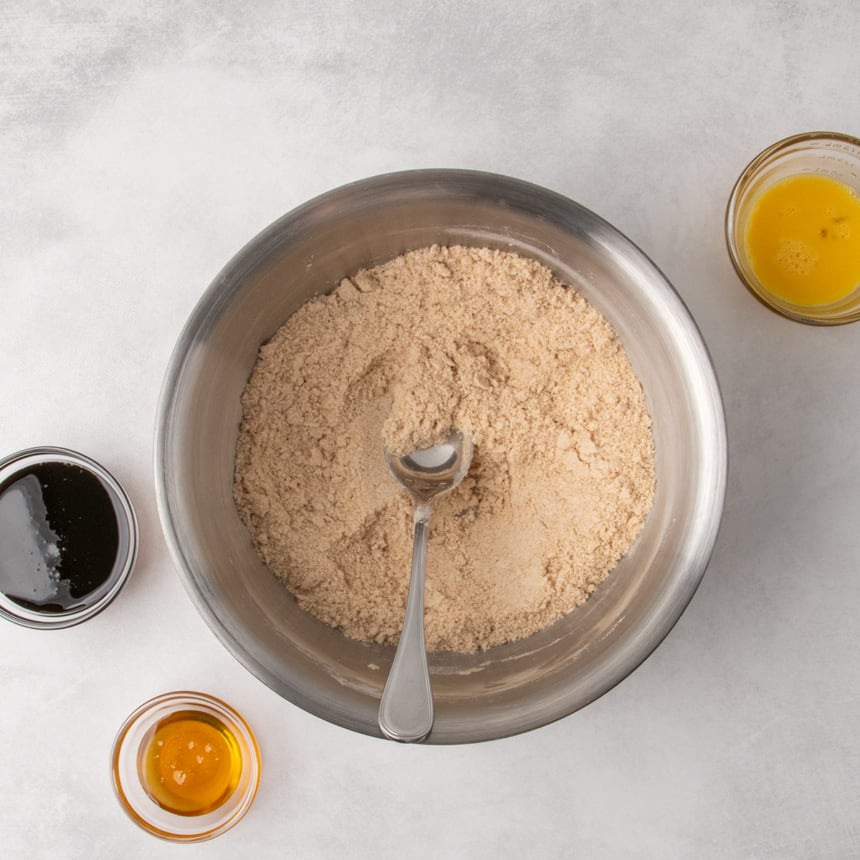
Using the back of your mixing spoon, work the butter into the dry ingredients and break up any lumps of brown sugar until there are no visible pieces of butter. The mixture will resemble coarse, slightly wet sand.
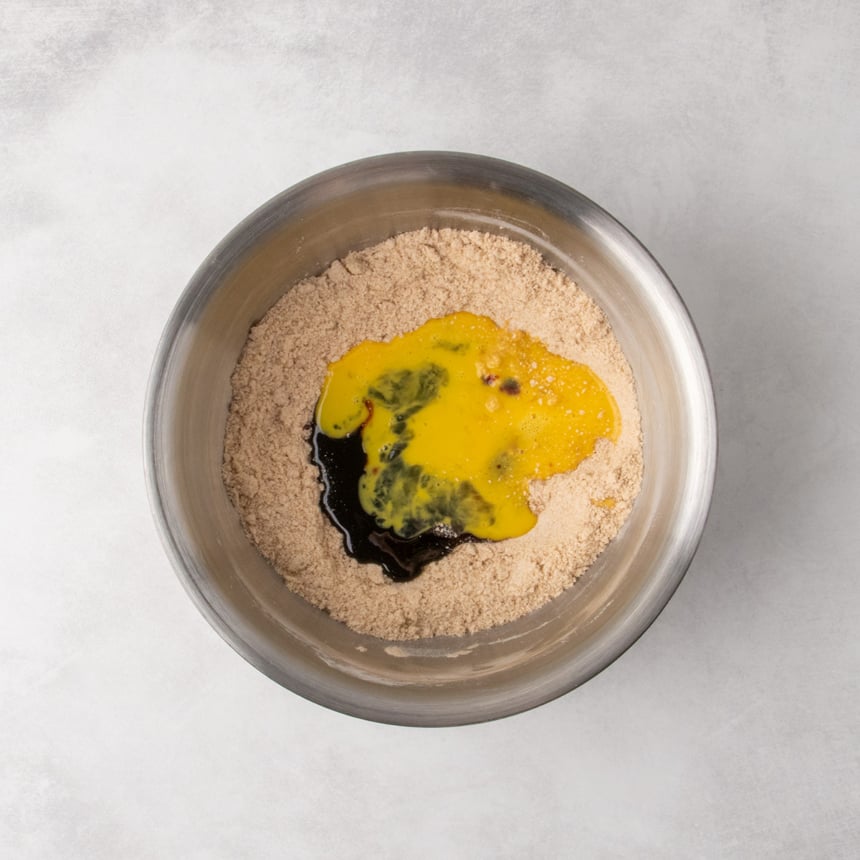
2. Mix in wet ingredients
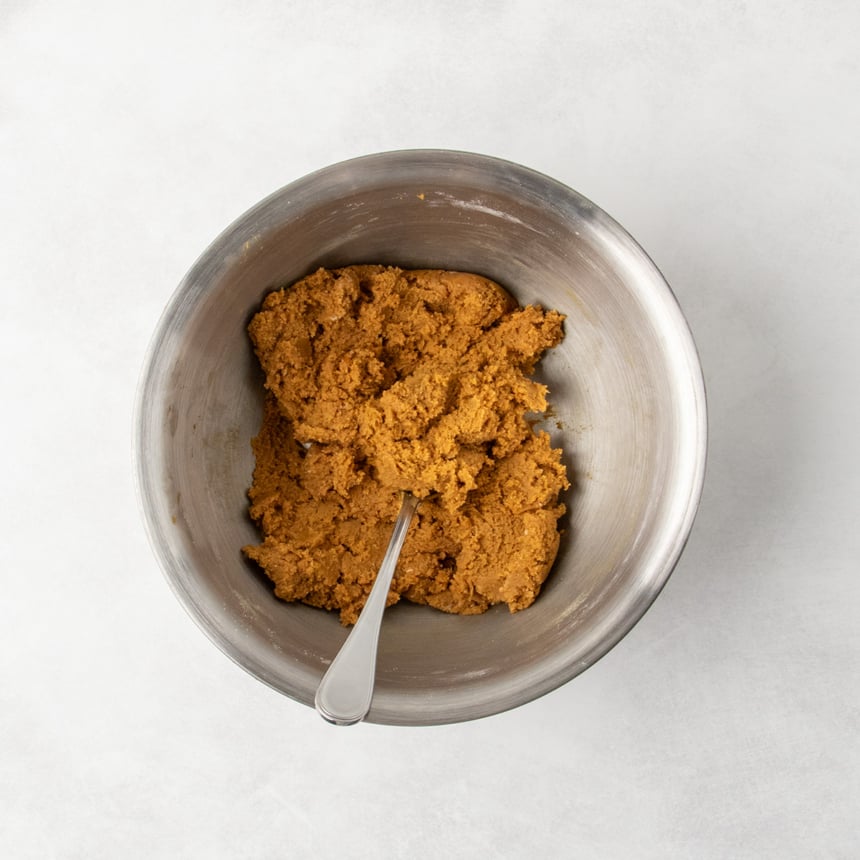
Add the molasses, honey, beaten egg and vanilla to the center of the mixing bowl, and mix the wet ingredients together first, then widen your mixing circles to include the dry ingredients. This ensures that every ingredient is contained in every part of the cookie dough. When you’re done mixing, the mixture should be sticky, but very thick and clumpy.
3. Chill the unshaped dough
Divide the mixture in half, pat each into a rough rectangle, and wrap tightly in plastic wrap. To make the dough less sticky, refrigerate the wrapped pieces for about 10 minutes.
You can let the unshaped dough chill for longer. It will be a bit harder to roll out if it’s too firm, so let it soften at room temp a bit before you roll it out.
4. Roll out the dough
Before we shape the dough, we’ll flour it on both sides to prevent sticking to the rolling pin or surface. Unwrap one piece of dough at a time, sprinkle a large piece of parchment on a flat surface with flour, place the dough on top and dust it with flour.
Flour the rolling pin and roll the dough into a rectangle about 1/4-inch thick. Move the dough frequently, turning it over and back, sprinkling with flour as needed to prevent sticking. It’s important that the dough not be sticky on either side before you cut out shapes, or you won’t be able to move the shapes.
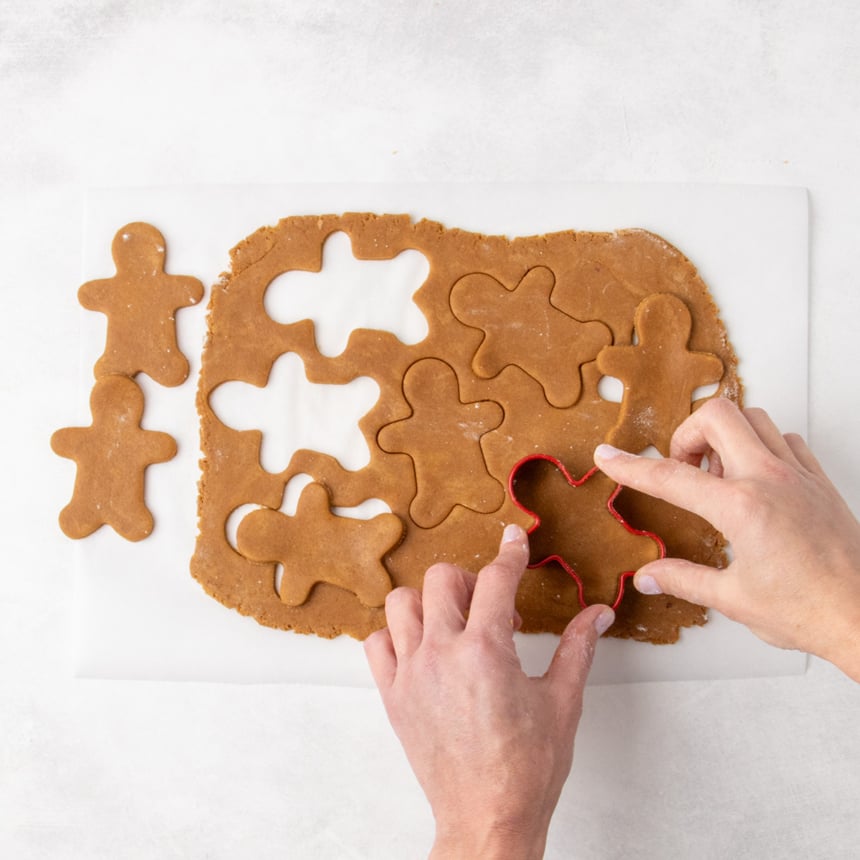
5. Cut out shapes
Press a cookie cutter into the dough as many times as you can without overlapping. Pull the dough between the shapes away, and gather it to reroll.
6. Chill the cutout shapes
Slide the parchment with the shapes onto a flat, portable surface like a cutting board. Place it in the refrigerator to chill the shapes for about 10 minutes or until firm to prevent too much spread in the oven which disturbs their shape and wrinkles the cookies.


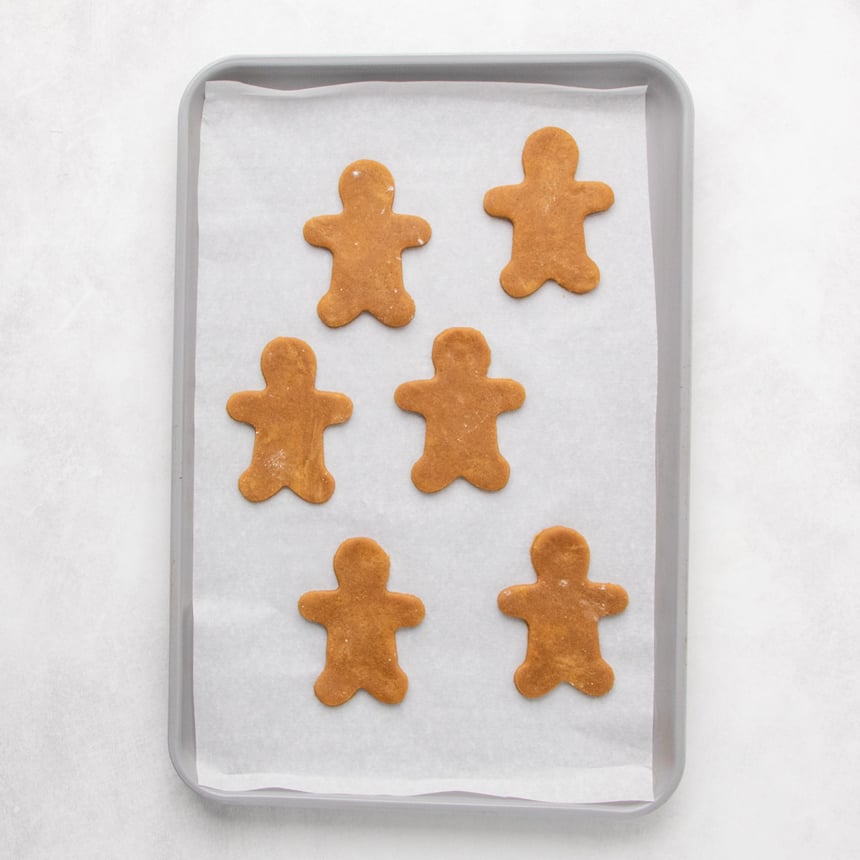
7. Bake and cool the cookies
Peel the chilled cookie shapes off the parchment (they should come off easily), and place about 1 1/2-inches apart on a lined baking sheet. They will spread, but not a lot.
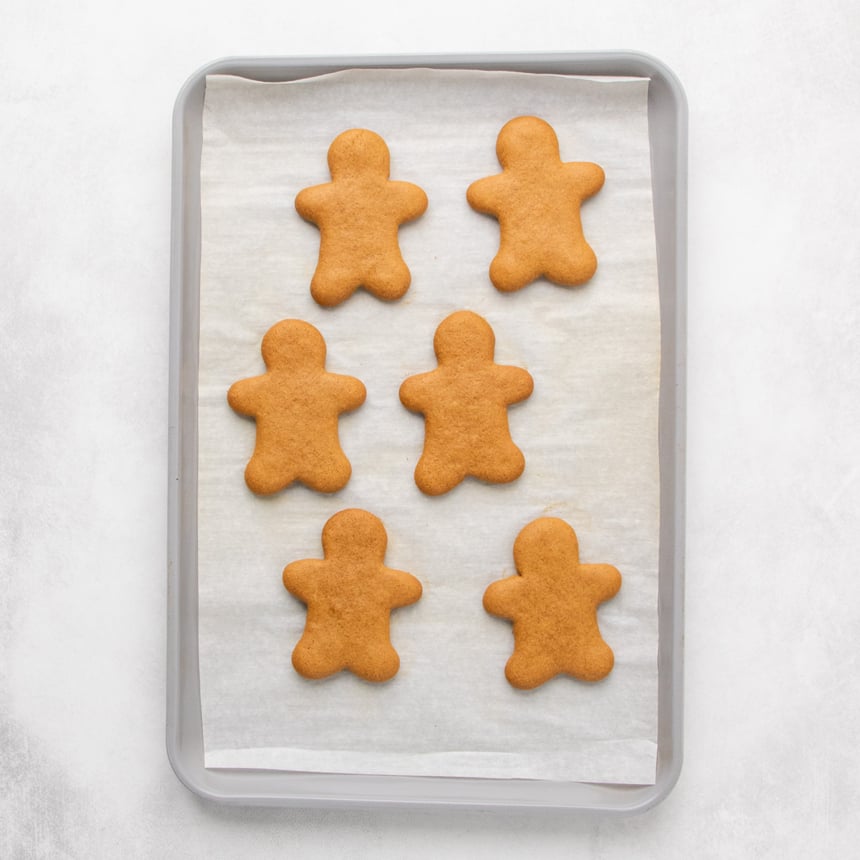
They’re done baking when they’re puffed, evenly golden brown all over, and don’t appear wet even in the very center. This usually takes less than 10 minutes. Don’t overbake or they won’t be chewy, and the molasses makes them blacken easily on the bottoms.
Let them cool completely on the baking sheets, and then decorate if you like!
Expert tips
Roll out the dough evenly
Roll out your raw cookies dough to a consistent thickness so the cookies bake evenly. Run your hands over the top of the dough as you roll it, as it’s much easier to feel uneven parts than it is to see them.
Flour as needed
If your raw cookie dough seems difficult to roll without sticking, sprinkle it with gluten free flour (your blend or just tapioca starch or superfine rice flour is fine) as necessary to keep it from getting stuck on the rolling pin. Turn the dough over periodically, too, to ensure that the dough isn’t sticking on the bottom, even if it’s easy to roll on top.
Chill the raw shapes
Roll and cut out the dough on a piece of parchment, slide the paper with the shapes still on it onto a flat surface, and place it in the refrigerator until firm. This will make it easier to transfer the shapes to the baking sheet without stretching out the shapes, and (most importantly) the cookies will spread much less and appear smoother on top.
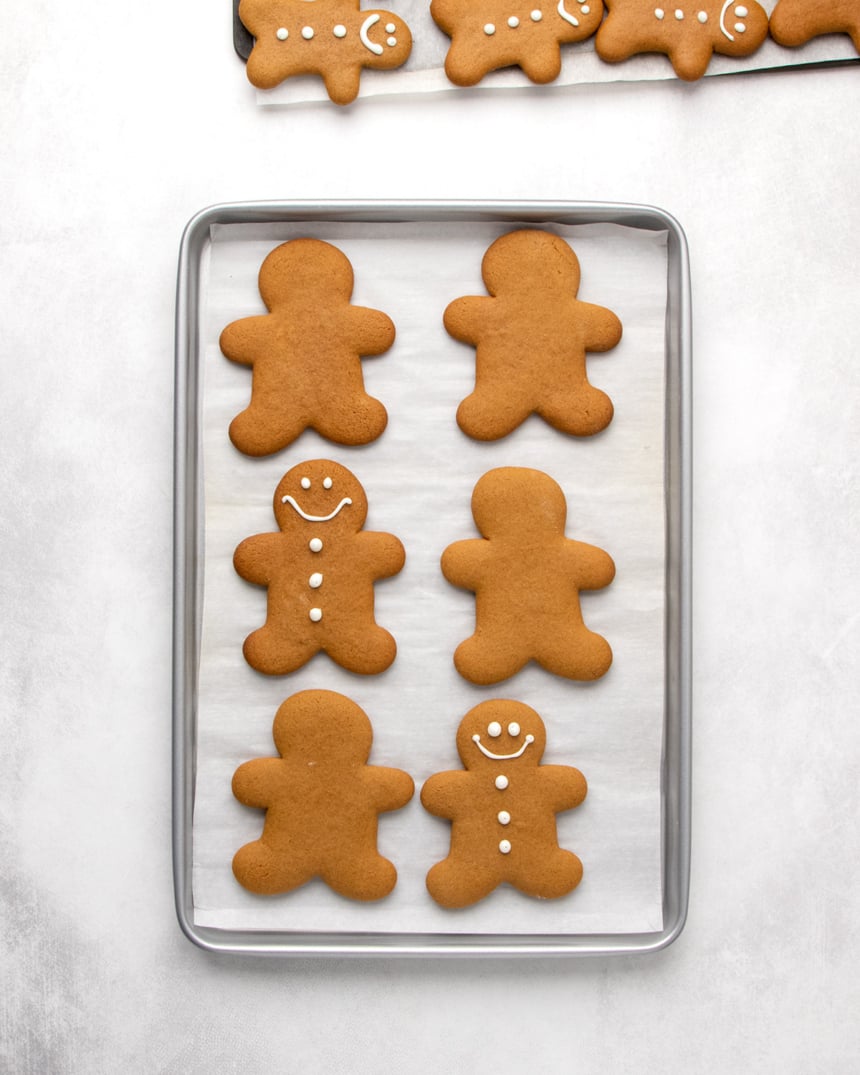
Decorating tips
For a basic, traditional gingerbread man with two eyes and a few buttons, a simple royal icing in a piping bag with a very small round open tip (like an Ateco #2 tip) is perfect. Or you can just mix together confectioners’ sugar with a bit of water or milk until it’s very thickly pipeable. It won’t set as hard, though.
Let the icing set
Whether you’ve used actual royal icing that is better at setting very hard, or just a mix of sugar and water or milk, it will take about 24 hours to set fully.
Ingredient substitutions
Dairy free
In place of the butter in this recipe, try using block-style vegan butter. My favorite brands are Melt and Miyoko’s Kitchen. You will probably have to add more flour during shaping, but avoid adding too much or the cookies will lose flavor.
I don’t recommend Earth’s Balance buttery sticks vegan butter alternative, since it contains too much moisture. Your cookies won’t hold their shape during baking.
Egg free
Instead of an egg, try using a “chia egg,” Bob’s Red Mill’s egg replacer according to package directions, or JustEgg refrigerated liquid egg replacer.
Prevent your screen from going dark
-
Line rimmed baking sheets with parchment paper and set them aside.
-
In a large bowl, place the flour, xanthan gum, baking soda, cinnamon, ginger, salt, and brown sugar, and whisk to combine well.
-
Chop the butter roughly and add it to the dry ingredients. Mix the butter in, pressing down with the back of the spoon to work the butter into the dry ingredients until the mixture resembles coarse sand. There should be no visible clumps of butter remaining.
-
Create a well in the center of the dry ingredients and add the molasses, honey, egg and vanilla.
-
Mix to combine. The mixture will be thick and sticky, but will hold together in large clumps.
-
Divide the dough into 2 equal parts, each about 350 grams. Wrap each tightly in plastic wrap, press each into a small rectangle, and refrigerate for about 10 minutes. This will make rolling it out easier.
-
Working with one half of the dough at a time, remove the plastic, and place on a large sheet of parchment paper, lightly floured. Sprinkle the top of the dough will more flour.
-
Roll the dough into a rectangle about 1/4-inch thick, sprinkling the rolling pin and dough lightly with more flour as necessary to prevent sticking. Turn the dough over and move it around the parchment paper freqently to ensure it isn’t sticking.
-
Use a gingerbread man-shaped cookie cutter to cut out as many shapes from the cookie dough as possible without overlapping. Pull away the remaining raw dough and gather it to reroll.
-
Brush away any remaining flour dustings and slide the cookie shapes, still on the parchment, onto a flat portable surface. Place in the refrigerator until firm (about 10 minutes).
-
While the shapes are chilling, preheat your oven to 350°F.
-
Once chilled, carefully peel off the cut-out shapes and place them, about 1 1/2-inches apart, on the prepared baking sheets.
-
Bake in the center of the preheated oven until puffed, evenly golden brown all over, and set in the center, about 9 minutes. Remove from the oven and allow to cool completely on the baking sheets.
-
Repeat the process with the remaining dough.
-
Decorate the completely cooled cookies with royal icing, if desired. Allow the icing to set for 24 hours before stacking the cookies for display or storage.
My favorite gluten free flour blends are Better Batter’s original blend gluten free flour and Nicole’s Best multipurpose blend (with added xanthan gum). Bob’s Red Mill 1-to-1 Gluten Free Baking Flour should also work, but add an additional 1/4 teaspoon xanthan gum to the dry ingredients or the cookies may spread too much.
To make your own blend using one of my “mock” recipes, please see the all purpose gluten free flour blends page.
Recipe yield
The nutritional information is based on 30 small cookies made with a cookie cutter that’s about 3-inches tall and 2 inches from fingertip to fingertip. It does not include royal icing or any other decoration. The yield will depend entirely on the size of your cookie cutter and how thick you roll the dough.
Serving: 1cookie | Calories: 67kcal | Carbohydrates: 16g | Protein: 1g | Fat: 0.1g | Saturated Fat: 0.05g | Polyunsaturated Fat: 0.03g | Monounsaturated Fat: 0.1g | Trans Fat: 0.001g | Cholesterol: 5mg | Sodium: 78mg | Potassium: 51mg | Fiber: 0.5g | Sugar: 8g | Vitamin A: 8IU | Vitamin C: 0.01mg | Calcium: 12mg | Iron: 0.2mg
Nutrition information is automatically calculated, so should only be used as an approximation.
Storage instructions
The cookies will stay fresh and retain their texture in a sealed glass container at room temperature for at least 1 week.
For longer storage, place them in a freezer-safe zip-top bag, squeeze all the air out, and freeze for up to 3 months. Defrost at room temperature.
I recommend waiting to decorate your cookies until you’re about 1 day away from serving them (the icing needs 24 hours to set fully). This ensures that the decorations don’t get get crushed or otherwise disturbed.
FAQs
All the molasses in the cookies makes the dough more acidic and brown quickly, which is part of why they can bake and brown in less than 10 minutes. It also means they are quick to blacken on the bottom. Be sure your oven isn’t running hot by gauging temperature using a standalone oven thermometer that you replace often. And maybe lower the oven temperature to 325°F and bake for about 12 minutes.
This gluten free gingerbread men recipe is definitely close to what you need to make gingerbread houses, but it’s not quite right because the end result is too chewy — houses need more structural integrity! Use my gluten free gingerbread house recipe instead for better results.
You may have rolled the cookie dough too thin or baked it for too long.
If your cookies spread too much while baking, they will lose their shape. The dough may need more time to chill before baking, your oven may not be hot enough so your cookies are “melting” before they set, or your butter may have been too warm. “Room temperature butter” yields to your fingertip when you press the butter, but your finger doesn’t come away greasy.
Source link