
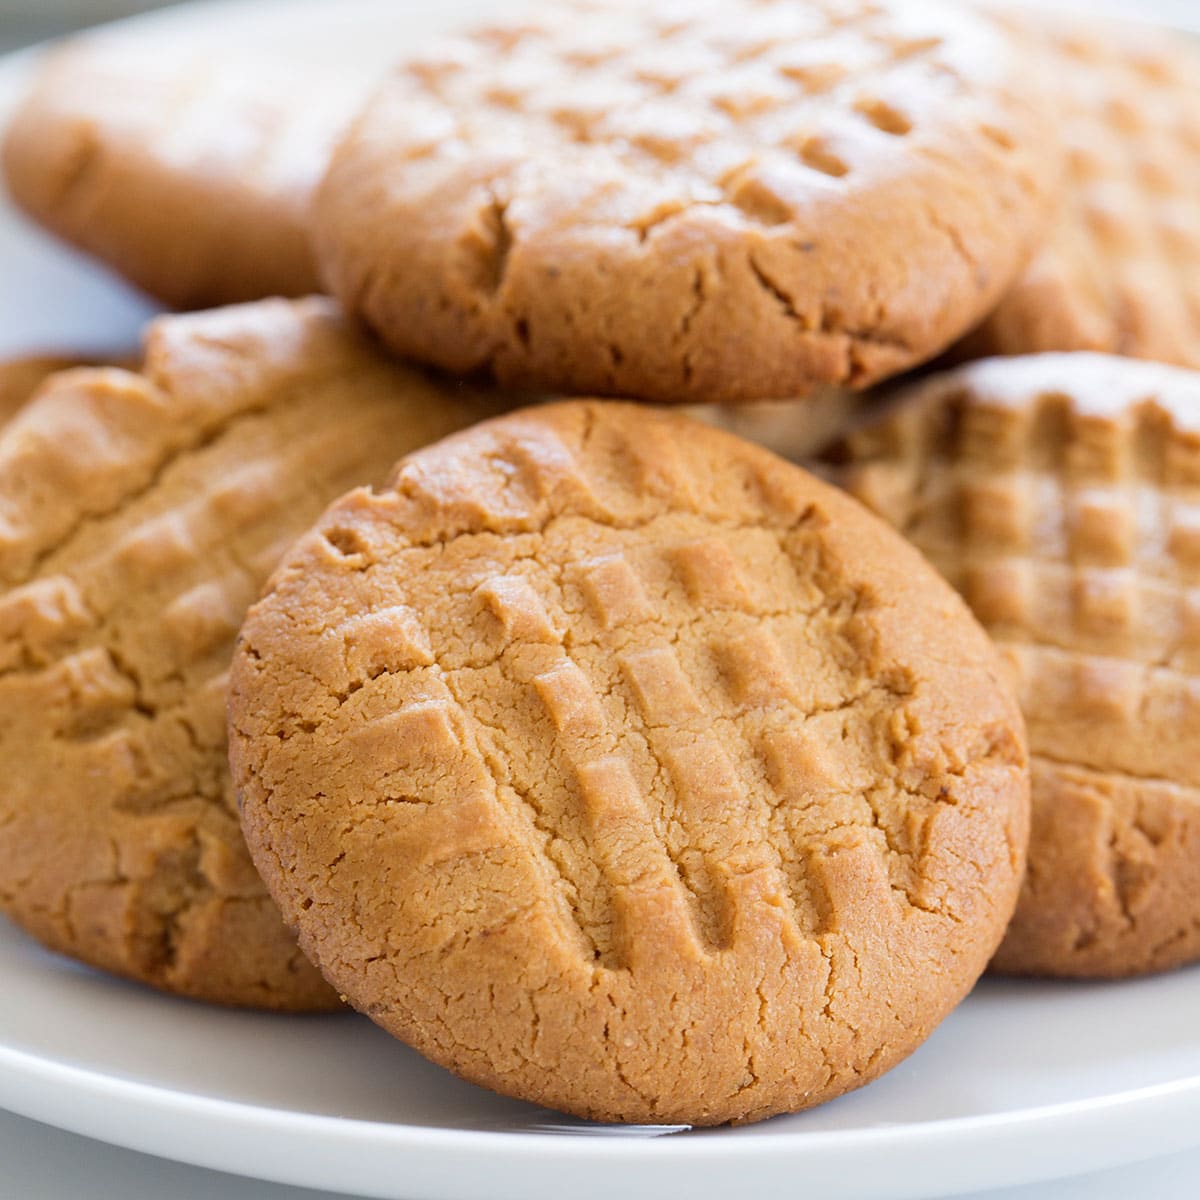
This easy gluten-free peanut butter cookies recipe, made crispy and crunchy and in the classic crosshatch style, is rich with tons of peanut butter flavor. For peanut butter lovers only!

Why this recipe works
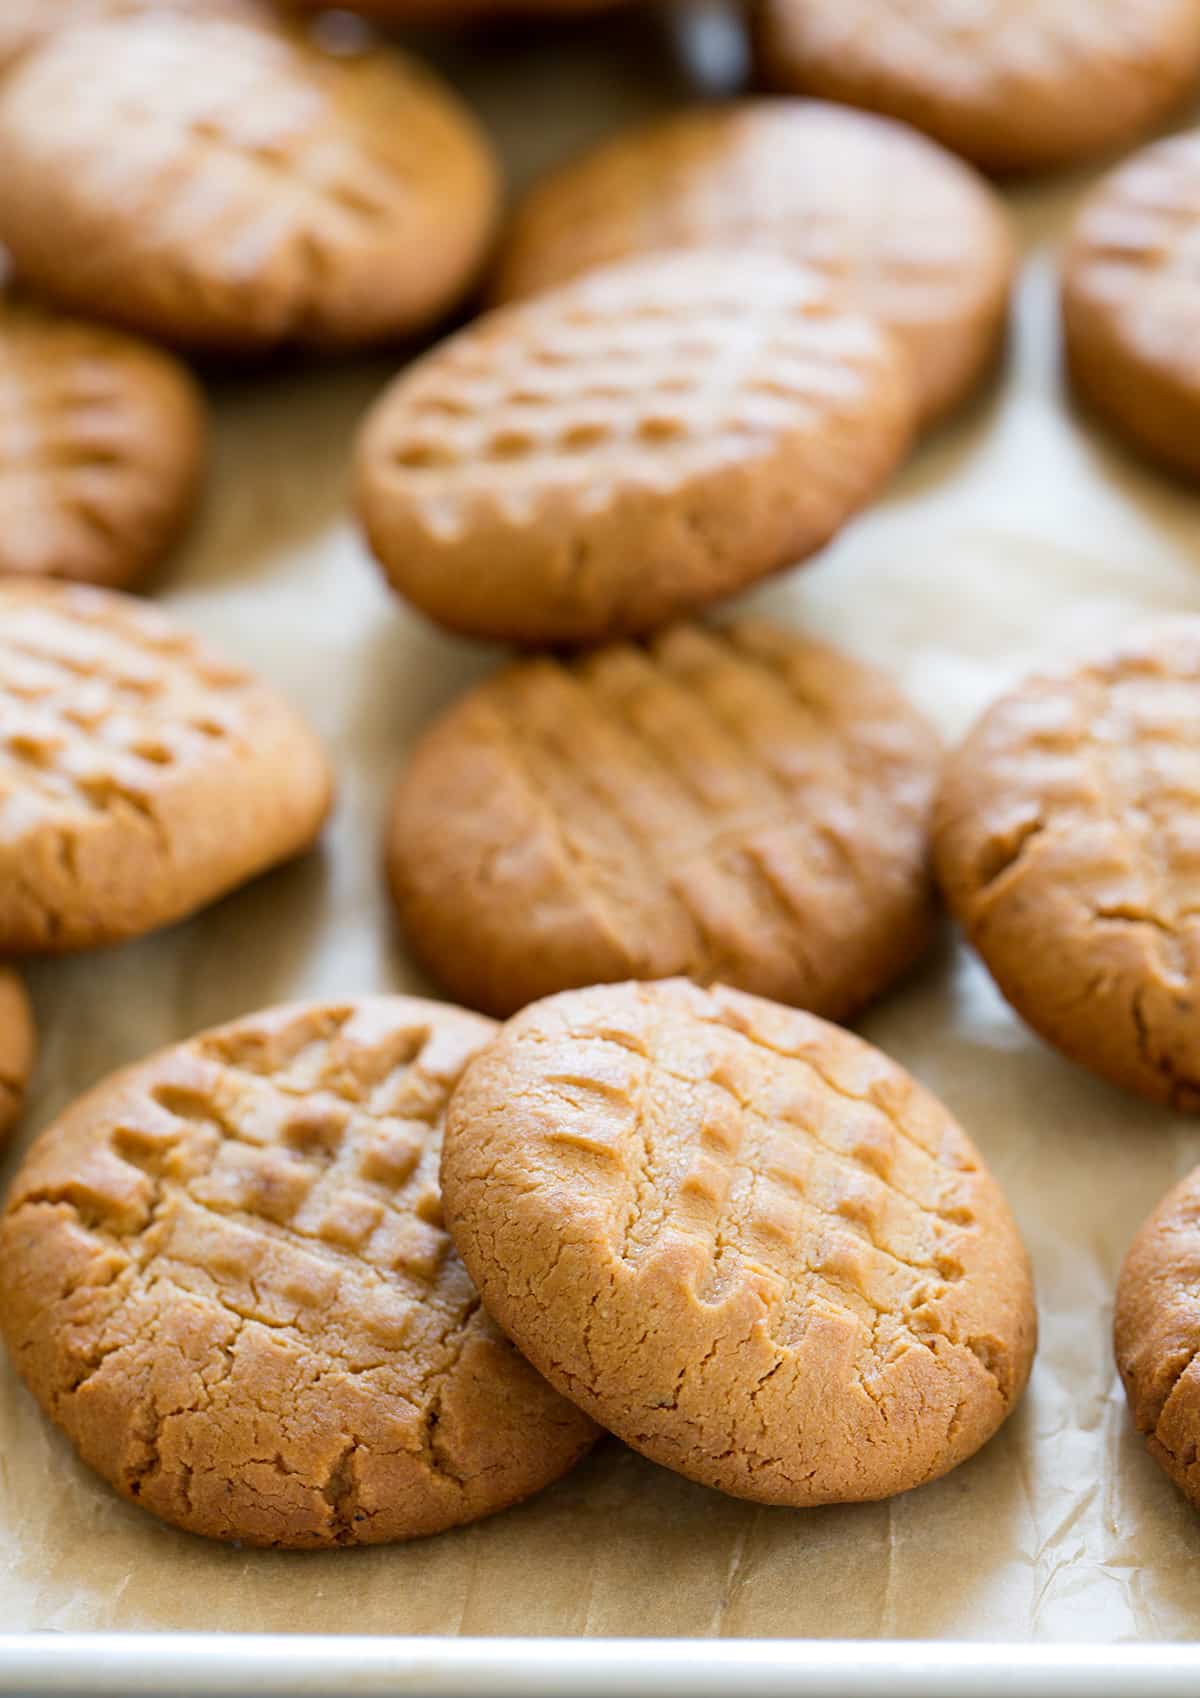
These classic crunchy peanut butter cookies are made with a rich, thick cookie dough that has more peanut butter than anything else. Every batch of 24 cookies has almost a full pound of smooth peanut butter, and over 80% more peanut butter than flour! That gives it the most peanut flavor, makes the best crispy cookies.
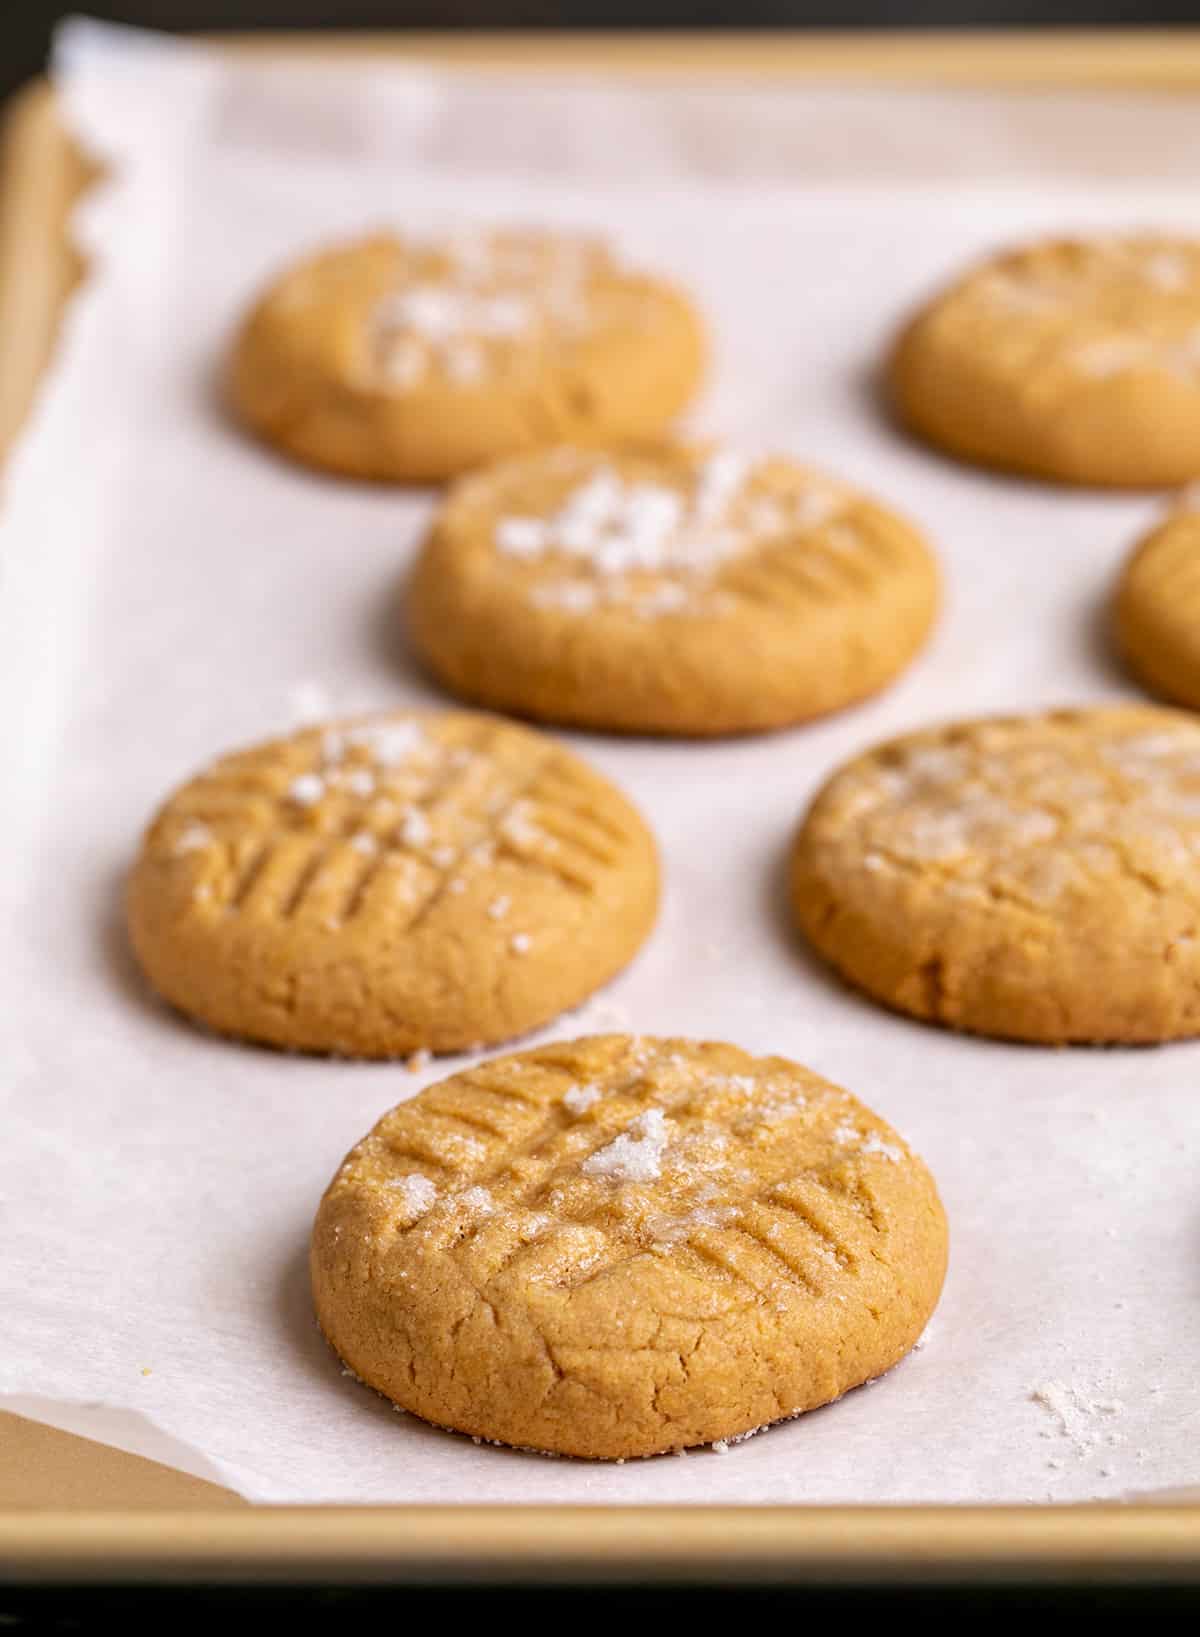
The original purpose of the crosshatch pattern in the top of the cookie was to ensure that the cookies bake evenly, all the way to the center. To maintain the round shape of the cookies and keep them from splintering around the edge, I like to press them into disks before adding the crosshatch pattern.
Recipe ingredients
This is what you need to make these cookies, plus an explanation of the role that each plays in the perfect end result:

- Gluten free flour: Provides much of the structure for the cookies. You need a well-balanced blend containing superfine rice flour to avoid any of the grittiness that ruins gluten free baked goods. My favorite blends are Better Batter’s original blend, Nicole’s Best multipurpose gluten free flour with added xanthan gum. Bob’s Red Mill 1-to-1 should also work, since it works well in most cookies, but you may need to add an additional 1/4 teaspoon more xanthan gum, since the blend generally has too little.
- Peanut butter: Adds almost all of the flavor of these cookies, and also contributes to the classic crispy, crunchy texture. You’ll need almost a whole jar of peanut butter. I usually use Jif, Skippy or Peter Pan brands, which are generally gluten free. Avoid anything with additional flavors, and make sure yours doesn’t separate in the jar.
- Butter: Adds buttery flavor, helps the cookies spread in the oven, and keeps the cookies from being chewy.
- Granulated sugar: Adds sweetness and locks in moisture for a crumbly cookies that’s still never dry. Also helps the cookies brown in the oven.
- Light brown sugar: Also adds sweetness and locks in moisture, plus color and depth of flavor from the molasses.
- Salt: Brightens other flavors.
- Baking soda: Reacts with the acid in the brown sugar and the peanut butter to create rise. Helps the cookies brown.
- Vanilla: Adds depth of flavor. You can also use an equal amount of vanilla bean paste for more flavor.
- Eggs: Help add rise and structure, keeping the cookies from falling as they cool.
How to make gluten-free peanut butter cookies (step by step photos)
Here’s an overview of how to make this recipe, with the “why” behind each step. For ingredient amounts and full details, please see the recipe card below.
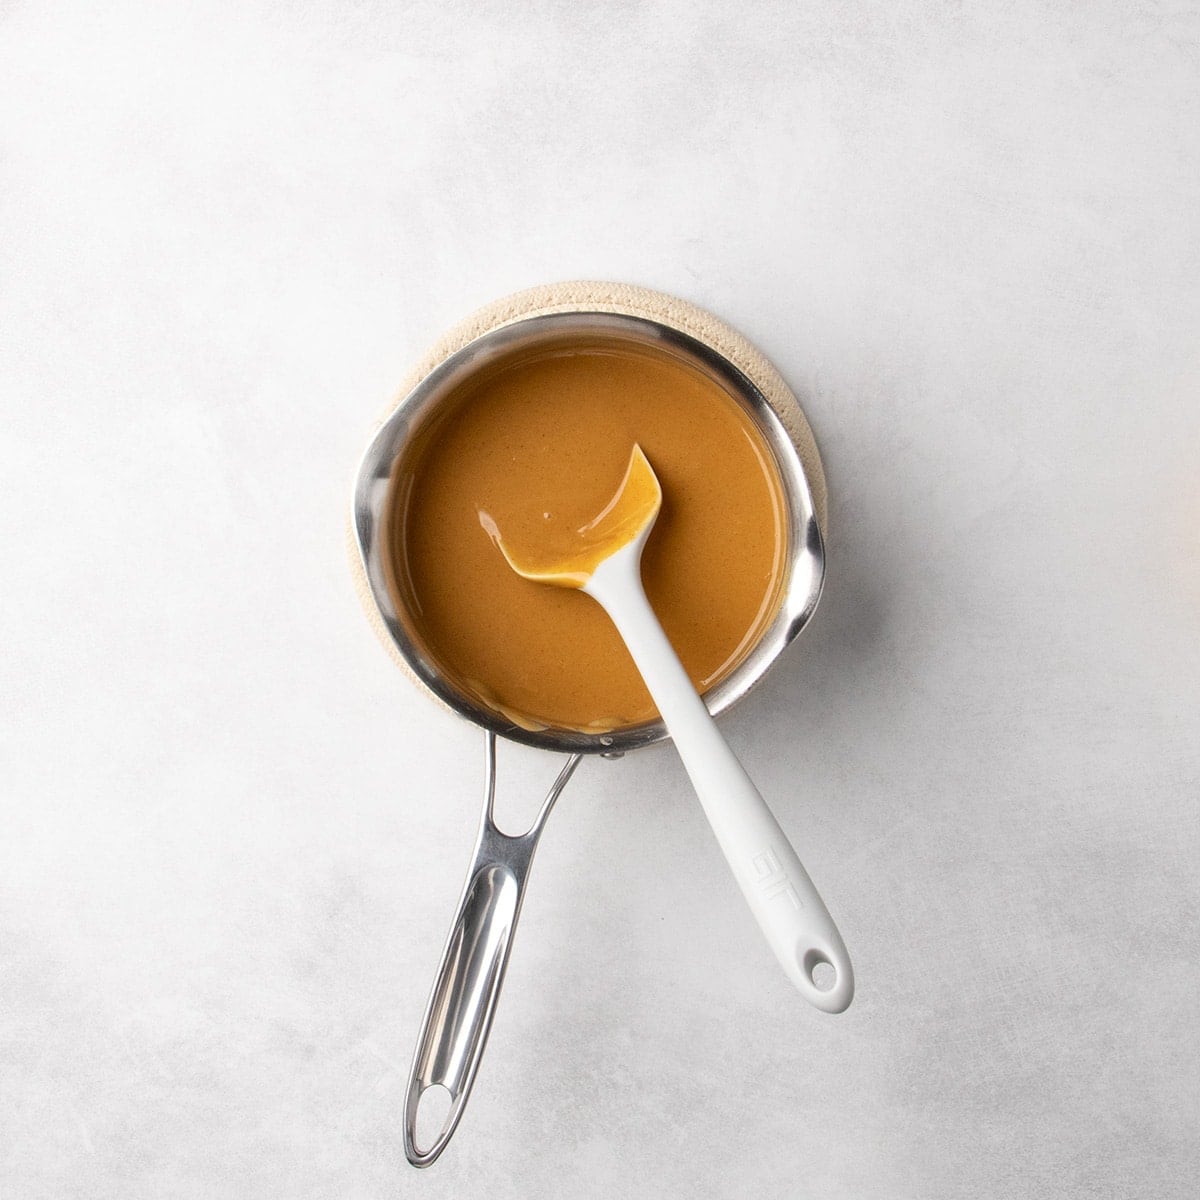
Melt the butters
To make it easier to mix everything together and to ensure crunchy cookies, we melt the peanut butter with chopped butter until smooth. Then set it aside to cool so it doesn’t scramble the eggs when we combine everything.

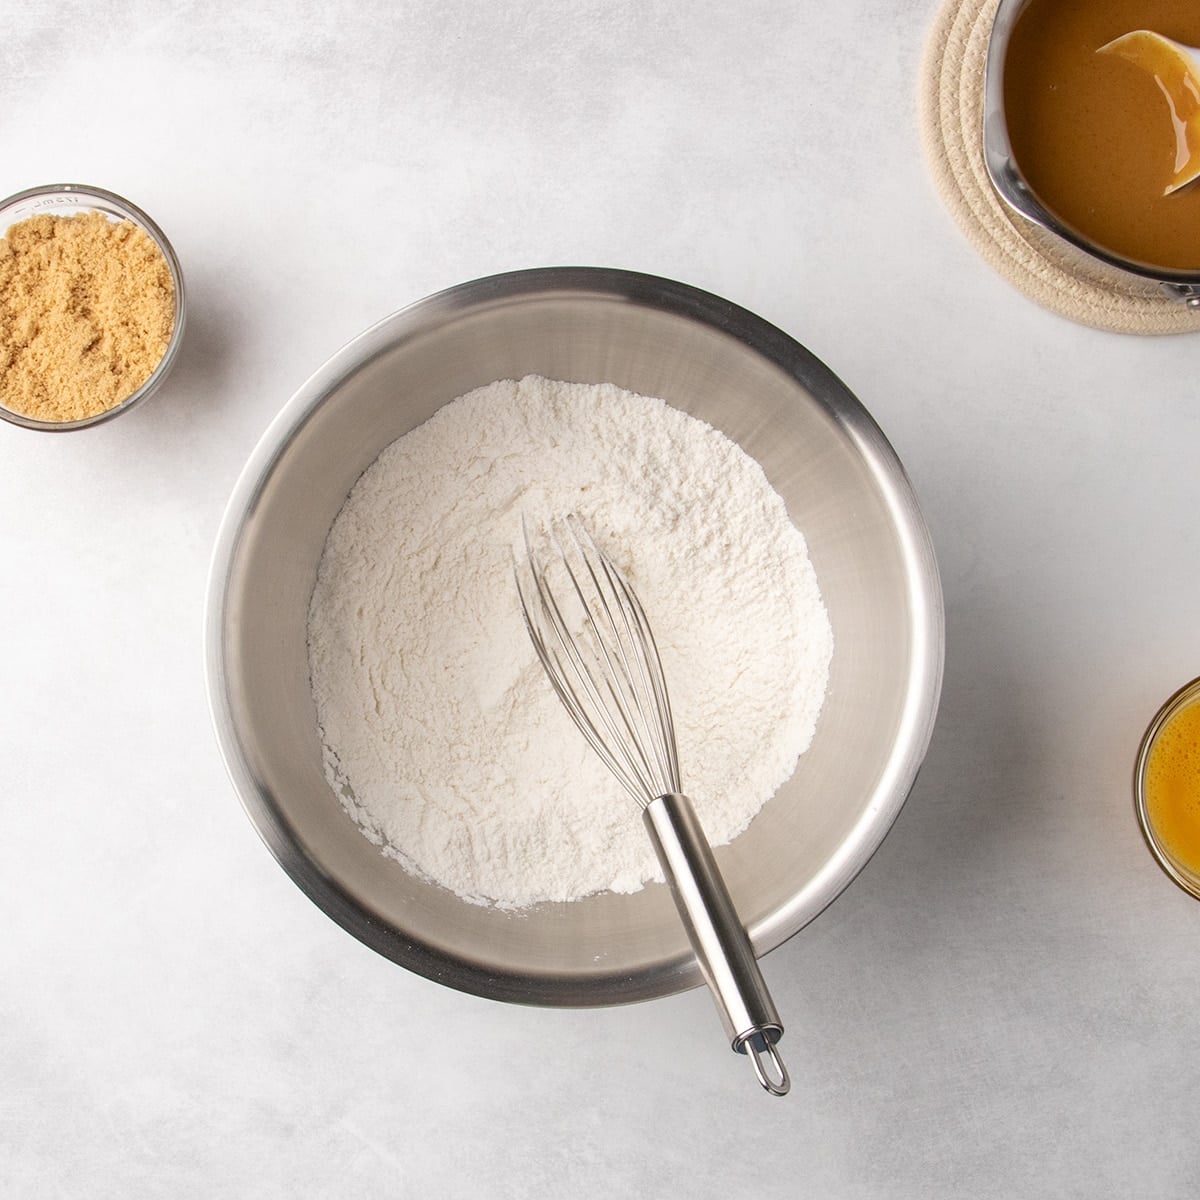
Combine the dry ingredients
In a large mixing bowl, whisk together the gluten free flour (including xanthan gum), baking soda, salt and granulated sugar. Mix in the brown sugar separately, since there will be clumps you have break up. I like to use the back of the mixing spoon to press out the lumps.

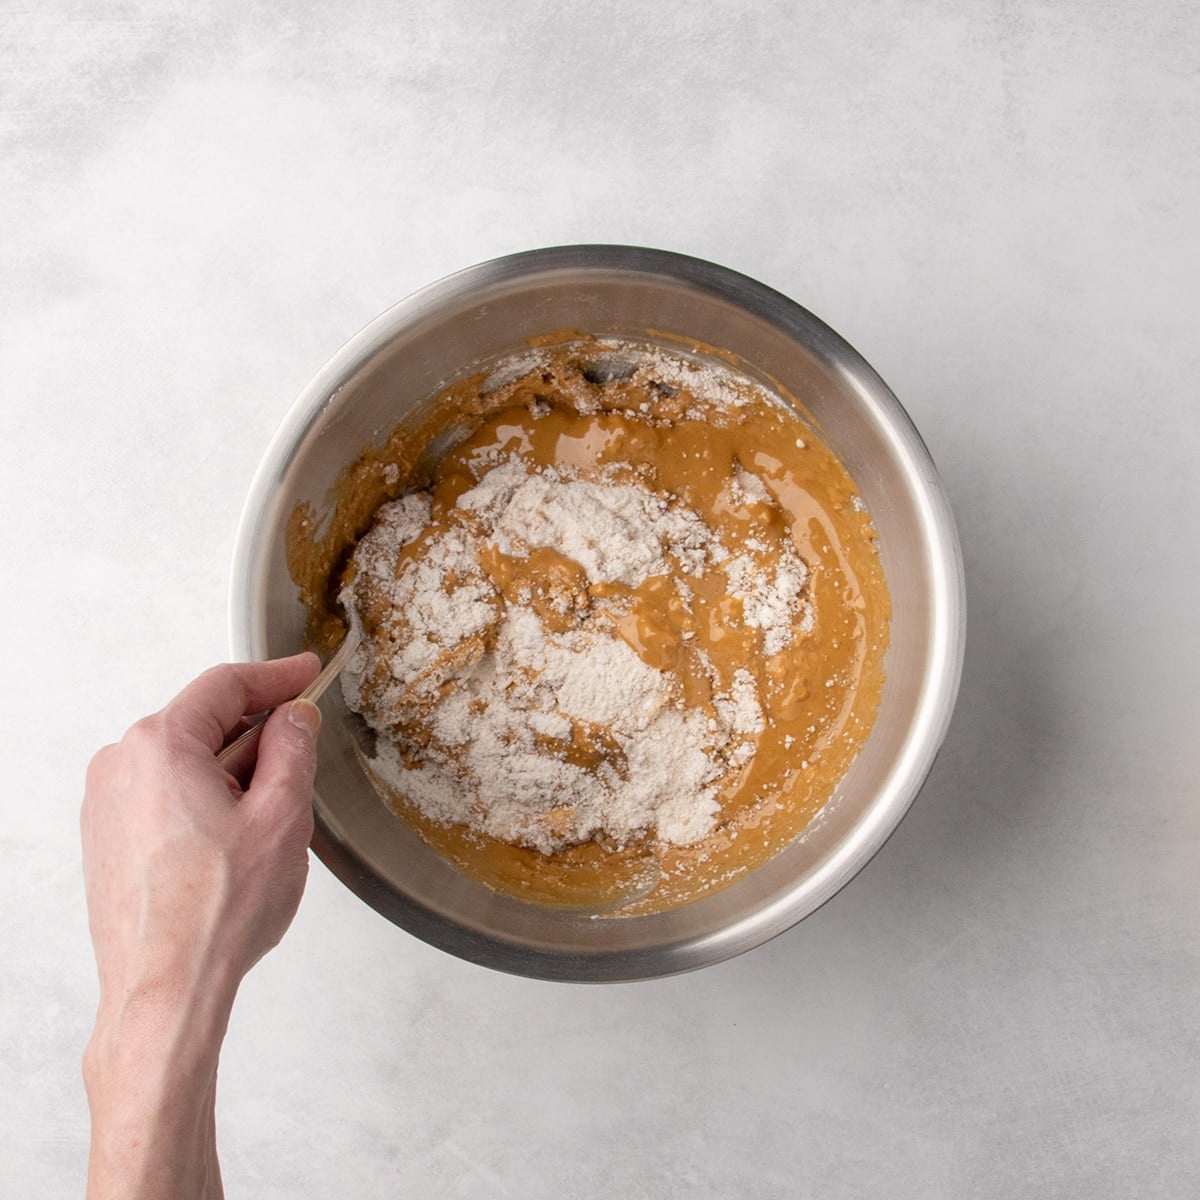
Add the peanut butter mixture
Use the mixing spoon again to create a well in the center of the dry ingredients, and then add in the melted butter and sugar. The cookie dough will be very thick and somewhat lumpy.

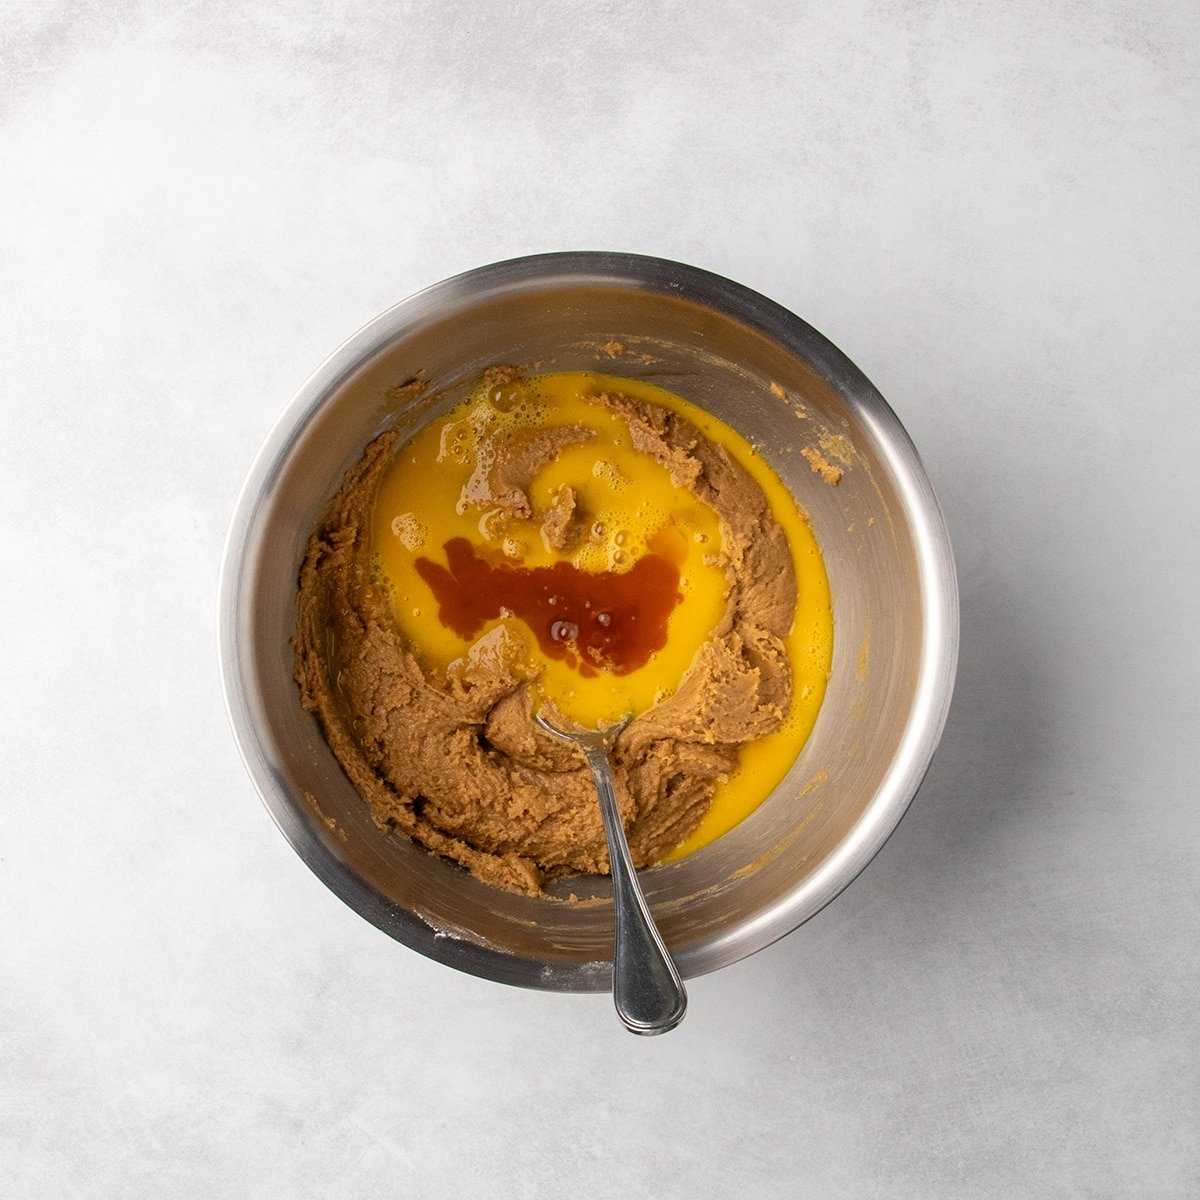
Add the eggs and vanilla
Adding the beaten eggs will smooth out the cookie dough. It should be soft and sticky, but not oily. If it feels greasy or oily, chill the dough for no more than 10 minutes so it doesn’t become stiff.

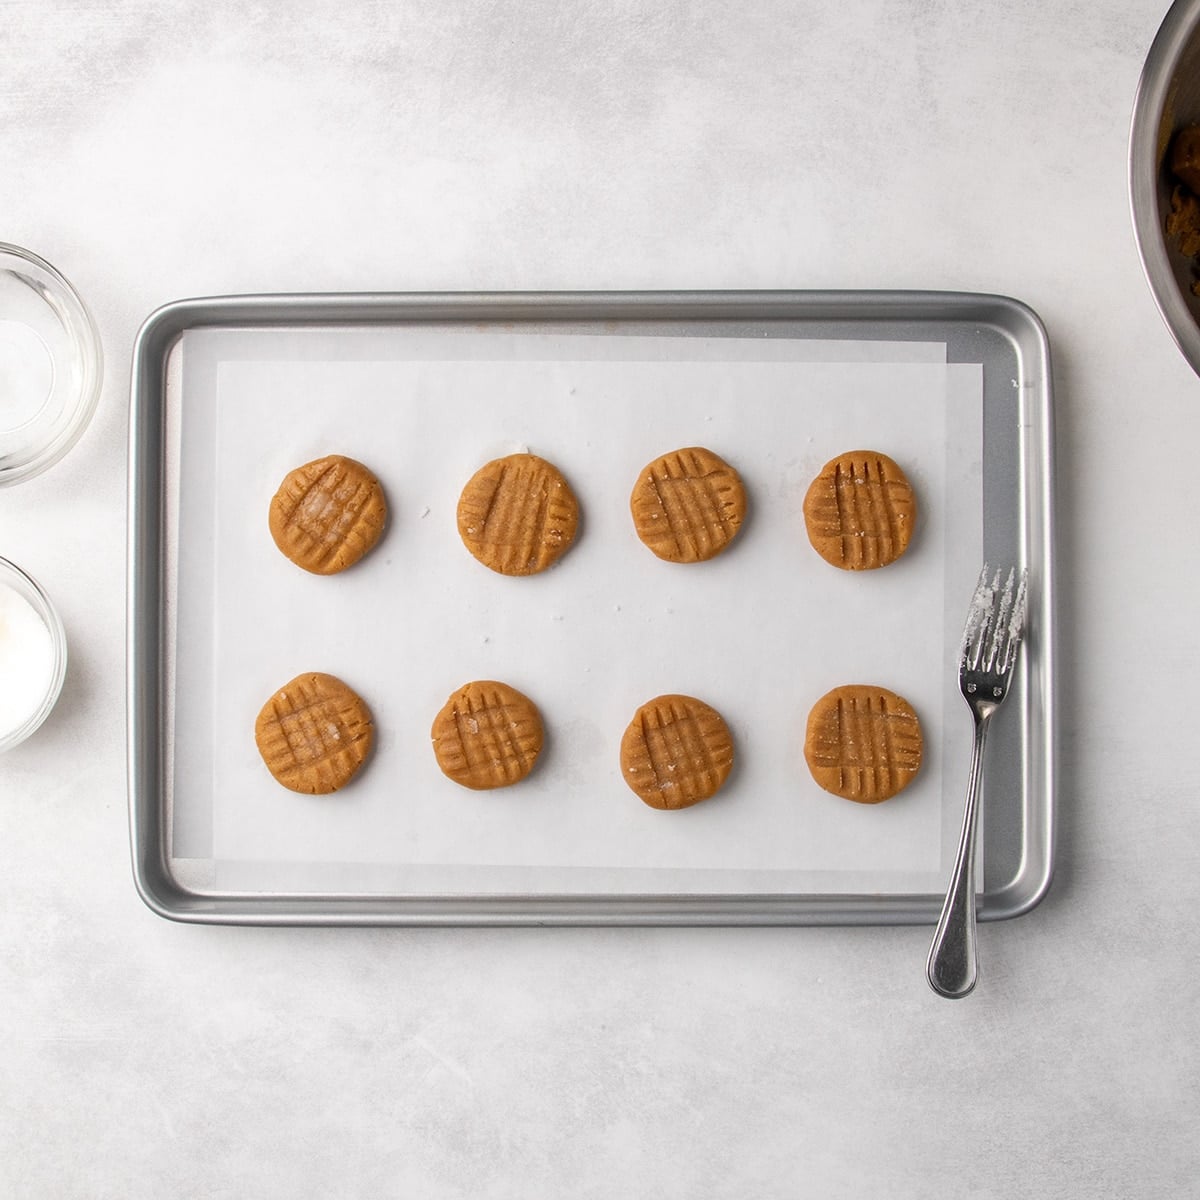
Shape the dough into disks
Scoop or pull off pieces of cookie dough about 2 tablespoons in volume, weighing about 1 ounce. Roll them into rounds between your clean palms, then press them into disks by cupping your palm around the dough to help them stay round. Then, use the fingers of your other hand to flatten the dough into a disk. The dough doesn’t spread that much in the oven, so this is how we get them into the shape we want.
Make the crosshatch pattern
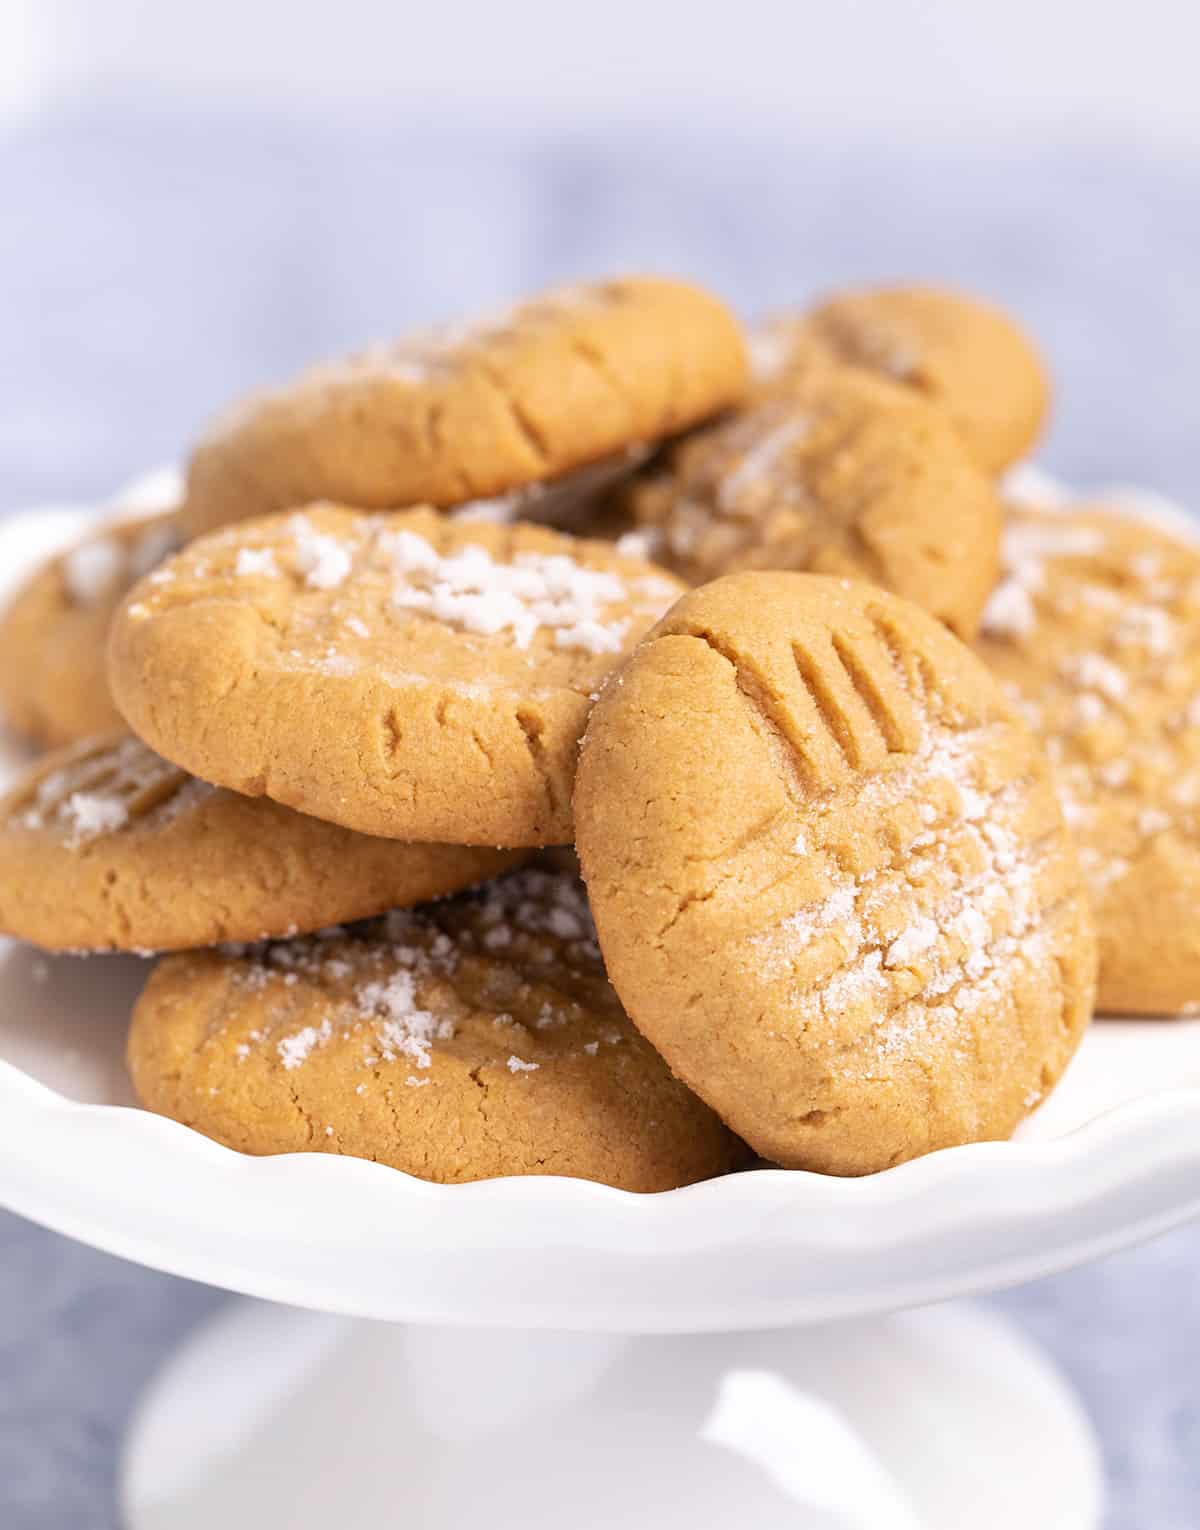
Wet the tines of a small fork, dip in some sugar for added sparkle, and press it into each disk. Rotate the tines of the fork 90° and press them again onto the cookie in the opposite direction for a # pattern so the cookies bake evenly. It’s also nostalgic to give peanut butter cookies that shape.


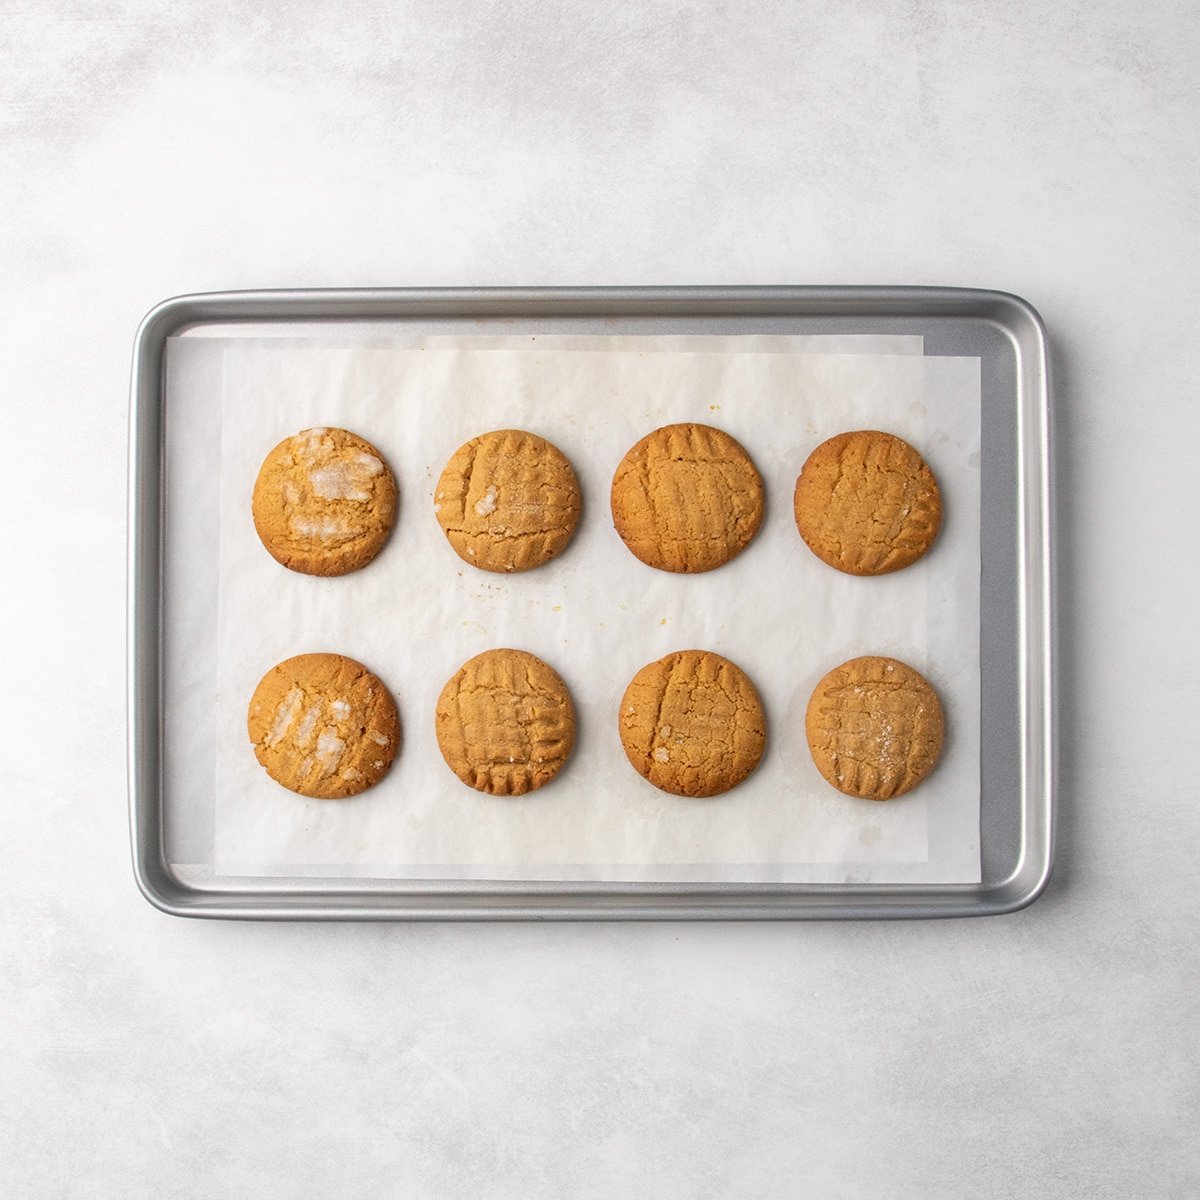
Bake the cookies
Bake at 350°F for about 15 minutes, or until they’re pale golden all over. To make sure they don’t blacken on the bottom before they’re browned enough, reduce the oven temperature to about 325°F for the last few minutes of baking. They’ll crisp as they cool, so you have to judge doneness by color, not by touch.
Expert tips
Avoid “natural” peanut butter
Truly “natural peanut butter,” which is made of only peanuts and salt, with oil that separates in the jar and drips off the spoon at room temperature, won’t work here. It makes the dough greasy and crumbly, and doesn’t bake as expected. You need the no-stir type of peanut butter, which is usually blended with shortening to stabilize the mixture, keeping it creamy.
Shape the dough carefully
The raw cookie dough contains nearly a whole jar of peanut butter, making it very high in fat. That’s why it’s prone to cracking during shaping and baking. As you shape each ball of dough, cup it gently in the palm of your non-dominant hand. Use the fingers of your dominant hand to shape the dough into a disk and press in the tines of a fork for the crosshatch pattern. That will help it keep its round shape without splintering on the edges.
Ingredient substitutions
If you need to eliminate some allergens other than gluten, here are my recommendations of what to try:
Dairy free
In place of regular butter, try block-style vegan butter like Miyoko’s, Melt, or Trader Joe’s brand.
Egg free
You can try replacing each egg with 2 “chia eggs”, Bob’s Red Mill egg replacer, or JustEgg refrigerated egg replacer. Flax eggs might perform best, but they will add a competing, earthy flavor.
Peanut butter free
If you can’t have peanuts, this recipe works well with no-stir almond butter, but make sure it’s no-stir creamy almond butter, like Barney Butter brand.
Storage instructions
These cookies will maintain their texture at room temperature for at least 5 days in a sealed glass container. Glass isn’t porous, so it keeps out moisture, which would make the cookies soft, not crisp.
For longer storage, place in a freezer-safe container, eliminating as much air as possible to avoid freezer burn, and freeze for up to 3 months. Defrost at room temperature.
You can freeze the raw cookie dough, but only if you shape it fully first. Then, defrost at room temperature and bake as usual.
-
Preheat your oven to 350°F. Line large rimmed baking sheets with unbleached parchment paper and set them aside.
-
In a small, heavy-bottom saucepan or a microwave-safe bowl, place the peanut butter and chopped butter. Place the saucepan over medium-low heat (or in the microwave for about 45 seconds on high) and stir until just melted and smooth (less than 2 minutes). Set aside to cool briefly.
-
In a large bowl, place the flour, xanthan gum, baking soda, salt and granulated sugar, and whisk to combine well. Add the light brown sugar, and mix to combine, working out any lumps by pressing down with the back of the spoon.
-
Create a well in the center of the dry ingredients, and pour in the melted peanut butter and butter mixture. Mix to combine.
-
Add the beaten eggs and vanilla, and mix again to combine well. The cookie dough will be soft and sticky.
-
If the cookie dough is too sticky or soft to handle, or it feels particularly greasy, cover it and refrigerate it for about 10 minutes. You can also cover the mixing bowl and let the dough sit for a few minutes to give the flour a chance to absorb some of the oil.
-
Pull or scoop off pieces of dough, each about 2 tablespoons in volume and weighing about 1 ounce. Roll each piece of dough into a round between your palms.
-
Press each ball into a disk about 1/2-inch thick, and place about 1 1/2-inches apart on the prepared baking sheets.
-
Wet the tines of a salad fork, dip in the optional extra sugar, and press the tines firmly into the top of each cookie while you hold the disk in the palm of your other hand. (See Recipe Notes)
-
Rotate the dough in your palm 90°, then press the tines into the top of the same cookies in the opposite direction to make a crosshatch pattern. Return each disk to the baking sheet.
-
Place the cookies, one baking sheet at a time, in the center of the preheated oven and bake.
-
Bake until lightly golden brown all over, about 15 minutes. If the bottoms of the cookies seem to be browning more quickly, reduce the oven temperature to 325°F. For crunchier cookies, continue to bake until more brown (about another 3 minutes).
-
Remove the baking sheet from the oven and allow to cool on the baking sheet until set (at least 5 minutes) before transferring to a wire rack to cool completely.
-
The cookies will be very fragile when they first come out of the oven, so it is very important to let them sit on the baking sheet until they are set. They will crisp as they cool.
This recipe works best with Better Batter’s original blend or Nicole’s Best multipurpose flour with added xanthan gum. Bob’s Red Mill 1-to-1 should work, too, but I’d recommend adding an extra 1/4 teaspoon xanthan gum since the blend tends to be too low in gum.
Want to make your own blend? Check out my mock all purpose gluten free flour blends.
About dipping the fork in sugar
When you dip the fork in sugar, it sticks mostly to the top of the fork. I often also sprinkle the tops of the cookies with the additional sugar after shaping.
Serving: 1cookie | Calories: 184kcal | Carbohydrates: 19g | Protein: 4g | Fat: 10g | Saturated Fat: 3g | Polyunsaturated Fat: 2g | Monounsaturated Fat: 5g | Trans Fat: 0.1g | Cholesterol: 19mg | Sodium: 152mg | Potassium: 103mg | Fiber: 1g | Sugar: 10g | Vitamin A: 78IU | Calcium: 14mg | Iron: 0.4mg
Nutrition information is automatically calculated, so should only be used as an approximation.
FAQs
Did you bake the cookies until the color was golden all around? If not, you probably underbaked your cookies.
This recipe is made with gluten free flour. Flourless peanut butter cookies are made without anything ground into a flour, and they have a different texture than these classic cookies. They’re crisp on the outside, but chewy in the center. These cookies are crispy and crunchy all the way through.
You probably added your melted butter and peanut butter mixture to the dry ingredients before it had had a chance to cool a bit first. Just refrigerate the cookie dough for about 5 minutes and/or let it sit, covered, at room temperature until the flour absorbs the oil.
If you chill your cookie dough too much, it can become crumbly. Just let it warm up a bit, and you should be able to shape it properly into disks.
Source link


