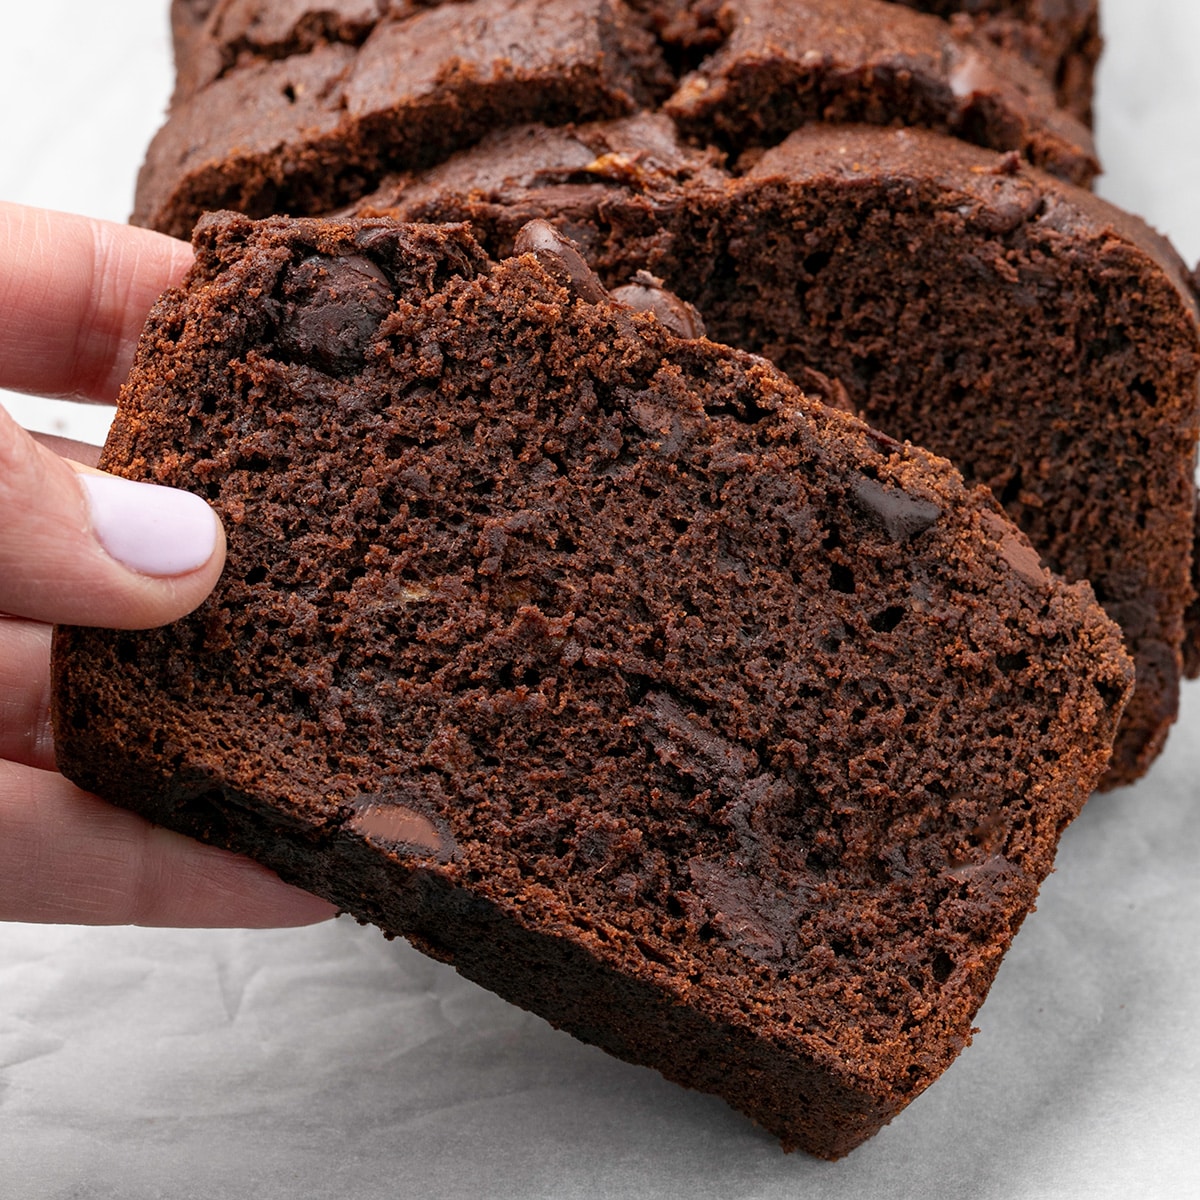
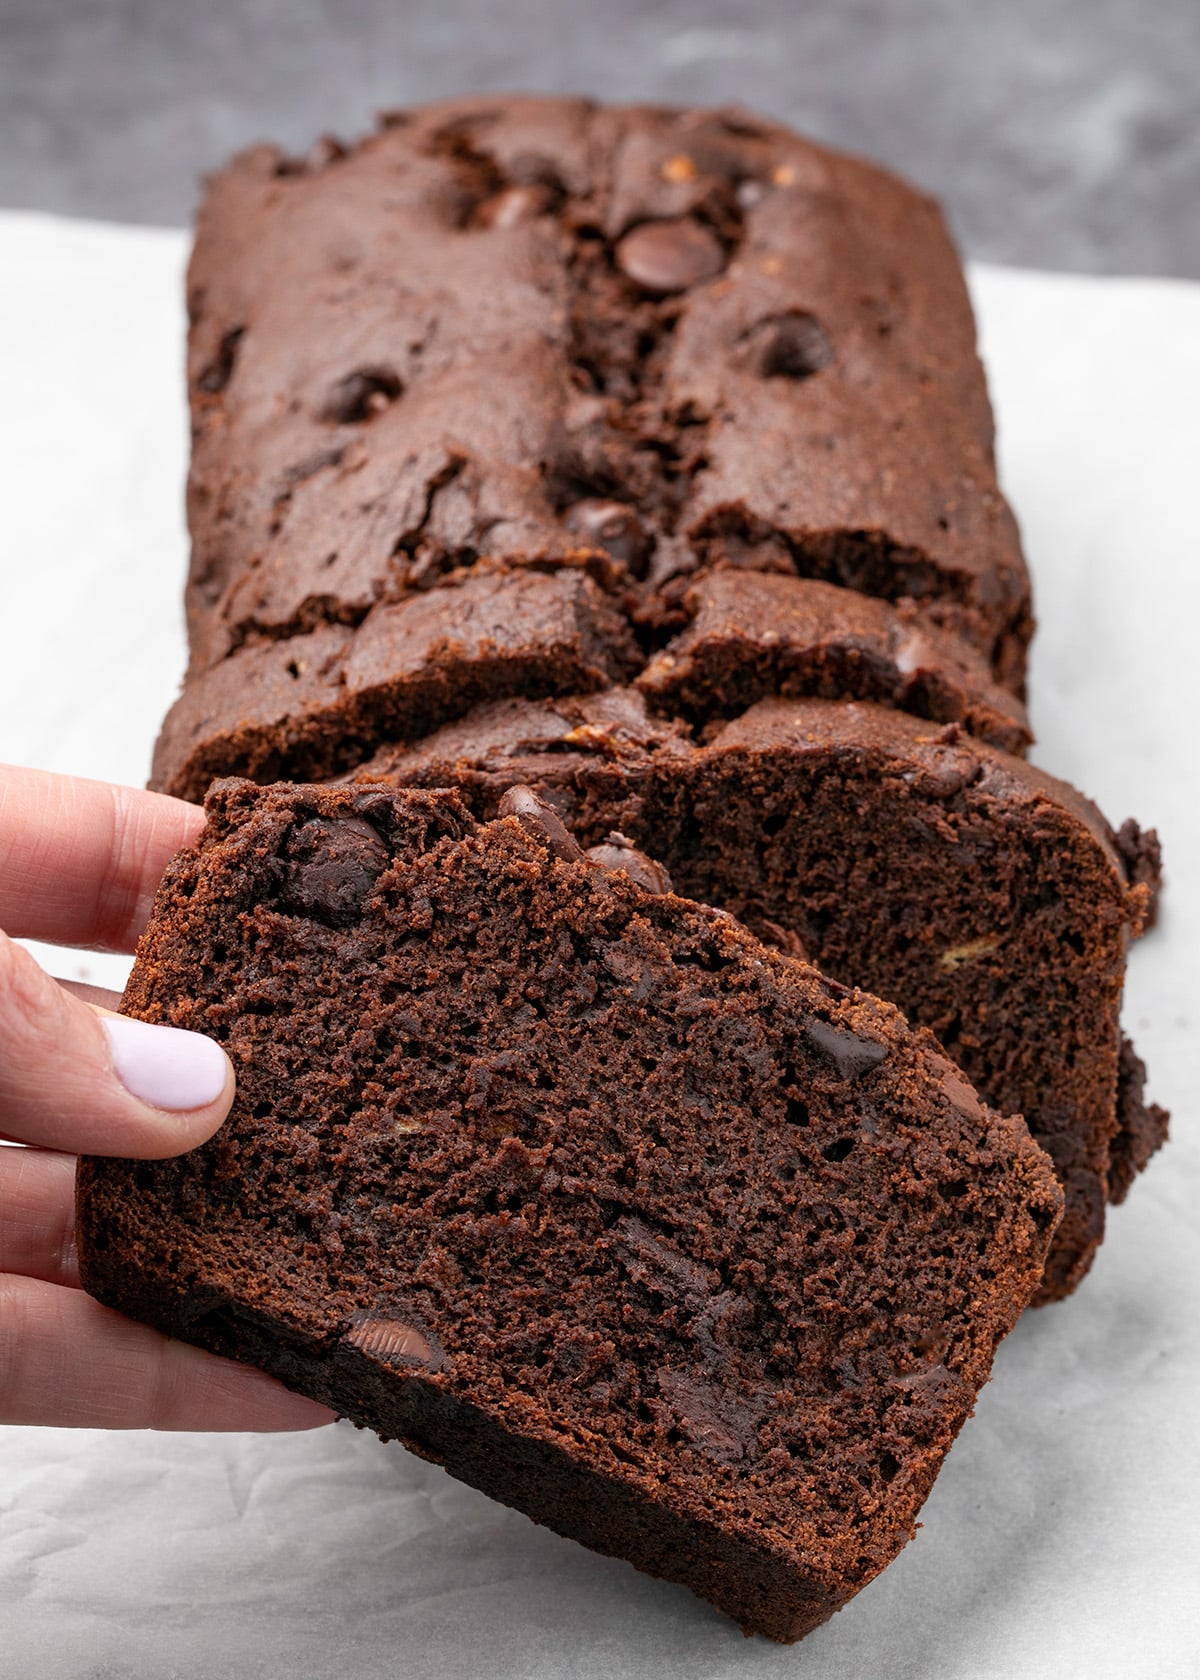
This gluten free chocolate banana bread has the deep, rich flavor of a chocolate loaf, but you can still taste ripe banana in every bite. It’s soft, tender, and fudgy, with plenty of chocolate chips throughout.
Why this recipe works
This is much more than “regular” gluten free banana bread with chocolate chips added. A combination of cocoa powder and melted chocolate gives this loaf deep chocolate flavor and a richer, slightly dense texture.
The mashed bananas are beaten into the wet ingredients so they release enough moisture to soften and enrich the thick chocolate batter.
At the end, we fold in small banana chunks and chocolate chips for some extra texture, and so the banana flavor doesn’t disappear behind all that chocolate.
Ingredient notes
Here’s what you’ll need to make this recipe, plus some information about the role each ingredient plays in a successful result. For full ingredient amounts, scroll down to the recipe card below:
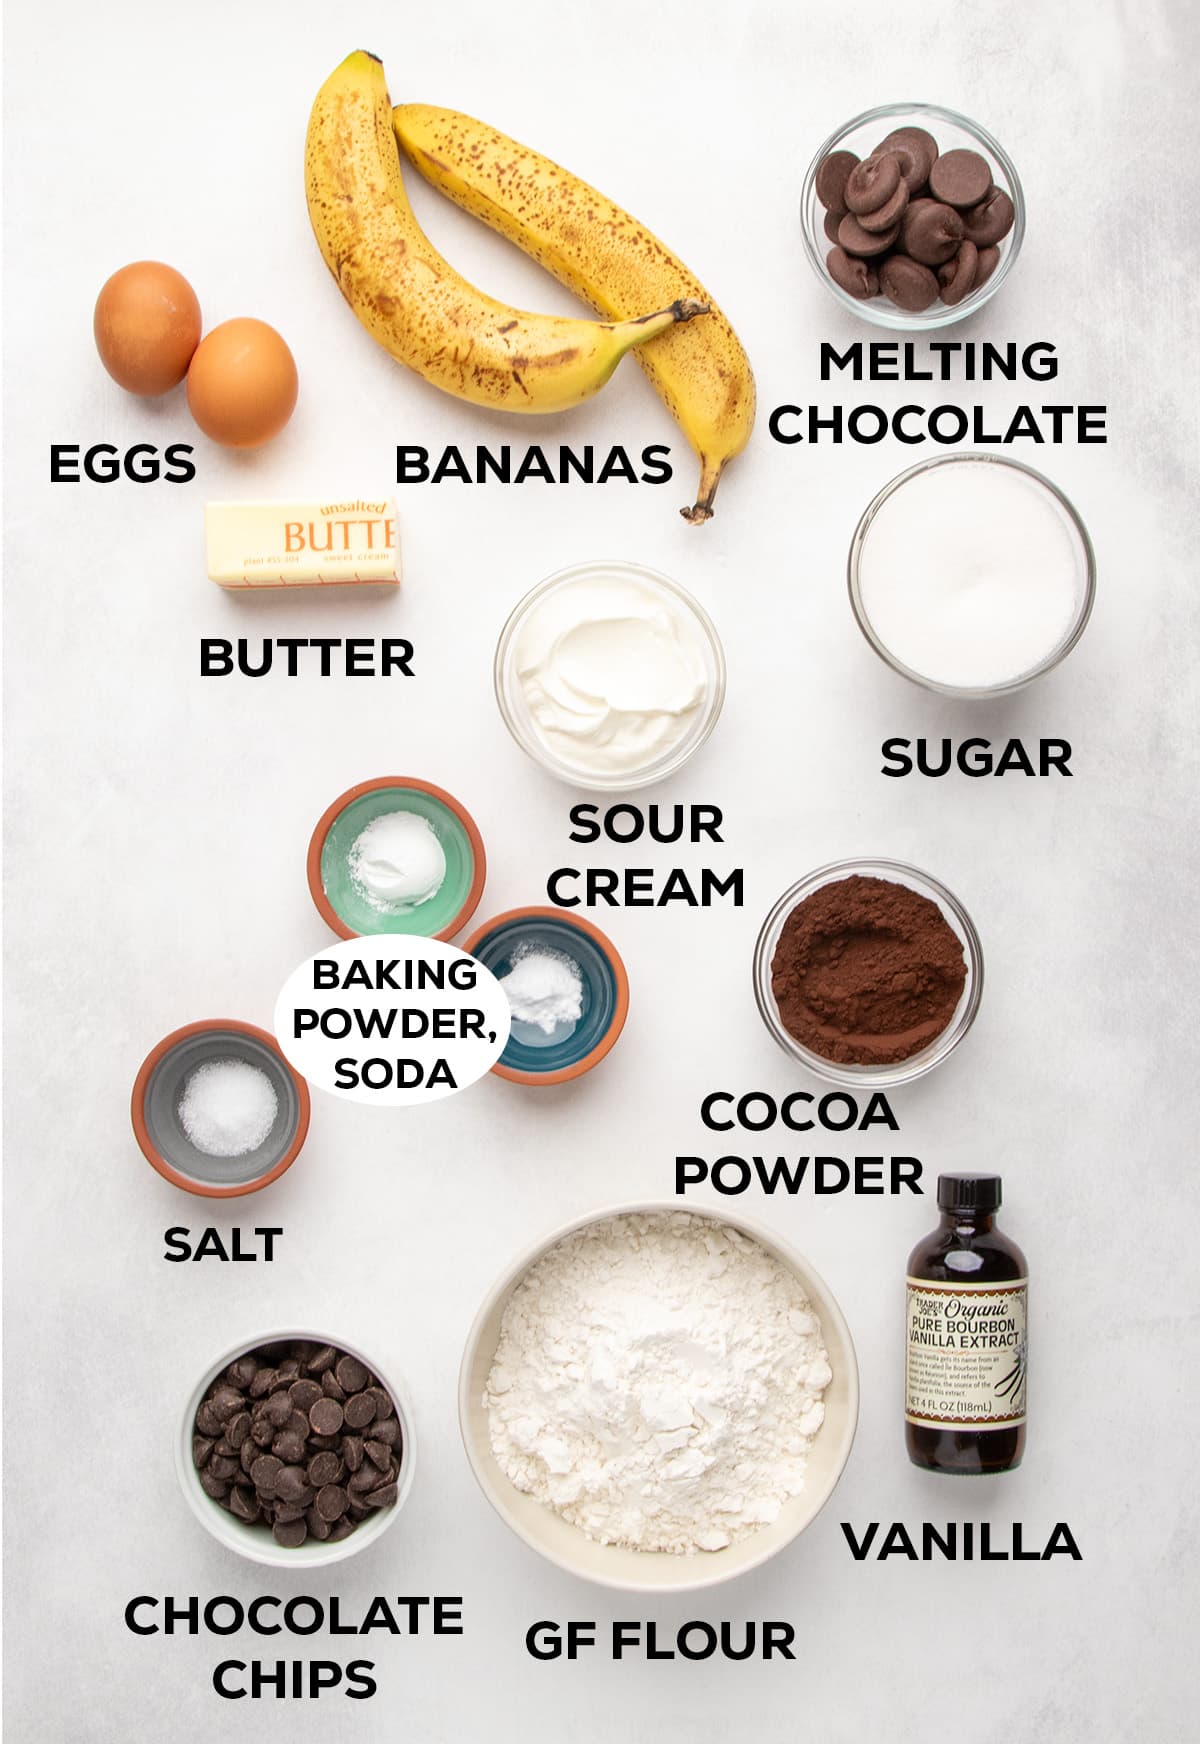
- Melting chocolate: Adds richer chocolate flavor than cocoa powder alone, and a slightly fudgy texture. Try to use a chocolate with higher cacao butter content, about 65%, that is made for melting fully and using in baking. It can be unsweetened (with zero added sugar, for a slightly less sweet bread) or dark chocolate (cacao solids with some sugar and sometimes vanilla). Avoid anything like chocolate chips, which contain stabilizers that can prevent them from melting smoothly and emulsifying with butter for a smooth batter without any grainy chocolate that has burned or seized.
- Butter: Butter adds richness, some moisture, and lots of flavor and tenderness. We emulsify it with the chocolate by melting them together, but you can also melt the chocolate first and then mix in room temperature butter pieces.
- Bananas: Mashed and mixed into the batter, they add flavor and moisture. Measure them by weight after peeling so you’re certain that you’re using exactly the right amount, mashed. Folding in some chopped, ripe bananas as mix-ins when we add chocolate chips adds some more moisture, and a texture that reminds you this is banana bread. But you can leave that part out for a slightly drier result.
- Sugar: Adds sweetness and locks in moisture for a tender crumb.
- Sour cream: Adds some moisture, richness, and a gentle tang that complements the chocolate flavor without the extra moisture of buttermilk.
- Vanilla: Adds depth of flavor to this quick bread.
- Eggs: Acts a binder and helps the bread rise; you can make a shorter loaf with 1 egg, or a taller loaf with 2. I like them both. The white in the eggs also helps the bread holds its shape as it cools.
- Cocoa powder: Provides some structure, and lots of cocoa flavor. You can use Dutch-processed cocoa powder (richer, deeper flavor) or natural cocoa powder (some acidity added to the chocolate flavor that’s neutralized by baking soda).
- Gluten free flour: Provides most of the structure for the bread. I recommend Better Batter’s original gluten free blend, Nicole’s Best Multipurpose with the xanthan gum directed in the recipe, or Bob’s Red Mill 1-to-1 gluten free baking flour with an additional 1/2 teaspoon xanthan gum since that blend has some, but not enough, binder.
- Baking powder: Provides rise for a lighter crumb.
- Baking soda: Helps with caramelization and neutralizes any acidity from the sour cream and any natural cocoa powder if you’re using that.
- Salt: Balances sweetness and enhances other flavors.
- Chocolate chips: Add some texture to the bread, intensify the chocolate flavor, and also reduce the moisture a bit. If you’d prefer to make it without chocolate chips, try using a different flavor of chip or even chopped soft nuts like walnuts or pecans rather than just eliminating them.
How to make gluten free chocolate banana bread (step by step photos)
Melt butter and chocolate
Place unsweetened or dark melting chocolate in a heat-safe bowl and melt in the microwave on reduced power in 30-second intervals, stirring in between. This will emulsify the ingredients and help them melt into the batter smoothly.
Combine dry ingredients
In a separate bowl, whisk together the cocoa powder, gluten free flour with xanthan gum, baking powder, baking soda, and salt for a uniform mixture. Cocoa powder resists combining with liquids, and mixing it in first with the other dry ingredients will make it easier to combine with liquids later.
Beat wet ingredients
In a large mixing bowl place mashed bananas, granulated sugar, vanilla extract, sour cream, eggs, and the melted chocolate and butter mixture. Beat together until well combined using a handheld mixer or a stand mixer with the paddle attachment. Unlike in our gluten free banana muffins, we want the mashed bananas to release more of their moisture, since this bread is otherwise relatively low in moisture.
Combine wet and dry ingredients
Add the whisked dry ingredients to the bowl of wet ingredients, and beat to combine. The batter will be quite thick, so just beat until you have a relatively smooth batter. If there’s any dry ingredients on the side of the bowl, you’ll incorporate them into the batter in the next step.
Add mix-ins
Add in chocolate chips and about 1/4 cup chopped ripe bananas, and fold them carefully into the batter with a silicone spatula. Try to avoid mashing the bananas, and scrape and incorporate any dry ingredients from the side of the bowl.
Transfer to a loaf pan
Scrape the thick batter into a greased and lined standard loaf pan and use a moist spatula to spread into an even layer so it bakes evenly. To encourage the loaf to release steam during baking in a controlled way, score the loaf lengthwise down the center, about 1/4 inch deep.
Bake
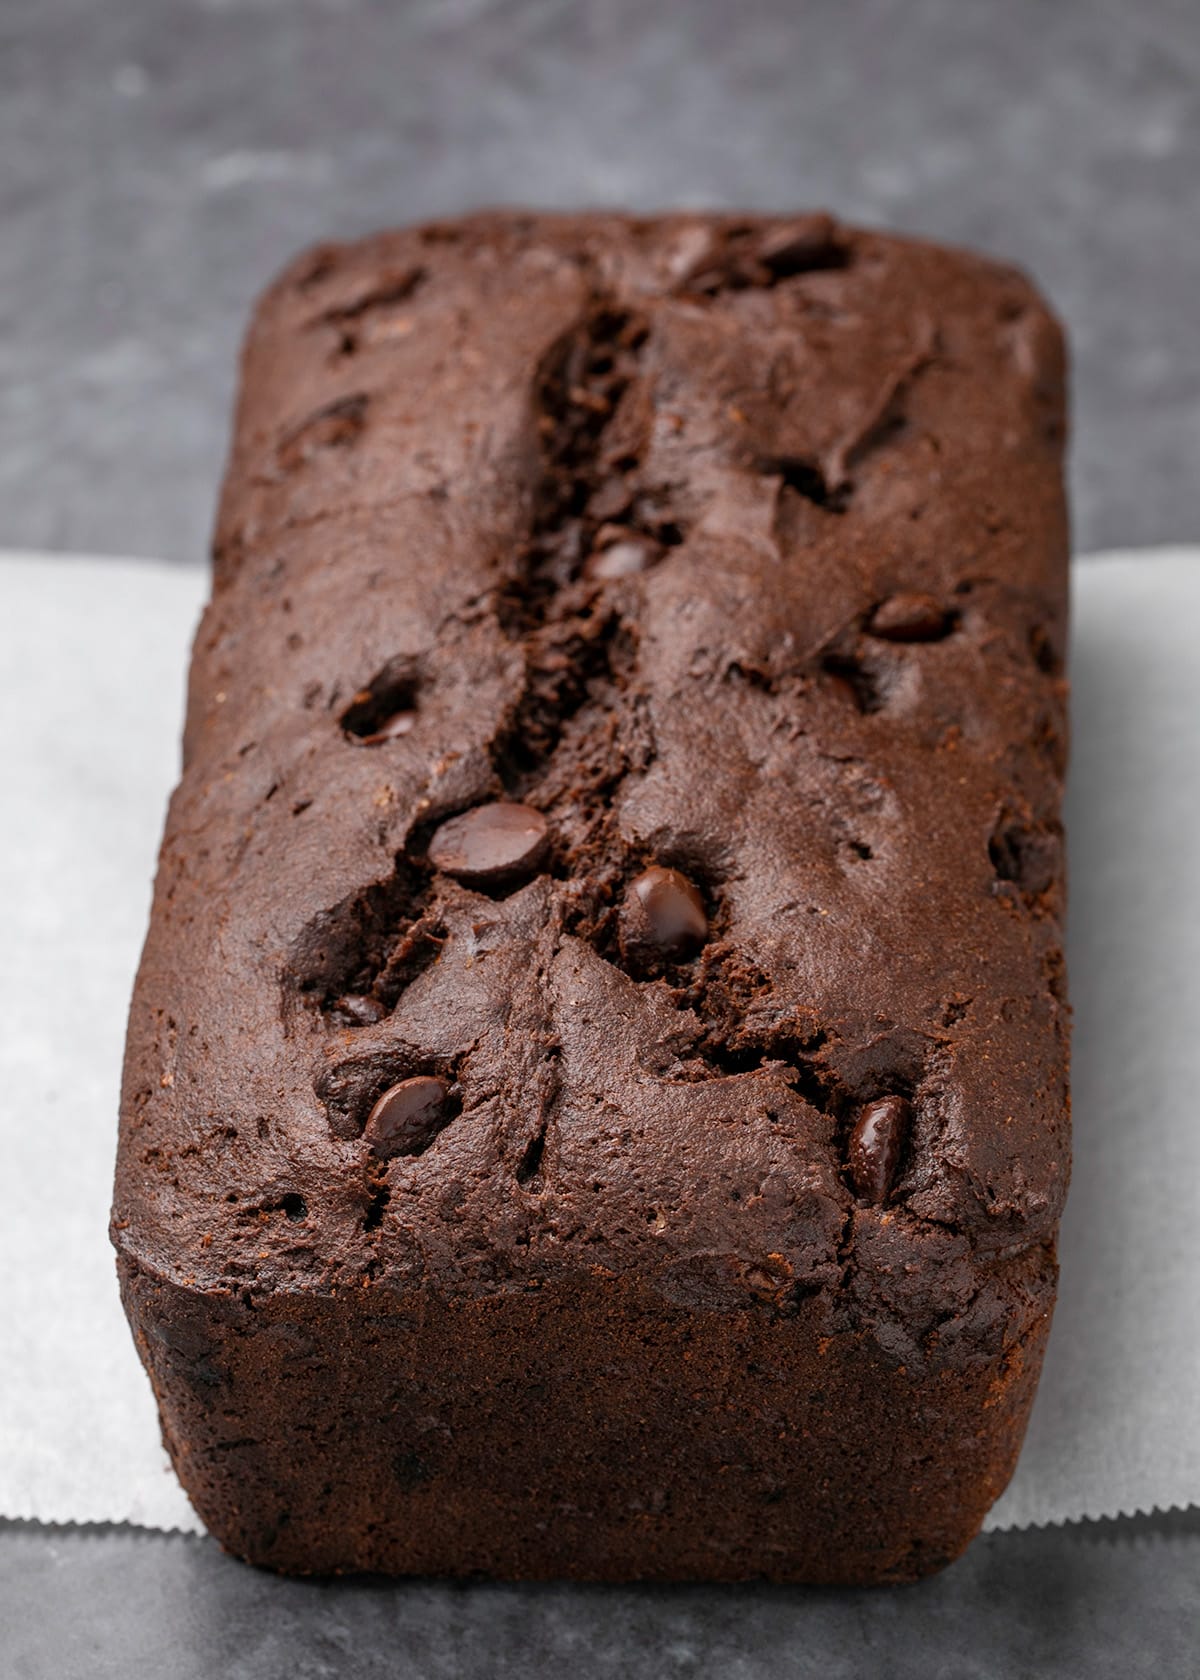
Bake on the center rack of your oven at 350°F for 30 minutes and rotate halfway around in the oven to ensure even baking. Bake for about another 25 minutes or until firm to the touch and a toothpick inserted in the center comes out clean. You won’t be able to tell easily if it’s starting to burn because the loaf is dark in color, so pay close attention to the doneness cues.
Cool and slice
Let the bread cool in the pan for 10 minutes, then lift out by the paper liner and put in a wire rack to cool completely. Be sure to remove the paper so air can circulate all around. It will take about 45 minutes to cool completely because it’s a thick batter and the starches need time to set. If you slice it too soon, you’ll crush the loaf.
Expert tips
Use 2 eggs
When I first made this recipe (and in the video below), I used only 1 egg, and the recipe still works well that way. But if you prefer a higher-rising loaf like I do, use 2 eggs in the batter. They’ll also add some moisture for a loaf that stays tender longer after baking.
Use a light-colored loaf pan
My favorite loaf pans are nonstick pans made of cast aluminum, that are light in color. Darker colored pans attract too much heat, so the outside tends to burn before the bread is baked all the way through. This is especially important in a dark-colored bread like this where it’s harder to tell when the outside is starting to burn.
Use naturally-ripened bananas
You can help bananas ripen somewhat more quickly by placing them in a paper bag with an apple. You cannot successfully ripen bananas by baking them in the oven, which will blacken the peel but not actually develop the sugars in the bananas.
Ingredient substitutions
Egg free
To replace the eggs in this recipe, you can try 1 “chia egg” (1 tablespoon of ground white chia seeds mixed with 2 tablespoons of lukewarm water, then allowed to gel) per egg. Since you can also make this recipe successfully with 1 egg, you can also try using 1 teaspoon xanthan gum plus 2 tablespoons plain Greek yogurt instead.
Dairy free
For dairy free, nondairy sour cream and block-style vegan butter (Melt or Miyoko’s Kitchen are my favorite brands) should work. Avoid vegan butter from the tub, which has too much oil to be a good butter substitute.
Storage instructions
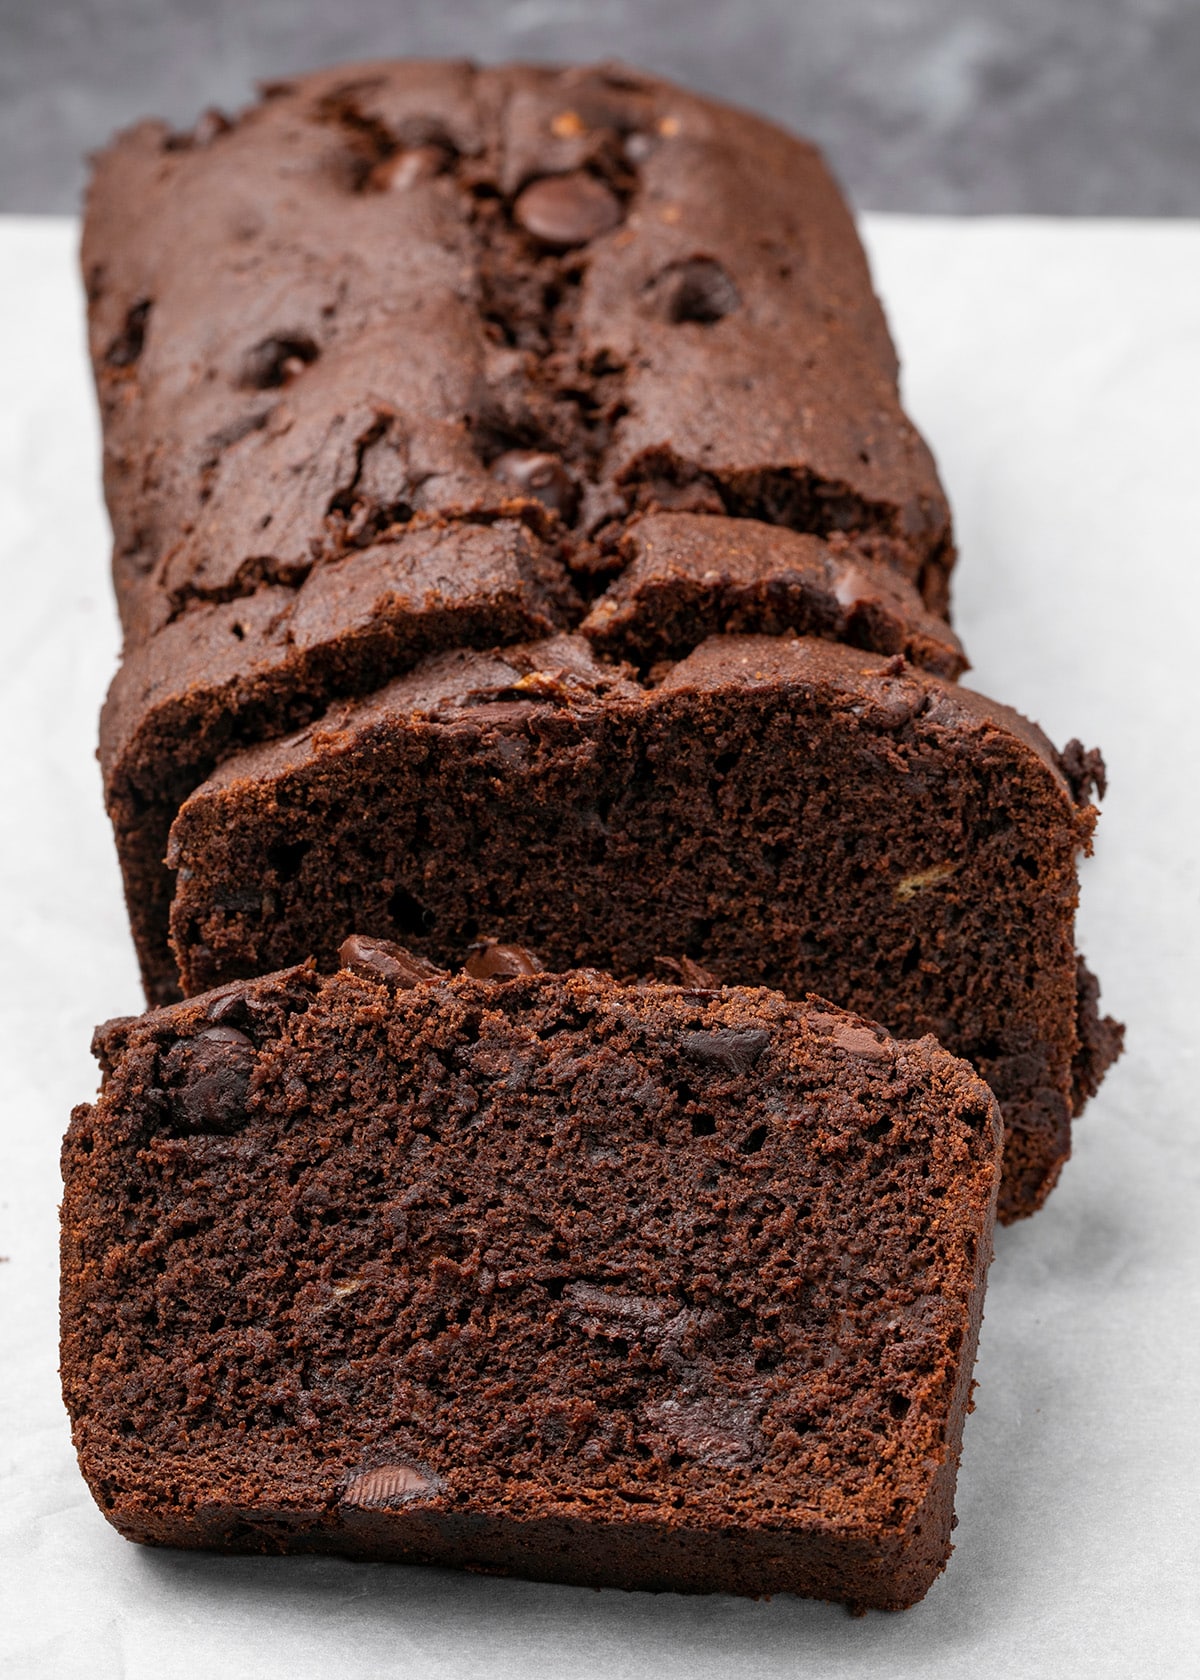
This banana bread can be stored, wrapped tightly, at room temperature for 2 or 3 days. For longer storage, avoid refrigerating the bread since that tends to be drying. Instead, place each individually wrapped slice in the freezer for at least 3 months.
To refresh the slices, defrost each gently in a low power microwave oven or at room temperature. Then, sprinkle the defrosted bread lightly with lukewarm water and place in a 300°F toaster oven until warmed through.
-
Preheat your oven to 350°F. Grease a standard 9-inch x 5-inch loaf pan and line it with parchment paper. Set it aside.
-
If using a bar of chocolate, first chop it into irregular pieces. In a medium-size, heat-safe bowl, place the chopped chocolate and butter. In the microwave in 30-second bursts, or over a simmering pot of hot water, melt until smooth. Set aside to cool briefly.
-
In a small mixing bowl, whisk together the cocoa powder, flour, xanthan gum, baking powder, baking soda and salt. Set aside.
-
In a large mixing bowl, place the mashed bananas, granulated sugar, sour cream, vanilla, eggs and melted butter and chocolate mixture. Beat on medium speed with a handheld mixer (or in the bowl of a stand mixer fitted with the paddle attachment) to combine (about 2 minutes).
-
Add the dry ingredients, and beat on medium speed to combine. The batter will be very thick, and will climb up the beaters if you’re using a handheld mixer.
-
Add the chocolate chips and the optional chopped banana, and use a silicone spatula to fold into the batter until they’re evenly distributed throughout.
-
Transfer the batter to the prepared baking pan, and smooth into an even layer in the pan.
-
For a uniform rise, use a small, sharp knife to slash the center of the batter from one short side to another, about 1/4-inch deep.
-
Place the loaf pan in the center of the preheated oven and bake for 30 minutes.
-
Rotate 180° and continue to bake until the loaf is firm to the touch on top and a toothpick inserted in the center comes out clean, about another 25 minutes. If you’re worried that the loaf is starting to burn, reduce the oven temperature to 325°F until baked through.
-
If you’ve added the additional chopped banana, the baking time will probably need to be increased by about 10 minutes.
-
Remove from the oven and allow to cool in the pan for 10 minutes. Transfer the loaf to a wire rack, remove the paper liner, and allow to cool completely (about 45 minutes).
-
Slice into 10 pieces crosswise, and serve.
Try to use a chocolate with higher cacao butter content, about 65%, that is made for melting fully and using in baking. It can be unsweetened or dark chocolate, or even semi-sweet if it’s a baking bar made to melt fully.
Flour blend recommendations
I suggest using Better Batter’s original blend gluten free flour without added xanthan gum, Nicole’s Best multipurpose blend with xanthan gum as listed in the recipe, or Bob’s Red Mill 1-to-1 Gluten Free Baking Flour with an additional ½ teaspoon xanthan gum to avoid crumbly bread.
For full details including how to make your own “mock” Better Batter or original Cup4Cup, see my gluten free flour blends guide.
Eggs
You can successfully make this loaf with 1 or 2 eggs. Two eggs makes a taller loaf with a bit more structure that slices a bit more cleanly.
Serving: 1slice | Calories: 363kcal | Carbohydrates: 52g | Protein: 4g | Fat: 17g | Saturated Fat: 10g | Polyunsaturated Fat: 1g | Monounsaturated Fat: 5g | Trans Fat: 0.2g | Cholesterol: 53mg | Sodium: 224mg | Potassium: 219mg | Fiber: 5g | Sugar: 25g | Vitamin A: 290IU | Vitamin C: 2mg | Calcium: 50mg | Iron: 1mg
Nutrition information is automatically calculated, so should only be used as an approximation.
FAQs
No, this recipe can’t be made with milk in place of sour cream, but you can replace the sour cream with plain Greek-style yogurt. If you don’t have sour cream or Greek-style yogurt, try straining regular plain yogurt of much of its moisture in a fine mesh sieve until it’s about the consistency of Greek-style yogurt or sour cream.
When baked goods rise in the oven and sink as they cool, it’s usually because they are baked on the outside, but not fully all the way through. As steam escaping when the bread cools, the bread collapses. This usually happens in a too-hot oven, which causes the outside to cook too quickly, long before the inside is fully baked and can support the rise. Use an oven thermometer for best results, as most ovens run hot.
Source link