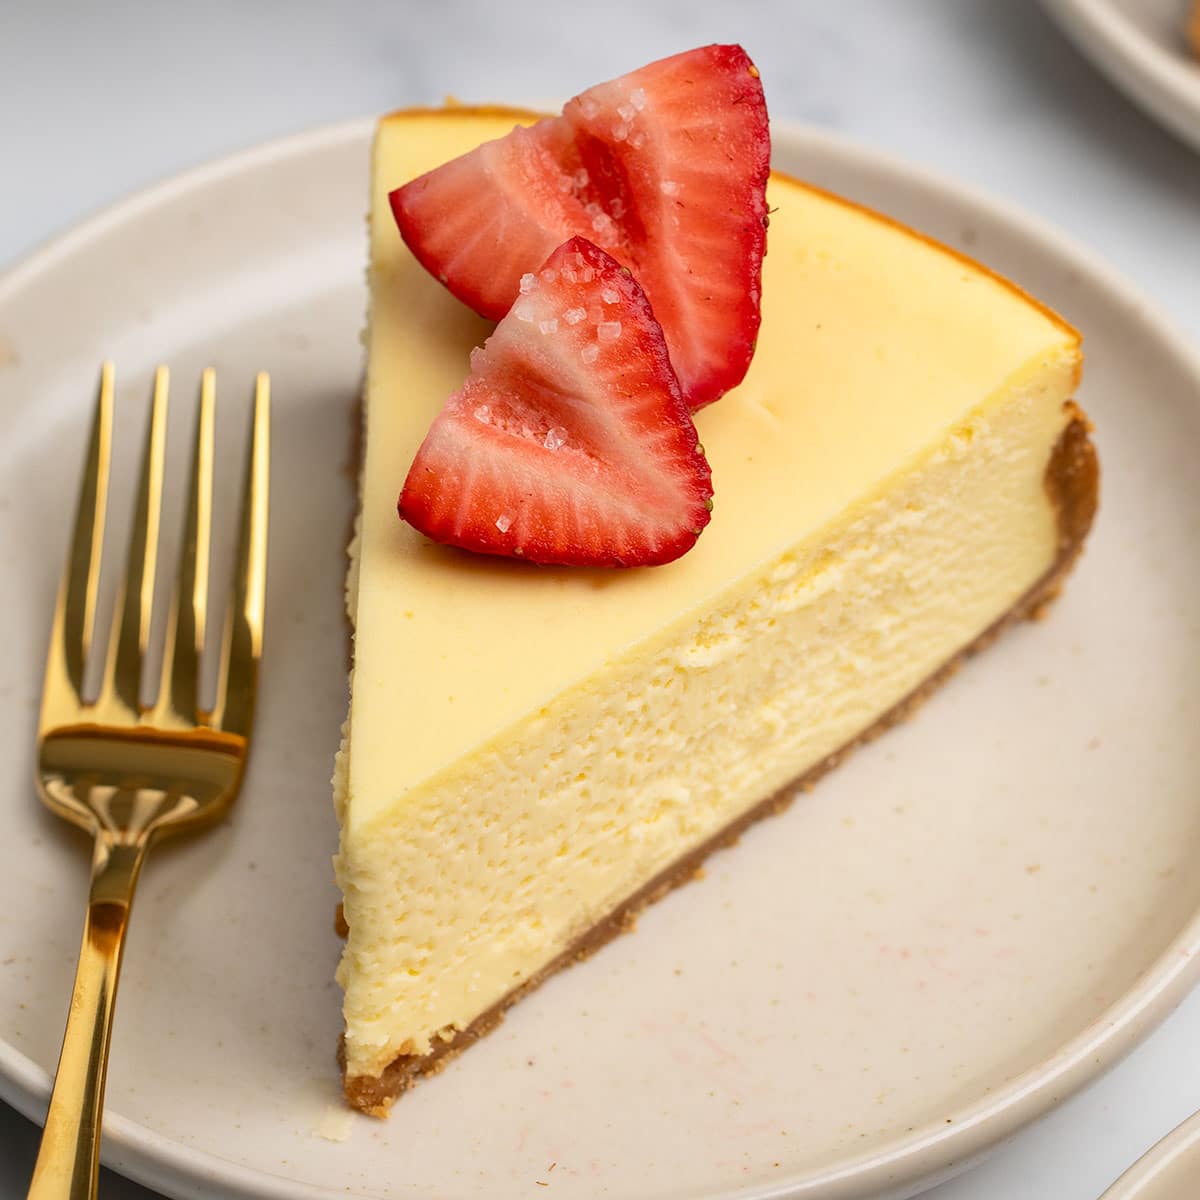
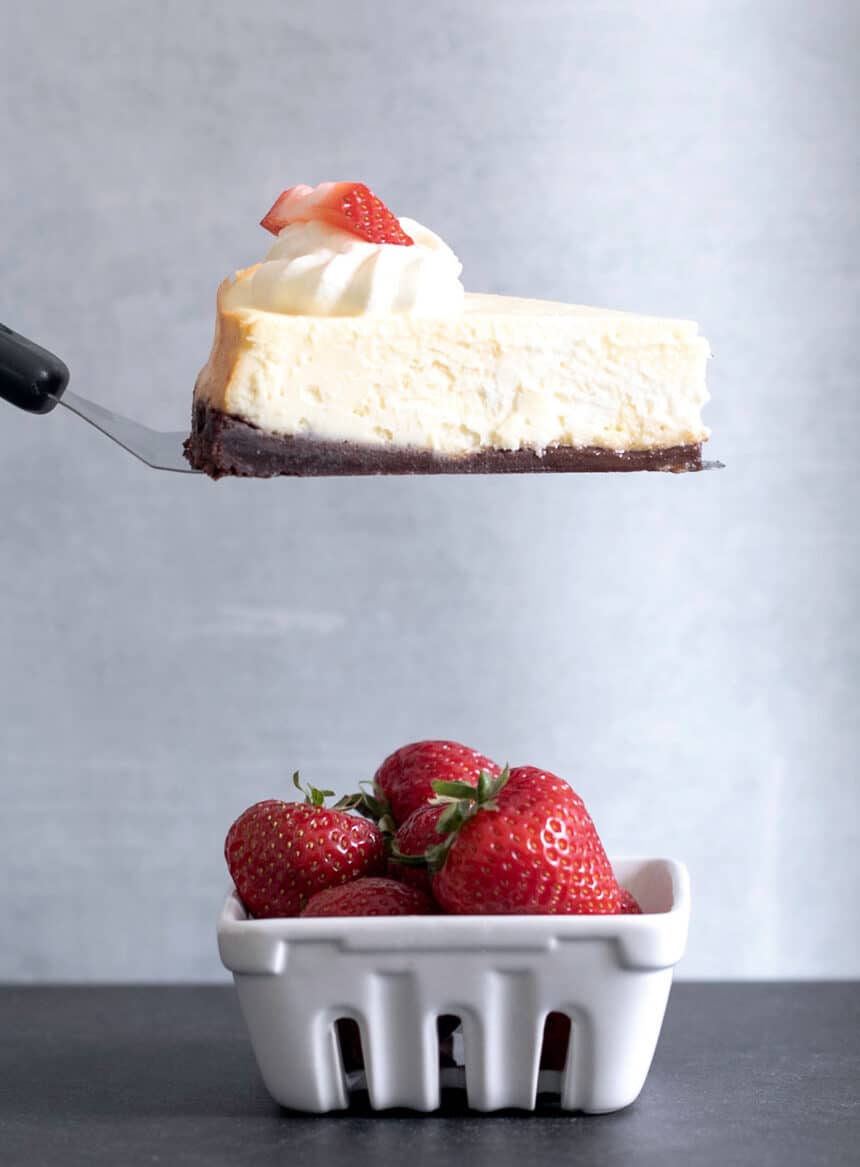
This easy classic gluten free cheesecake is made simply with cream cheese, sugar, and eggs. Make it with or without a graham cracker crust, in the oven or instant pot.
If you’ve ever hesitated to make cheesecake because it seems too complicated, let me teach you the secrets to making it without a fancy water bath—and still without any cracks every time!

my take
Nicole’s Recipe Notes
This easy gluten free cheesecake is smooth and creamy with a rich flavor and classic texture—no complicated steps, no water bath, and no gluten.
Made with just 6 basic ingredients and a simple 2-ingredient gluten free graham cracker crust, it’s a reliable dessert for any occasion. This is a no-fuss, crowd-pleasing gluten free cheesecake recipe that delivers every time.
With only 15 minutes of active prep time, this make-ahead dessert has a naturally gluten free filling and the perfect smooth texture without being too heavy. And a touch of added starch in the filling makes it extra creamy!
Recipe ingredients
There’s nothing complicated about making a classic cheesecake filling, and it’s easy to make the whole dessert gluten free by using gluten free cookie crumbs. Here are a few useful notes about each ingredient:
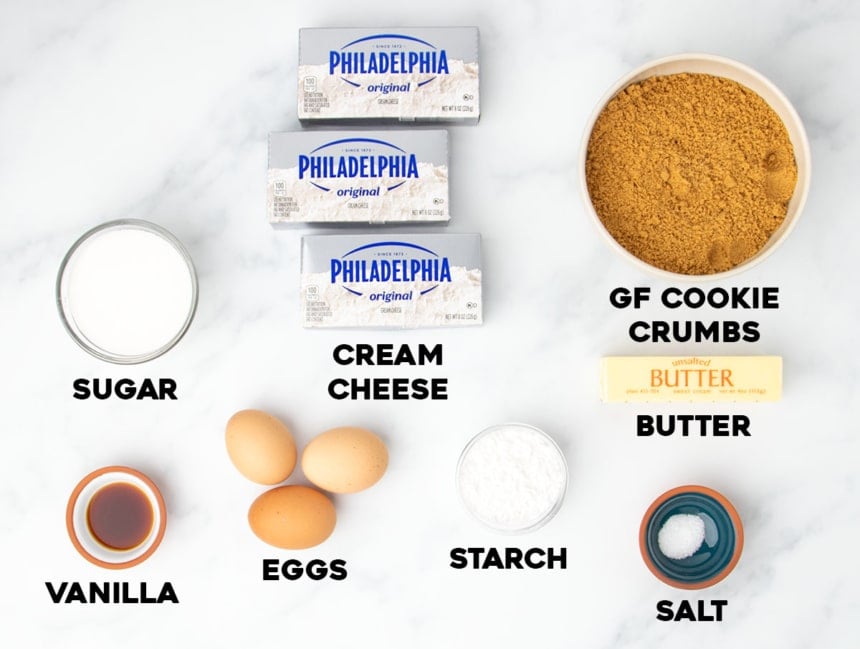
- Cream cheese – Use full fat cream cheese for the best flavor, and be sure to leave it out on the counter until it softens so it mixes smoothly.
- Granulated sugar – The sweetness of sugar complements the tanginess of cream cheese perfectly
- Cornstarch – We add just a little bit to help firm things up and set fully
- Salt – Adding a dash of salt really amplifies the other flavors
- Vanilla extract – Adds richness and that classic taste you associate with cheesecake
- Eggs – Eggs acts as a thickener to give you that dense, rich texture
- Butter – binds together the cookie crumbs for the crust and adds a rich buttery flavor
- Gluten free cookie crumbs – crispy gluten free graham crackers crushed into crumbs provide the base structure and flavor of the cookie crust
How to make gluten free cheesecake
Make the crust
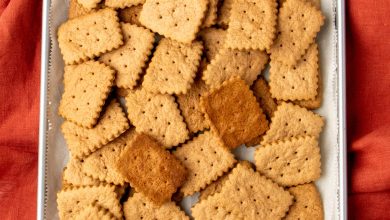
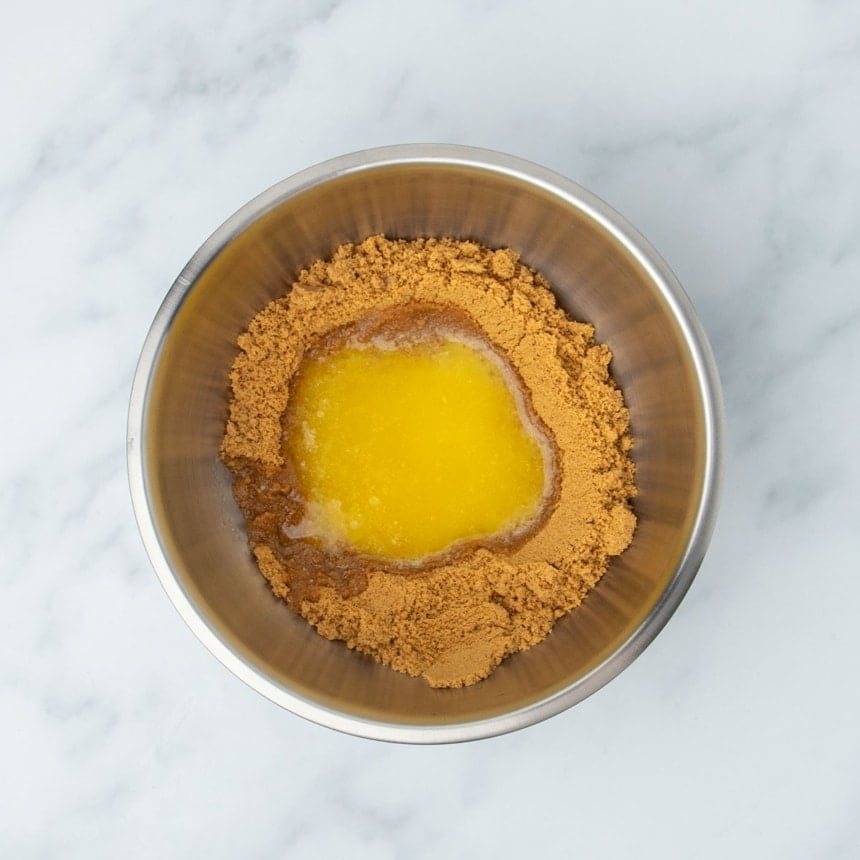
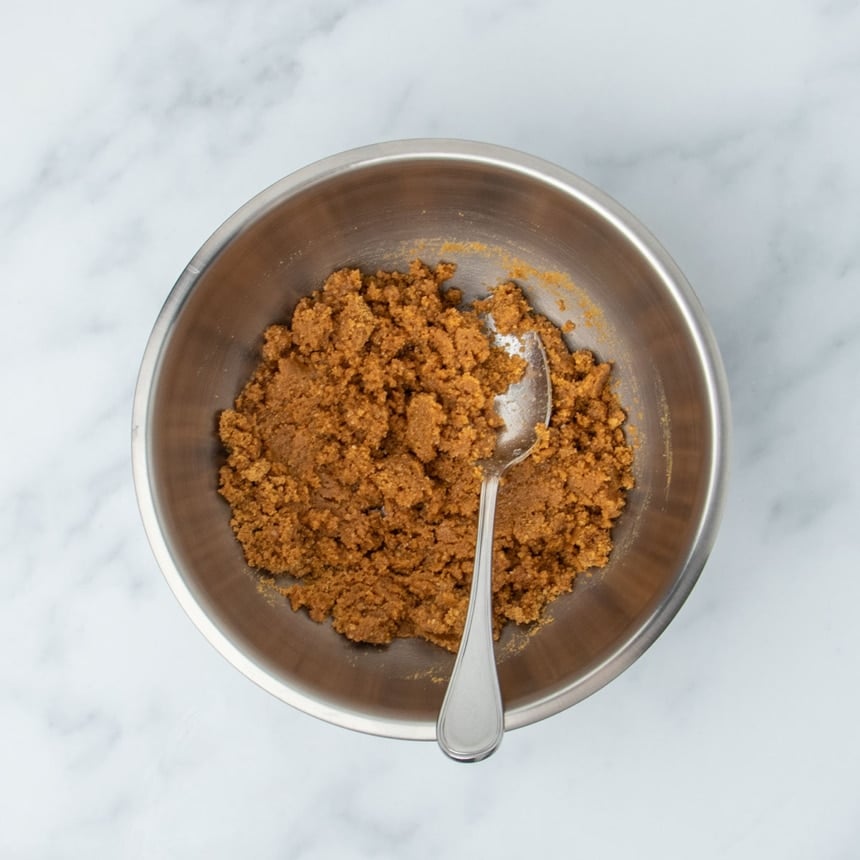
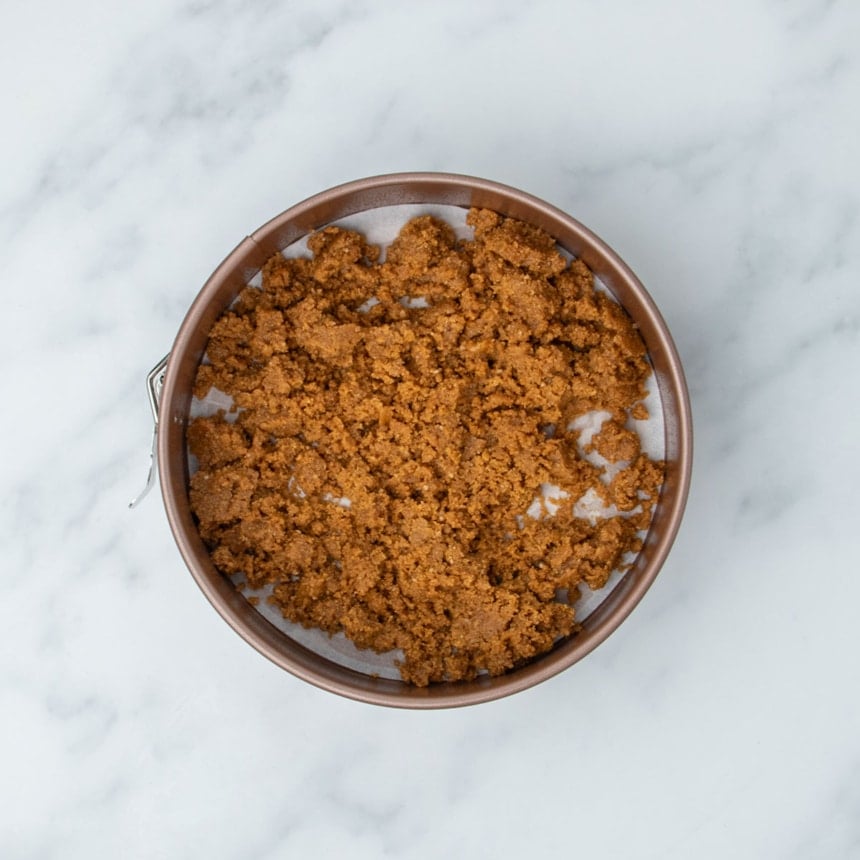
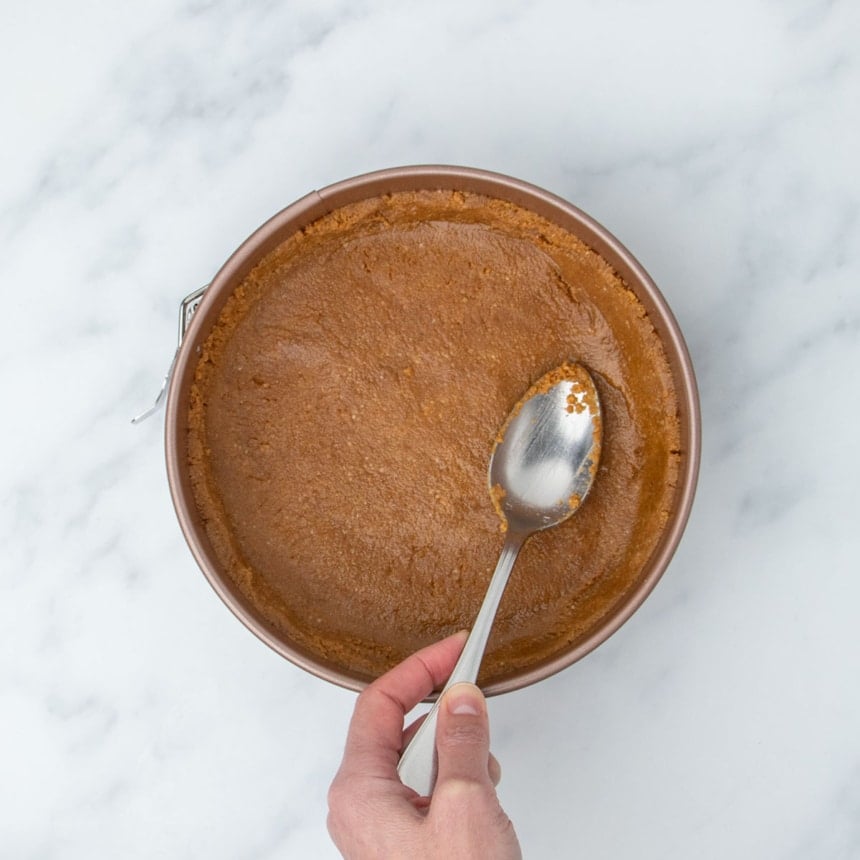
To make a gluten free cheesecake, begin by making the graham cracker crust. Crush about 10 rectangles of homemade gluten free graham crackers or about 1 package of store bought into fine crumbs, then combine with melted butter. Press the mixture into the bottom and halfway up the sides of a lined 8-inch or 9-inch springform pan.
Make the filling
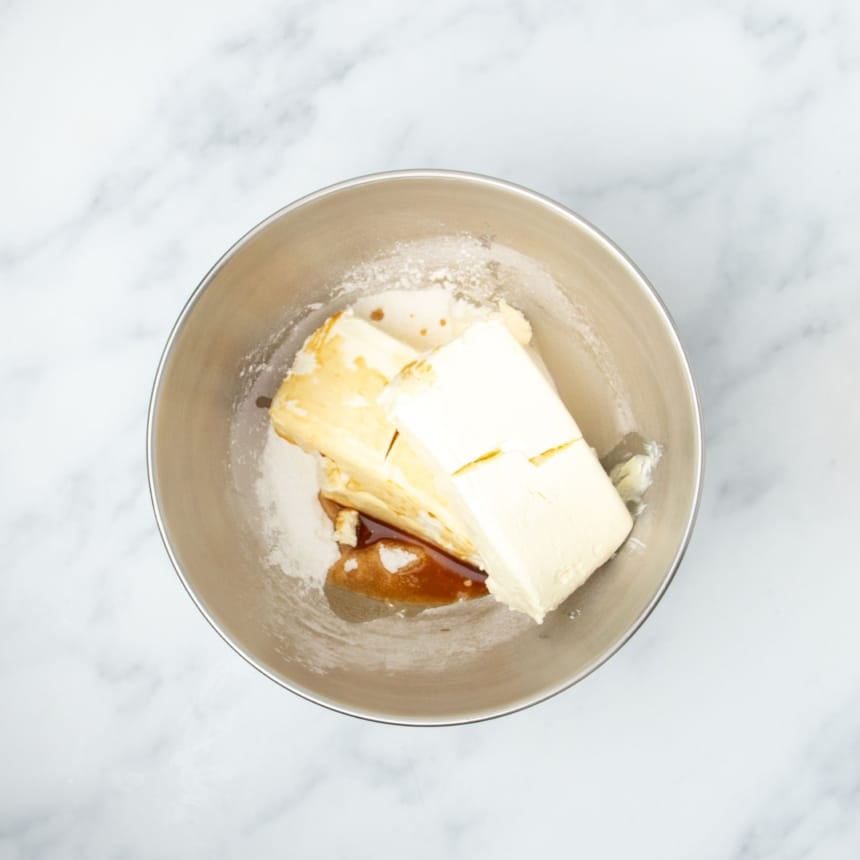
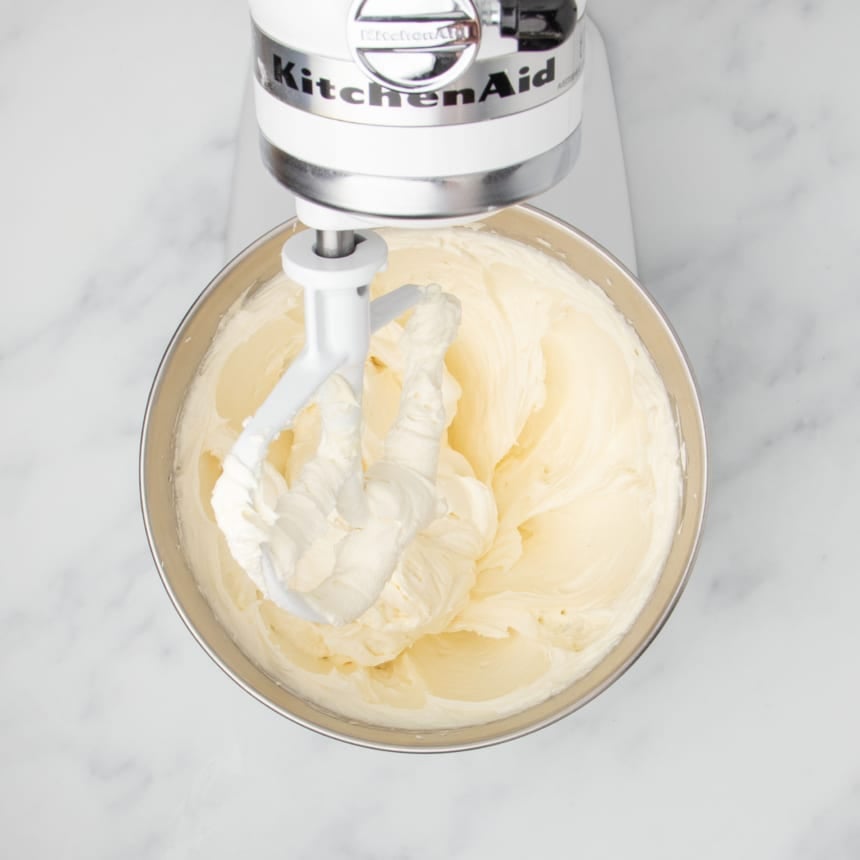
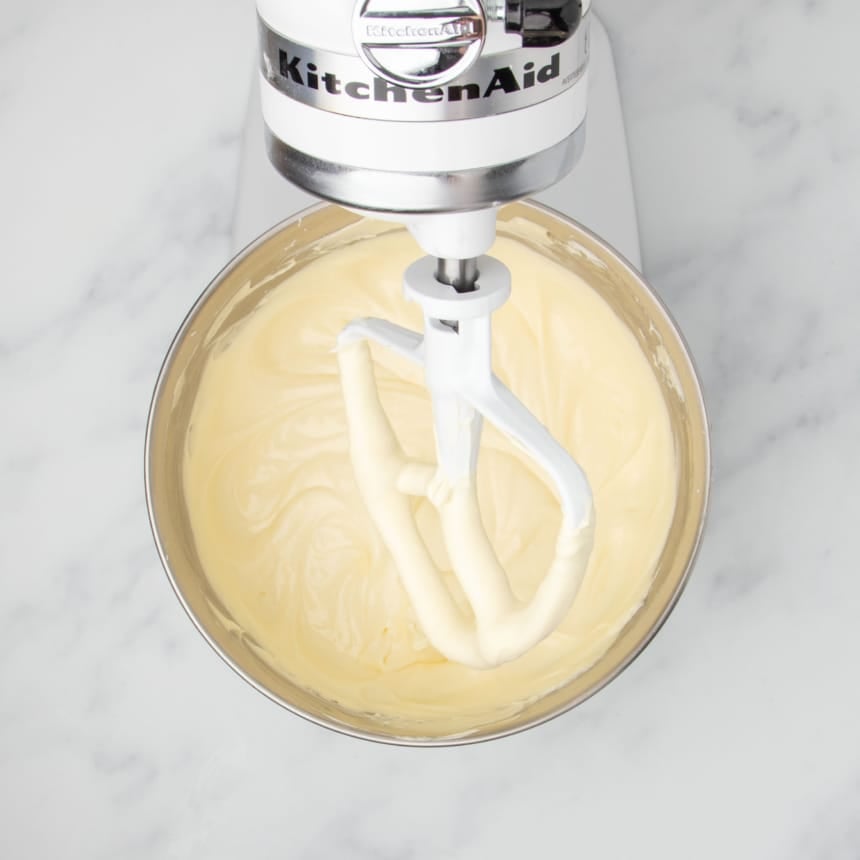
To make the filling, in the bowl of a stand mixer fitted with the paddle attachment (or a large mixing bowl with a handheld mixer), place three 8-ounce packages of room temperature cream cheese, white sugar, some cornstarch, salt, and vanilla extract. Beat on high speed until very smooth and creamy.
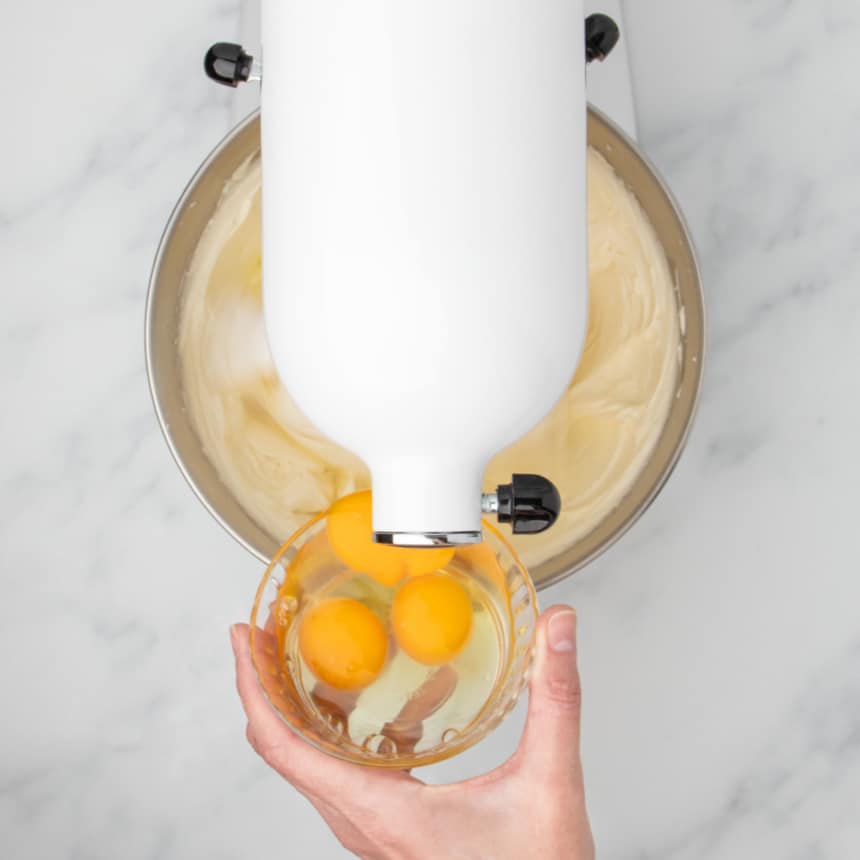
With the mixer on medium-low, beat in 3 eggs, one at a time, just until smooth. Don’t overmix.
Bake and serve the cheesecake
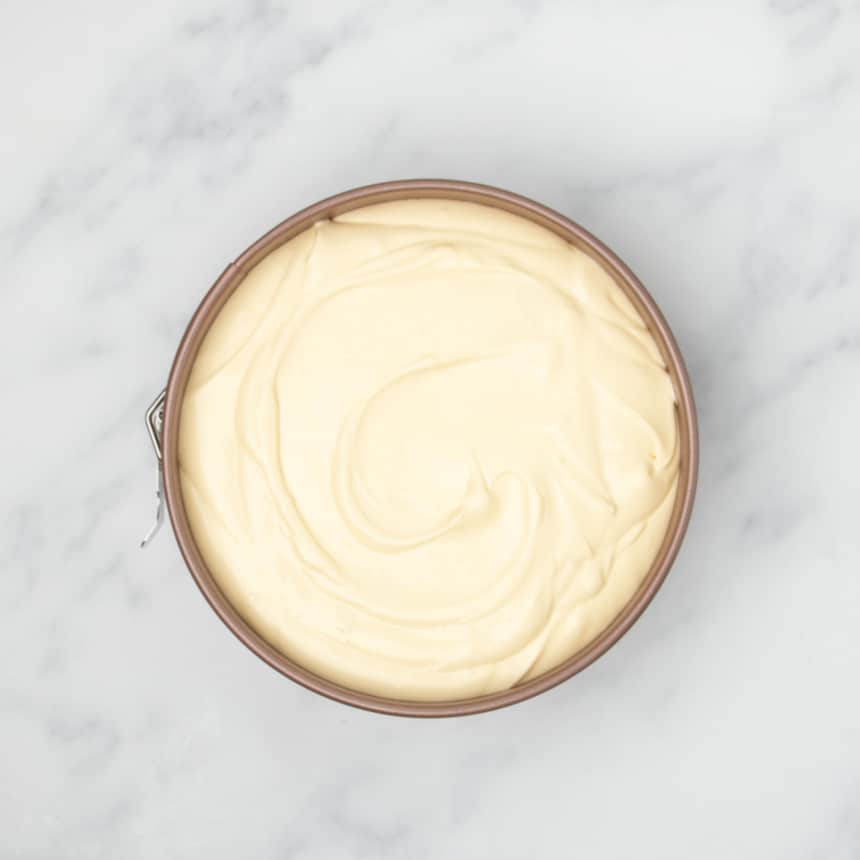
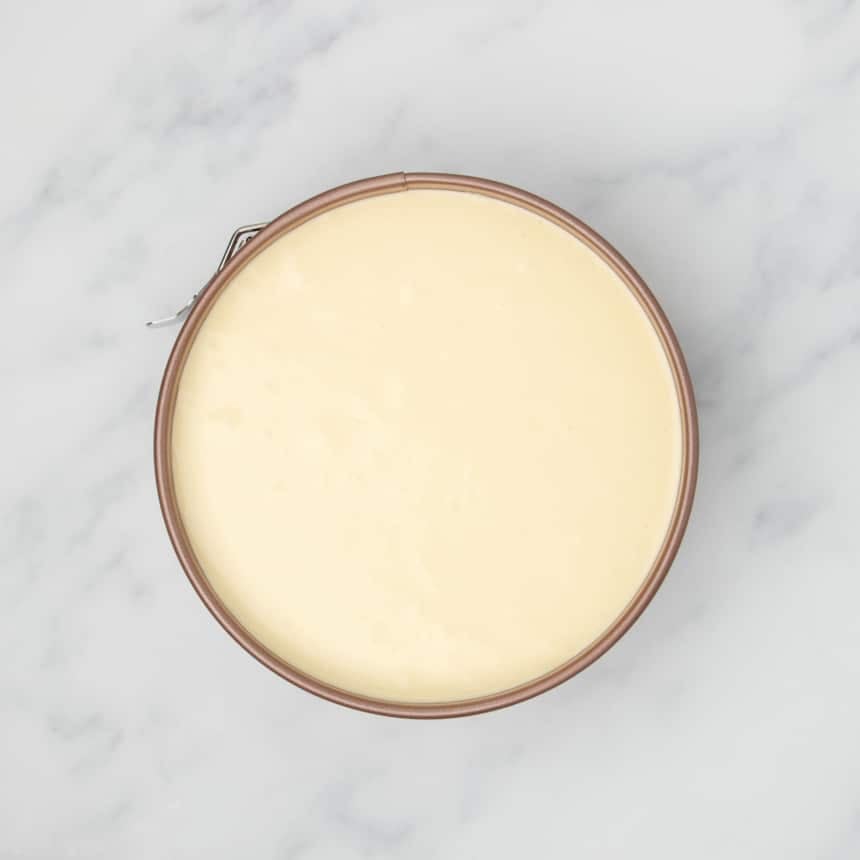
Place the filling on top of the crust in the springform pan, and smooth the top. Place a baking dish filled with very hot water on the bottom rack of your 300°F oven, and the cheesecake on the middle rack.
Bake for about 50 minutes, or until most of the cake doesn’t jiggle when moved gently from side to side and the center couple inches move only slightly. Prop the oven door open a bit and let the oven cool to about 200°F before removing the cake.
Let the cake come to room temperature, then place it in the refrigerator to chill for at least 4 hours before slicing and serving.
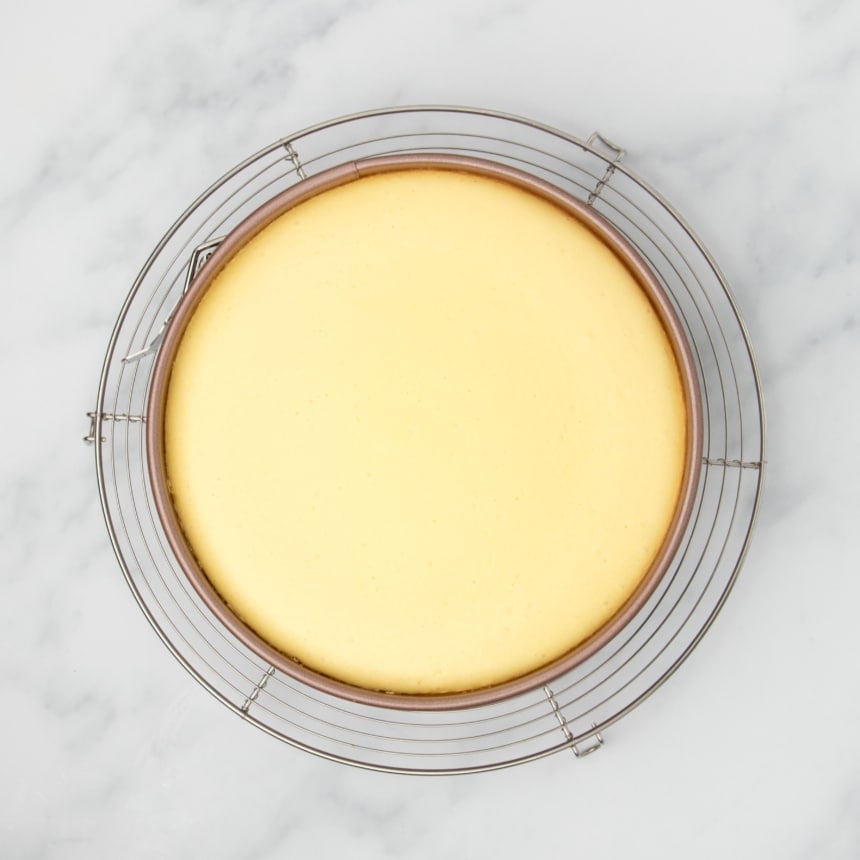
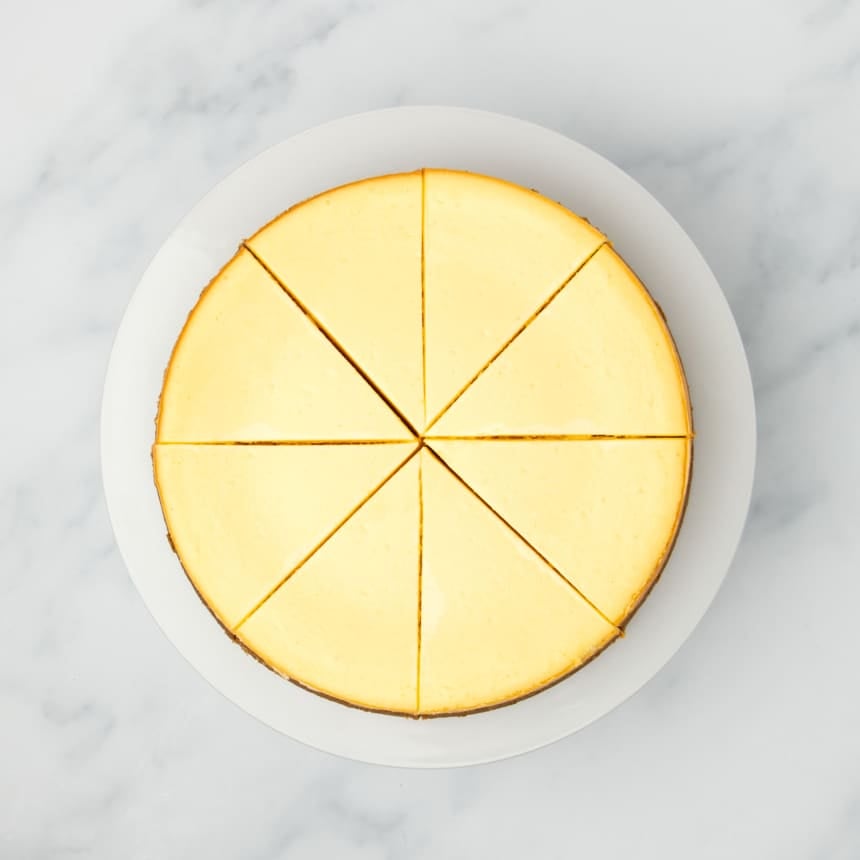
how-to
Expert tips
No water bath needed
A water bath prevents the drastic changes in temperature in either direction (too hot or too cold) that lead to cracks in the cake. Get the benefits of water bath without the risk of water leaking into the cheesecake by placing a 9×13-inch baking dish full of boiling water on the bottom rack of your oven during baking.
Avoid bubbles in the filling
Too many bubbles trapped in the filling make make it more likely the cake will crack as it bakes or cools. First, beat all of the ingredients except for the eggs vigorously, then add the eggs and beat just until smooth. And once you’ve transferred the filling to the pan, smack the it flat on the counter a few times to break up air bubbles by bringing them to the surface.
Leave the oven door closed
Opening the oven door even quickly can be enough to cause a sudden, dramatic drop in oven temperature that can lead to cracking.
Release the crust from the pan
Run a knife around the edge of the crust after the cheesecake has had about 10 minutes to cool. As your cake cools, it will contract and pull away from the edges of the pan. If the crust is stuck to the pan, this will cause tugging and ultimately cracking.
Use room temperature ingredients
For a smooth filling, the cream cheese and eggs for the filling must be at room temperature, at least 68°F. Float cold eggs in very warm water for 15 minutes. Unwrap and chop cold cream cheese and let it sit at room temperature so it warms up more quickly.
Ingredient substitutions
Dairy free
I have tried to make a dairy free cheesecake many times, and I have never liked the result. If I were to try a dairy free cream cheese alternative again, I would use the block-style Violife vegan cream cheese and add another 2 tablespoons (18 grams) cornstarch to this recipe to help provide enough structure.
Egg free
I’m not sure if it would work in such a simple recipe, but you may be able to replace the eggs with Just Egg brand plant-based eggs.
Corn free
Replace the cornstarch with tapioca starch, arrowroot, or potato starch. They all work just as well here.
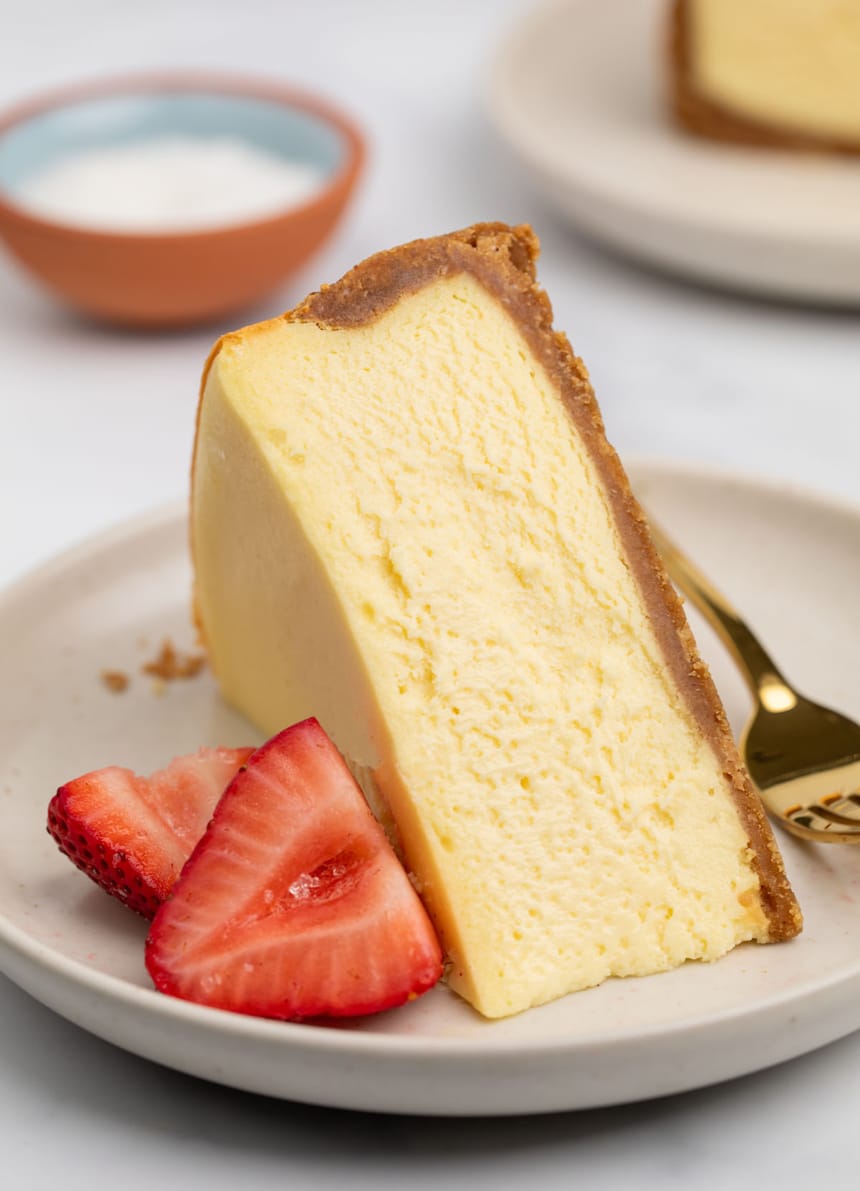
For the graham cracker crust
Prevent your screen from going dark
Oven instructions
-
Preheat your oven to 300°F. Grease well an 8-inch or 9-inch springform pan and line the bottom with a round of parchment paper.
-
Pour 2 cups of hot water into a roasting pan or oven-safe casserole dish and place it on the bottom rack of the oven as it heats.
-
In a medium-size bowl, place the cookie crumbs and melted butter and mix until the crumbs are moistened. Press the crumbs into the bottom and halfway up the sides of the prepared pan. Set the pan aside.
-
In a large bowl with a hand mixer or the bowl of a stand mixer fitted with the paddle attachment, place the cream cheese, sugar, cornstarch, salt, and vanilla, and beat on high speed until very light and fluffy.
-
Scrape down the sides of the mixing bowl at least once, and continue to beat. With the mixer on medium-low speed, add the eggs one at a time and mix just until smooth.
-
Scrape the filling out of the bowl and on top of the crust in the prepared pan. Spread into an even layer and smack the bottom of the pan flat on the counter a few times to break up any large air bubbles.
-
Place the pan on the top rack of the preheated oven, and bake for 50 minutes, or until most of the cake is set, but the 2 inches in the center are still somewhat loose when shaken from side to side. If necessary, continue to bake for another 5 to 10 minutes (10 to 15 minutes for an 8-inch pan).
-
Once the cake is baked, turn off the oven and crack the oven door a bit, leaving the cake inside. Allow the cake to sit for about 30 minutes or until the oven temperature has reached about 200°F.
-
Remove the cake from the oven and place it on a wire rack to cool for 10 minutes. Run a butter knife around the edge of the cake to make sure it will release cleanly from the pan as it shrinks. Allow the cake to cool, still in the pan, until it reaches room temperature.
-
Cover and chill the cake, still in the pan, for at least 4 hours until set.
-
Unmold the chilled cake and loosen the bottom from the pan. Transfer the cake carefully to a serving platter, slice with a hot, wet knife, cleaned between each cut, and serve chilled.
Instant Pot Instructions
-
Grease and line an Instant Pot-sized springform pan, and prepare this same recipe as for the oven, but reduce all the ingredients by 1/3 to accommodate the smaller pan.
-
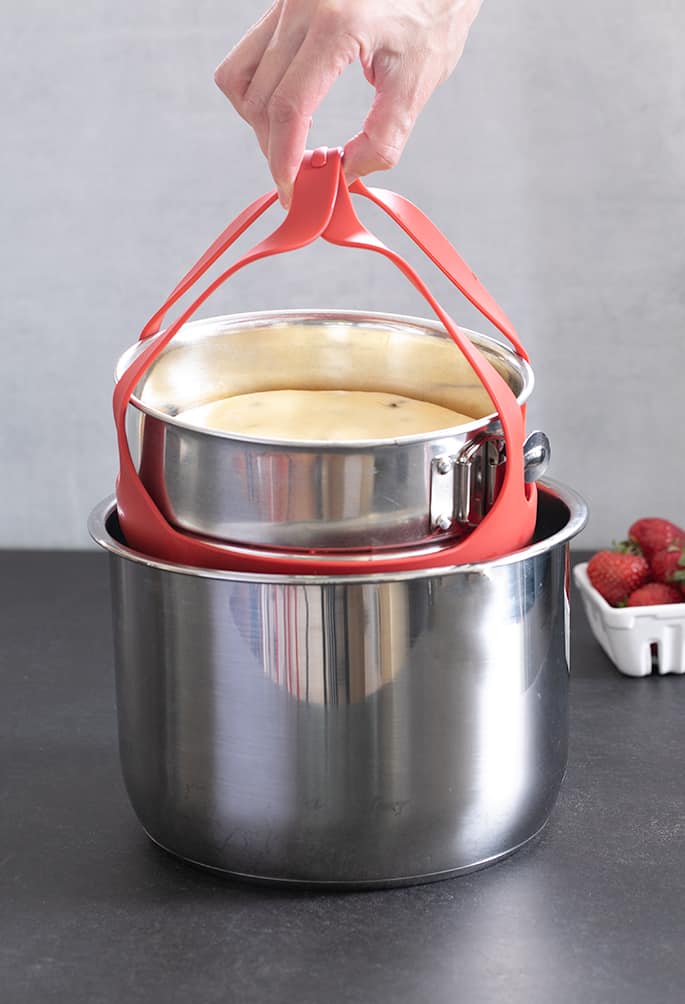
Place about 1-inch of water in the bottom of the Instant Pot pan and cover the top of the springform pan with foil to prevent condensed water in the pan from dripping on the top of the cake. Place the prepared pan in the silicone baking sling and lower it into the pan on top of the water.
-
Cover the Instant Pot and set the vent to sealing. Push the “manual” button and increase the time to 32 minutes. When the pot beeps to indicate the cooking time is up, turn the pot off and allow the pressure to release naturally for 20 minutes.
-
Release any remaining pressure from the pot manually, open the lid and remove the pan from the pot using the sling. Remove the pan from the sling and place it on a wire rack to cool to room temperature. Chill and serve as usual.
If you use my recipe for homemade gluten free graham crackers, you’ll need about half the recipe, or 10 rectangular crackers.
If you’d like to buy packaged crackers, I can recommend these brands: Schar, Kinnikinnick, Pamela’s, and Partake Foods. They are all relatively expensive, and aren’t as great for eating as homemade, but they’re extra crumbly, and that works out great as crumbs for a crust.
Serving: 1slice | Calories: 433kcal | Carbohydrates: 54g | Protein: 3g | Fat: 23g | Saturated Fat: 13g | Polyunsaturated Fat: 1g | Monounsaturated Fat: 4g | Trans Fat: 0.5g | Cholesterol: 117mg | Sodium: 247mg | Potassium: 28mg | Fiber: 1g | Sugar: 30g | Vitamin A: 444IU | Calcium: 38mg | Iron: 1mg
Nutrition information is automatically calculated, so should only be used as an approximation.

make ahead/leftovers
Storage instructions
Since cheesecake needs to chill in the refrigerator for at least 4 hours to set, and is served chilled, it’s easy to make in advance. Place it in a sealed container or wrap it in plastic wrap and it will stay fresh for 5 to 7 days. To avoid placing plastic wrap directly on the surface of the cheesecake, place a few toothpicks on top first.
For longer storage, you can freeze the cheesecake for up to 3 months. Let the baked cake cool completely on your countertop, and either freeze it whole unwrapped and then wrap it tightly after it’s frozen, or slice it and wrap and store each slice individually. Defrost in the refrigerator overnight. Don’t defrost individual slices at room temperature because parts will remain frozen while other parts begin to melt.
FAQs
Yes, Philadelphia cream cheese is gluten free as it’s not made with any gluten-containing ingredients. This includes both the block version and the whipped option, but we’re using the block version here.
This is a classic cheesecake, made with cream cheese, sugar, and eggs.
New York cheesecake uses more cream cheese and sometimes sour cream or heavy cream for a denser cake.
You can definitely use this gf cheesecake recipe to make mini cheesecake bites. I’d suggest using a muffin tin and muffin liners for easier handling and cleanup. To make, add a spoonful of the gluten free cheesecake crust to bottom of each liner and press down. Pour cheesecake filling into the liners until they’re 2/3 full, and then bake for 15 to 20 minutes.
I prefer the texture of the cheesecake when made in the oven, since it’s less dense and creamier. Plus the instant pot cheesecake is more likely to crack even when you release the pressure naturally.
More easy cheesecake recipes
For the absolute easiest recipe without any of the fuss, try our no bake cheesecake with gelatin. It’s creamy smooth, and sets up in 2 hours or less in the refrigerator.
If you’re interested in adding cookies to the filling, try our no bake Oreo cheesecake, too.
Or make cheesecake into a finger food with these chocolate-dipped cheesecake bites.
Source link