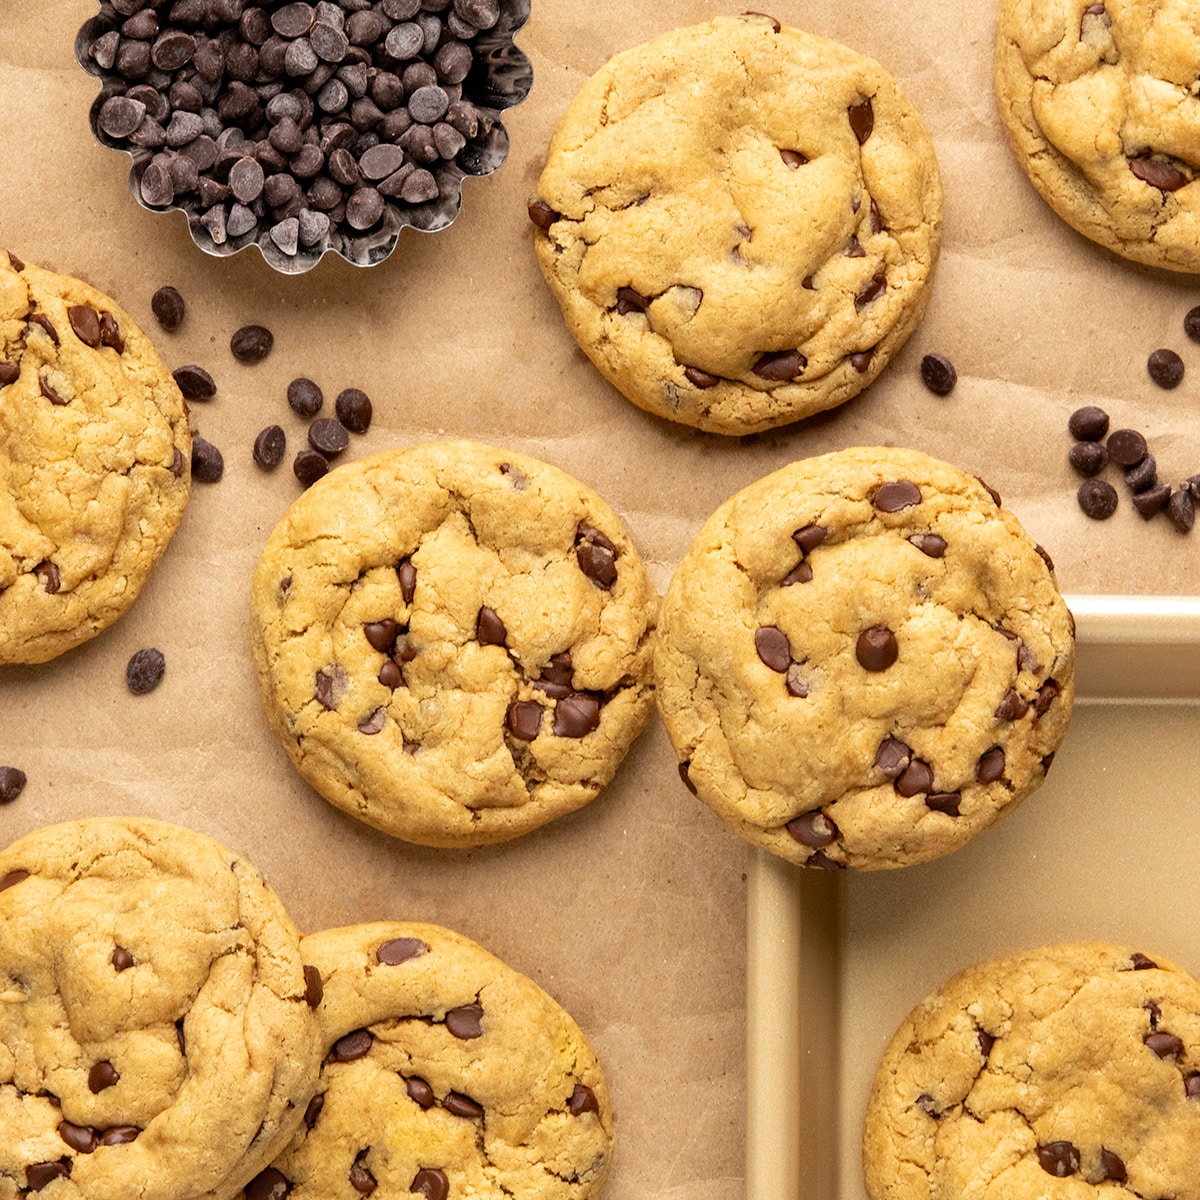
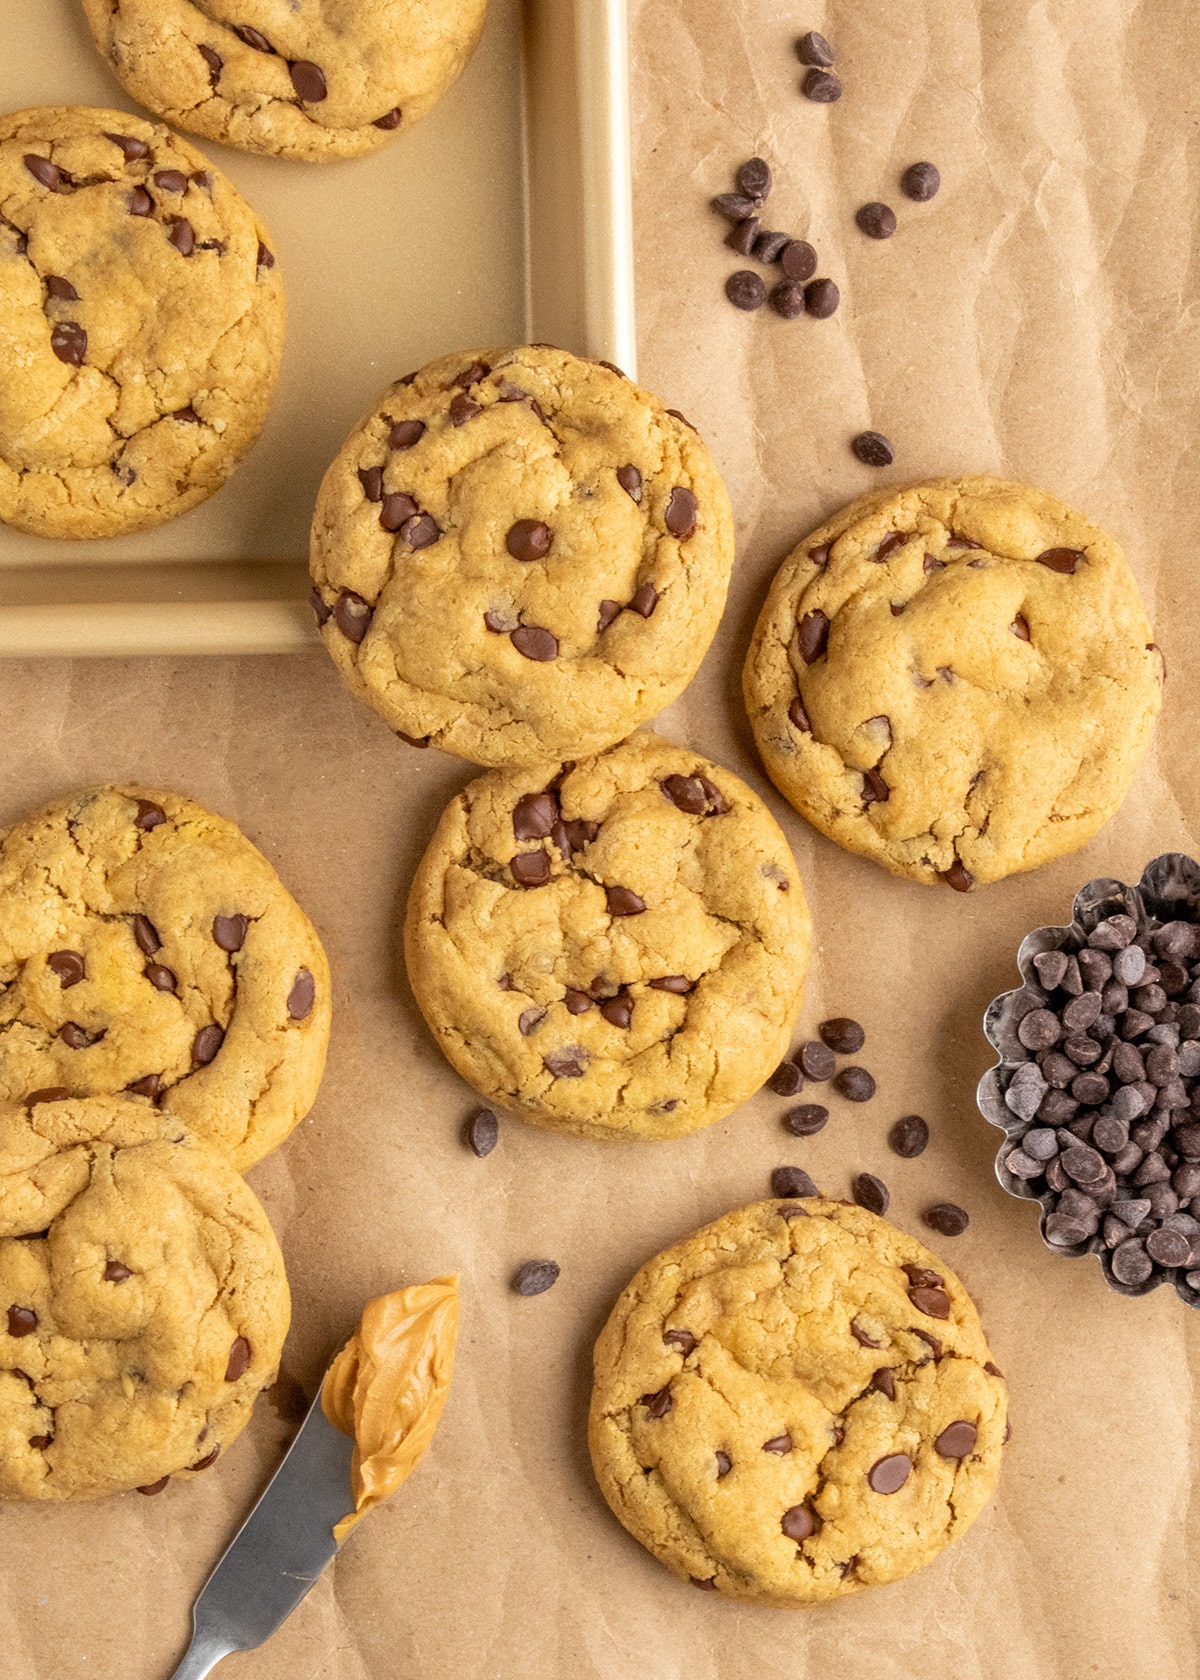
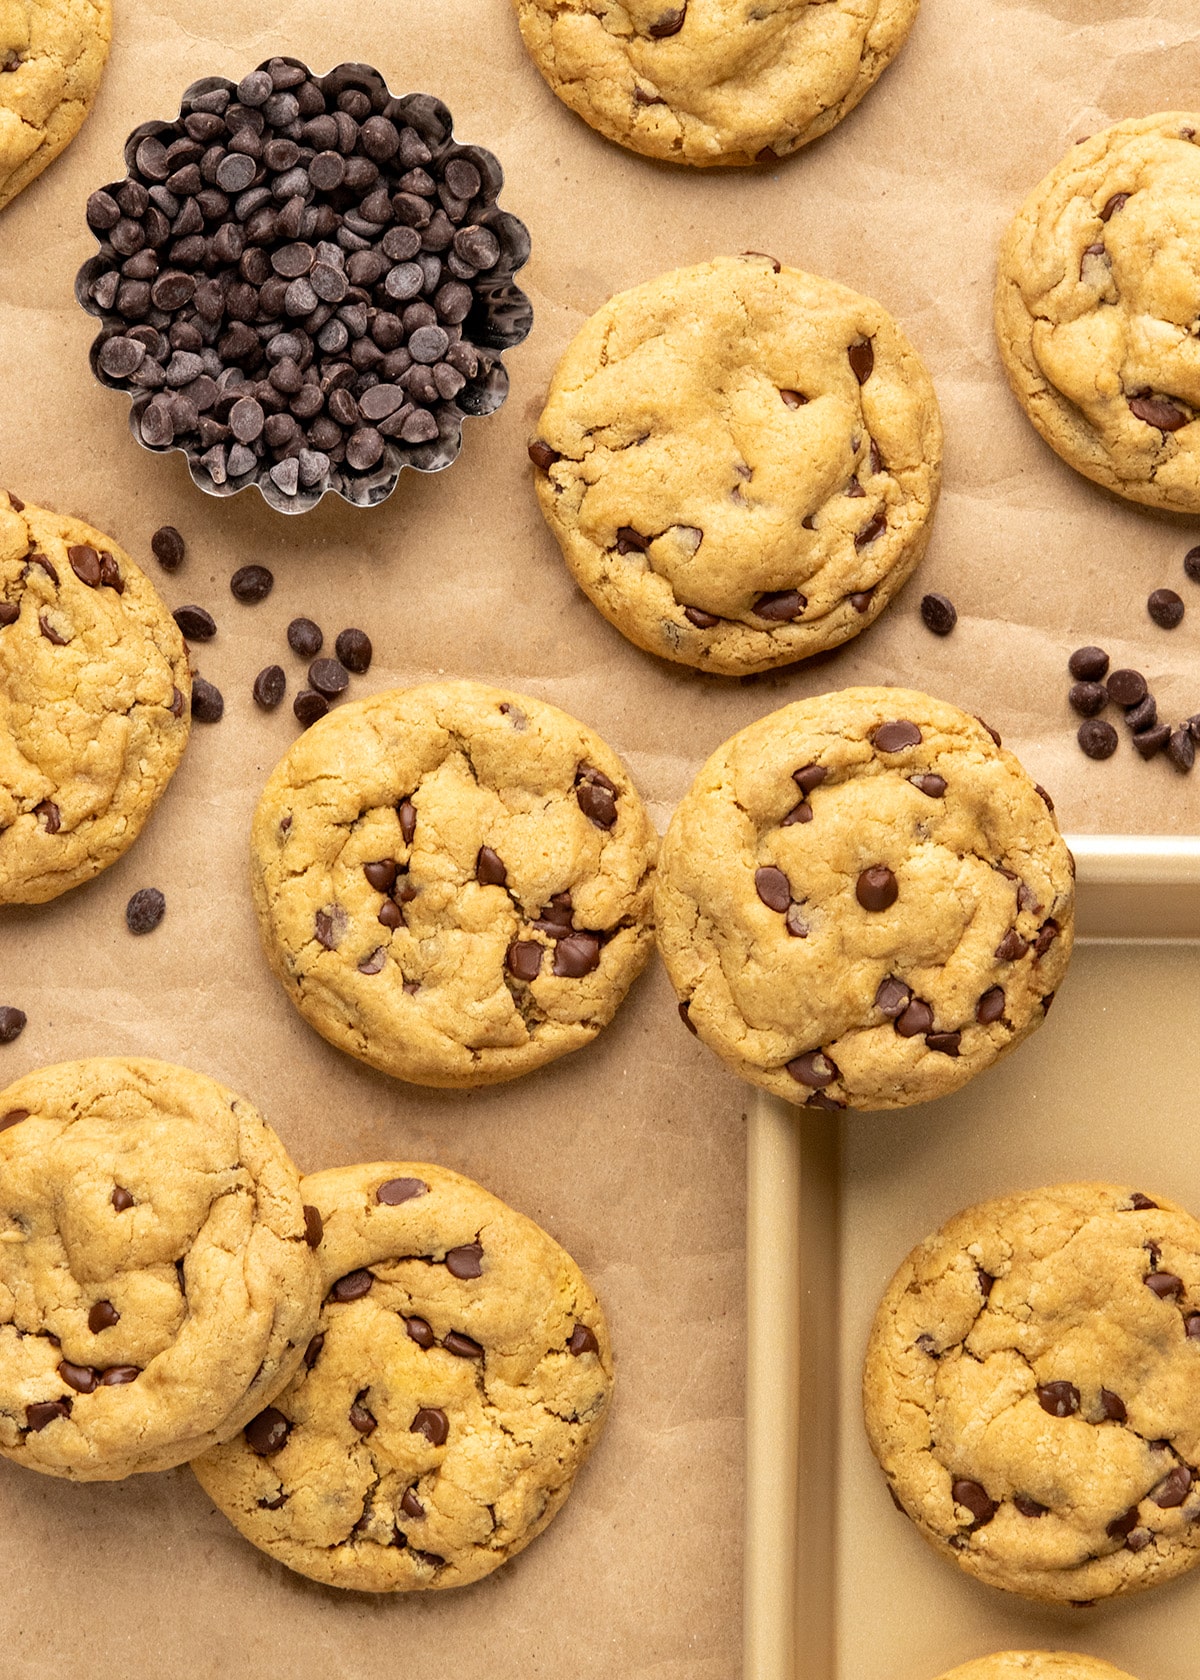
These soft and chewy peanut butter protein cookies have 10 grams of protein each, with rich peanut butter flavor and plenty of mini chocolate chips.
They’re flourless, naturally gluten free, and taste like a classic chewy peanut butter cookie, not another protein snack.
Why this recipe works
Packaged protein cookies are so expensive and often taste strange somehow. These cookies cost less than half the price to make, and have the soft, chewy texture and rich peanut butter flavor I actually want to eat.
A casein/whey protein powder blend gives the dough enough structure without making the cookies overly dry or firm. A rich emulsion with honey, an extra egg yolk, and Greek yogurt add moisture and richness to balance all that added protein and peanut oil.
The dough is easy to mix and shape, then rests while the oven preheats so it can firm up slightly before baking. A lower oven temperature helps the cookies set without drying out.
Recipe ingredients
Here’s what you need to make these cookies, including information on the role that each ingredient plays in a successful result.
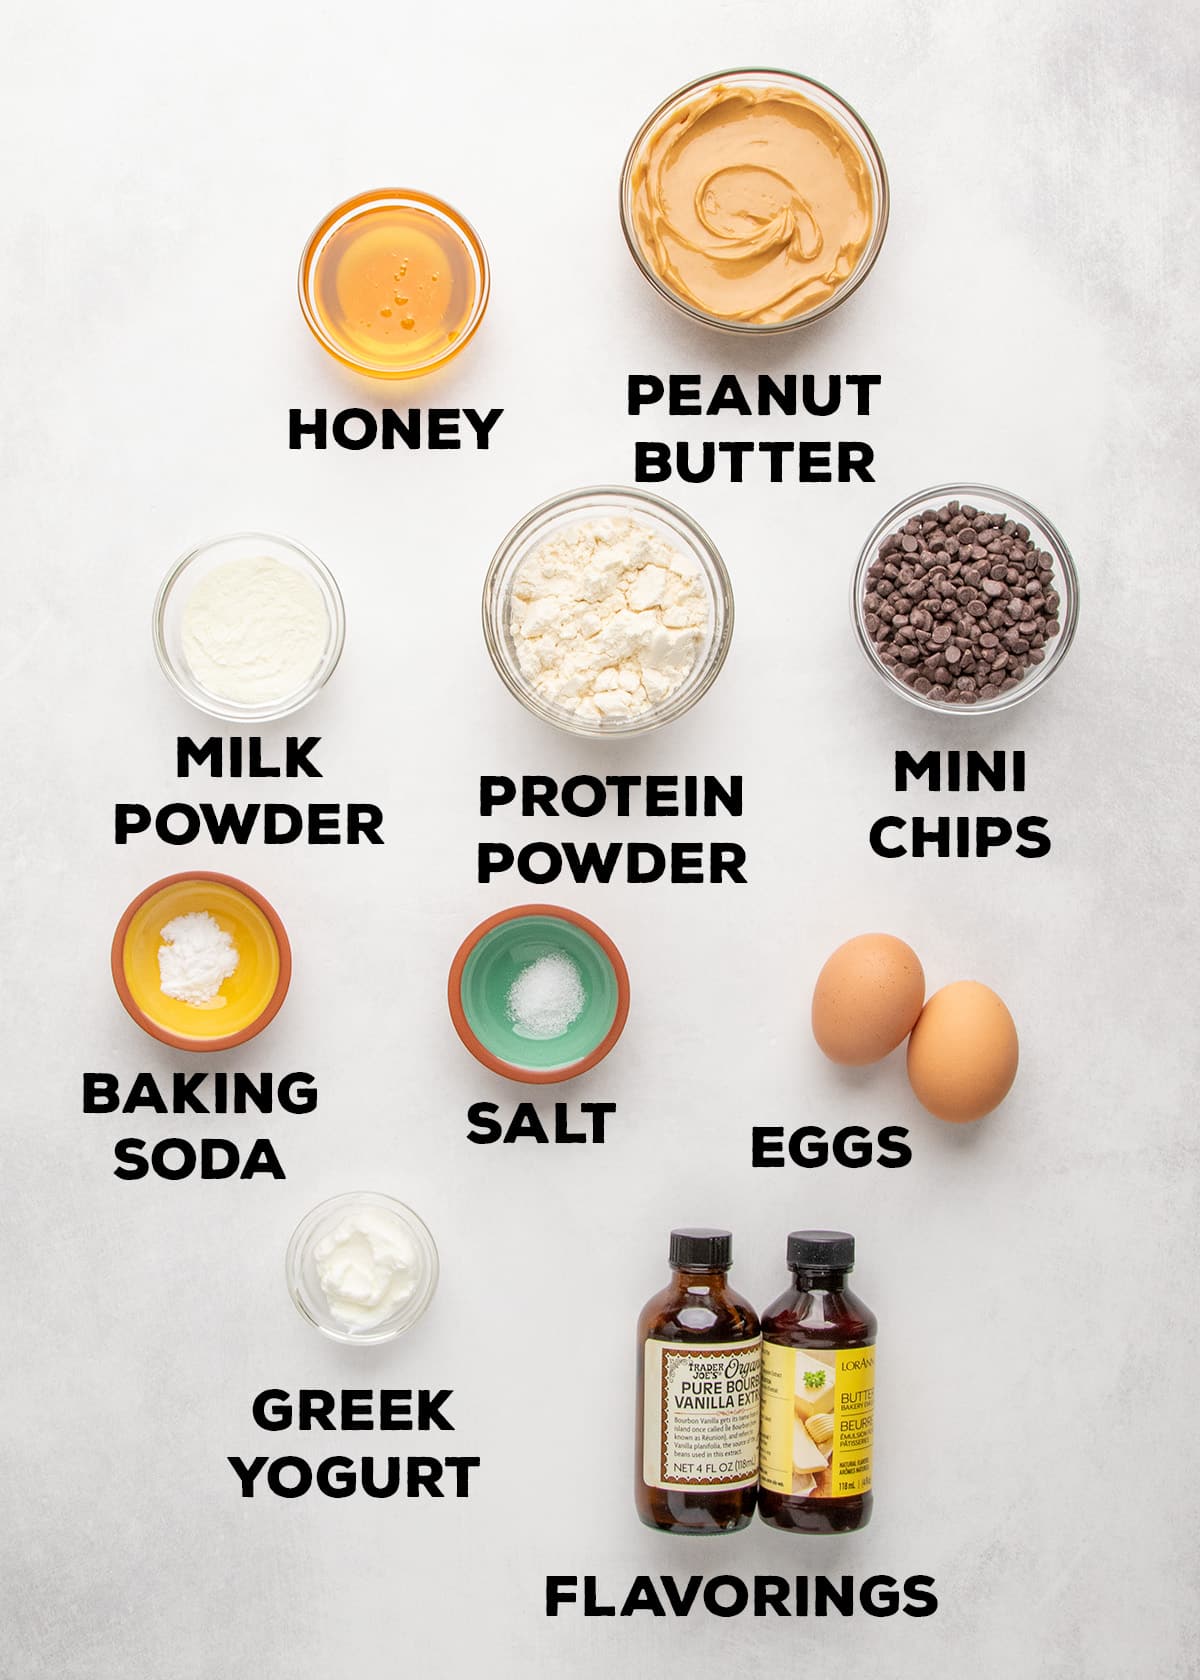
- Peanut butter: Adds rich peanut flavor, fat for tenderness, body to the dough, and protein. Use smooth, no-stir peanut butter that doesn’t separate. True natural peanut butter tends to release excess oil into the dough and make the cookies greasy.
- Honey: Adds sweetness and flavor, and helps retain moisture for tender cookies.
- Egg and egg yolk: Give the cookies structure and richness. The extra yolk also helps emulsify the wet ingredients and contributes to a softer texture.
- Greek yogurt: Adds moisture and helps balance the sweetness; its acidity also helps activate the baking soda to create rise. You can also use an equal amount of sour cream in its place.
- Flavorings: Vanilla extract adds depth of flavor; optional LorAnn butter bakery emulsion adds buttery flavor without adding more fat.
- Protein powder: Provides structure and increases the protein content. I prefer a casein/whey blend, which gives the cookies enough structure to hold together without the drying, firming effect of too much whey protein. My choice is PEScience brand Select Protein in vanilla, which also adds some mild flavor.
- Milk powder: Helps absorb excess oil from the peanut butter, so the baked cookies taste and feel less greasy.
- Baking soda: Provides some rise and helps the cookies brown gently in the oven.
- Salt: Balances sweetness and brightens other flavors, and keeps the cookies from tasting flat.
- Mini chocolate chips: Add texture and chocolate flavor that pairs so well with peanut butter. Their small size keeps them from weighing down the dough and helps add a little chocolate to every bite.
How to make peanut butter protein cookies (step by step photos)
Here’s an overview of how you’ll make these cookies in your own kitchen, including the reason behind each step. For the full recipe including ingredient amounts, skip to the recipe card:
Steps 1 & 2: Combine dry ingredients
In a medium-size bowl, whisk together protein powder, milk powder, baking soda and salt. This eliminates any possible bitter pockets of baking soda and a uniform raw dough ensure that we won’t overmix the cookie dough once combined.
Then, add in the mini chips and mix so they’re coated in the dry ingredients to help prevent them from sinking in the cookie dough.
Steps 3 & 4: Combine wet ingredients
In a large mixing bowl, whisk together peanut butter, honey, an egg and an egg yolk, Greek yogurt, and flavorings. Combine vigorously until the mixture is very smooth and glossy, which will mean that it’s fully emulsified, which will help it absorb the dry ingredients without seizing up.
Steps 5 & 6: Add dry to wet ingredients
Pour the dry ingredients, including the chips, into the bowl with the peanut butter mixture. Use a silicone spatula to stir and fold the dry ingredients into the wet.
The mixture will thicken quickly as the dry ingredients absorb the moisture and oil. It will be soft enough to scoop and mostly firm enough to hold its shape. Stop mixing when there aren’t any obvious dry streaks, and avoid overmixing which can make the cookies tough. The mixture will retain some texture because protein powder won’t behave exactly like flour.
Steps 7 & 8: Portion and shape the dough
Use a medium ice cream scoop to divide the dough into 8 equal portions, each weighing about 50 grams. Gently roll each between clean palms to smooth the surface and form a round for cookies that bake evenly. The dough will leave some oily residue on your hands from all that peanut butter, but it should hold its shape easily as you roll it. Place the dough about 1 1/2 inches apart, as the cookies will spread during baking.
Let the cookie dough set while you preheat the oven. This will give the dough a chance to firm up slightly before baking, helping the cookies keep their shape and bake more evenly.
Step 7: Bake the cookies
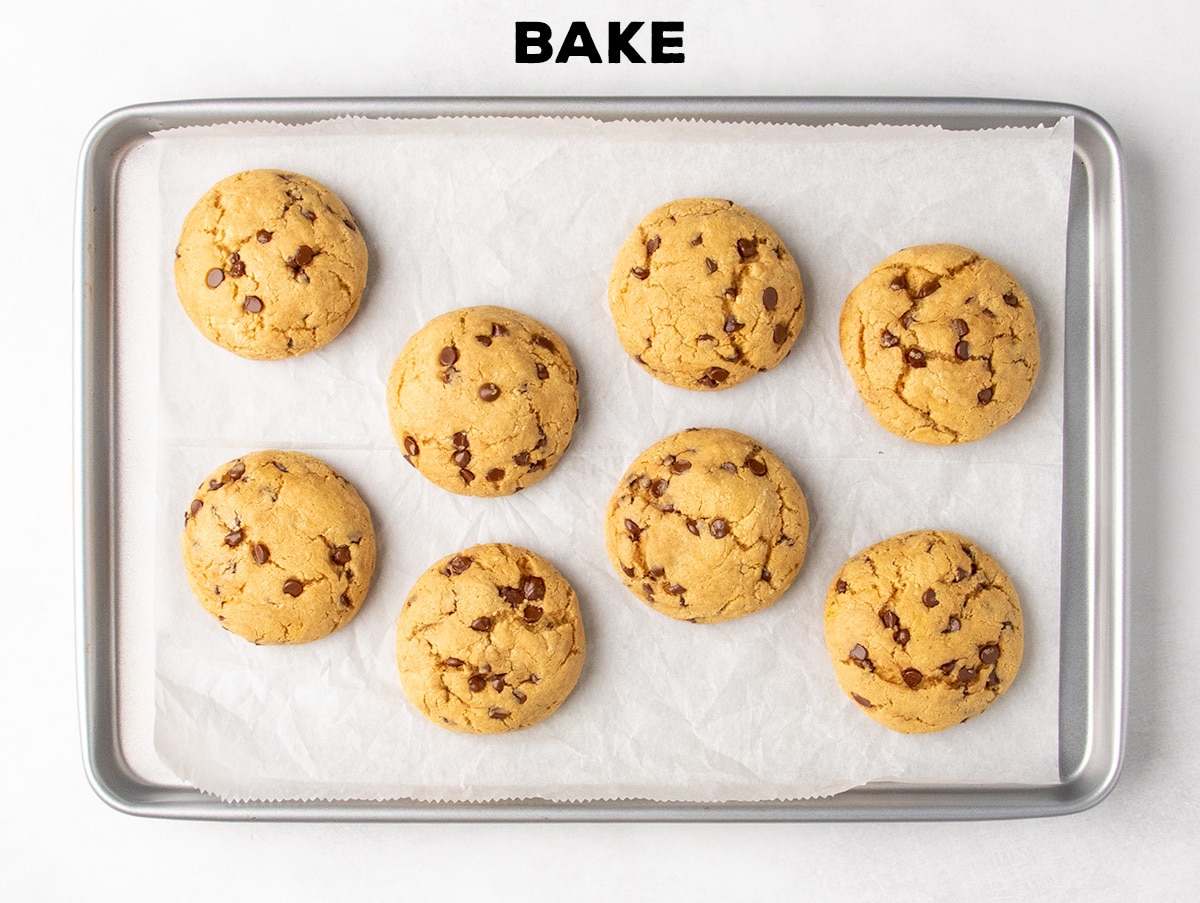
Bake at 325°F for 8 to 10 minutes, just until the cookies look set and dry on top and are beginning to brown lightly around the edges. Baking them at a low temperature allows them to fully set without burning, since all that fat makes the cookies efficient at baking.
They should still feel somewhat soft if pressed firmly. Avoid overbaking, since the cookies will continue to set as they cool and can become dry if left in the oven too long. The cookies will settle into beautiful craggy tops as they cool. Don’t disturb them before they are set or they’ll fall apart.
Ingredient substitutions
If you need cookies that are naturally dairy free and peanut free, try my chewy protein cookies made with oats. If you can’t have oats, you can substitute every form of oats in baking.
Dairy free
If you’d like to try making these cookies dairy-free, you’ll need a dairy free protein powder, dairy free powdered milk, and nondairy plain yogurt or sour cream.
I’ve tried using Vega protein powder, and the recipe worked but it was much drier and just didn’t taste as good. I would try using pea protein isolate, or rice protein. For the milk powder, try coconut milk powder. And use dairy-free miniature chocolate chips, like Enjoy Life brand.
Egg free
You can try replacing the whole egg with a “chia egg” and the egg yolk with some butter for moisture. If you’d like a high protein snack that is naturally egg-free, try the recipe for protein balls, which have 6 grams of protein each without protein powder or eggs.
Nut free
If you find a sunflower seed butter that is smooth and no-stir (the oil doesn’t separate in the jar), or Wowbutter, try using it here in place of peanut butter. Or try our chocolate chip protein cookies, which are naturally nut-free.
Storage instructions
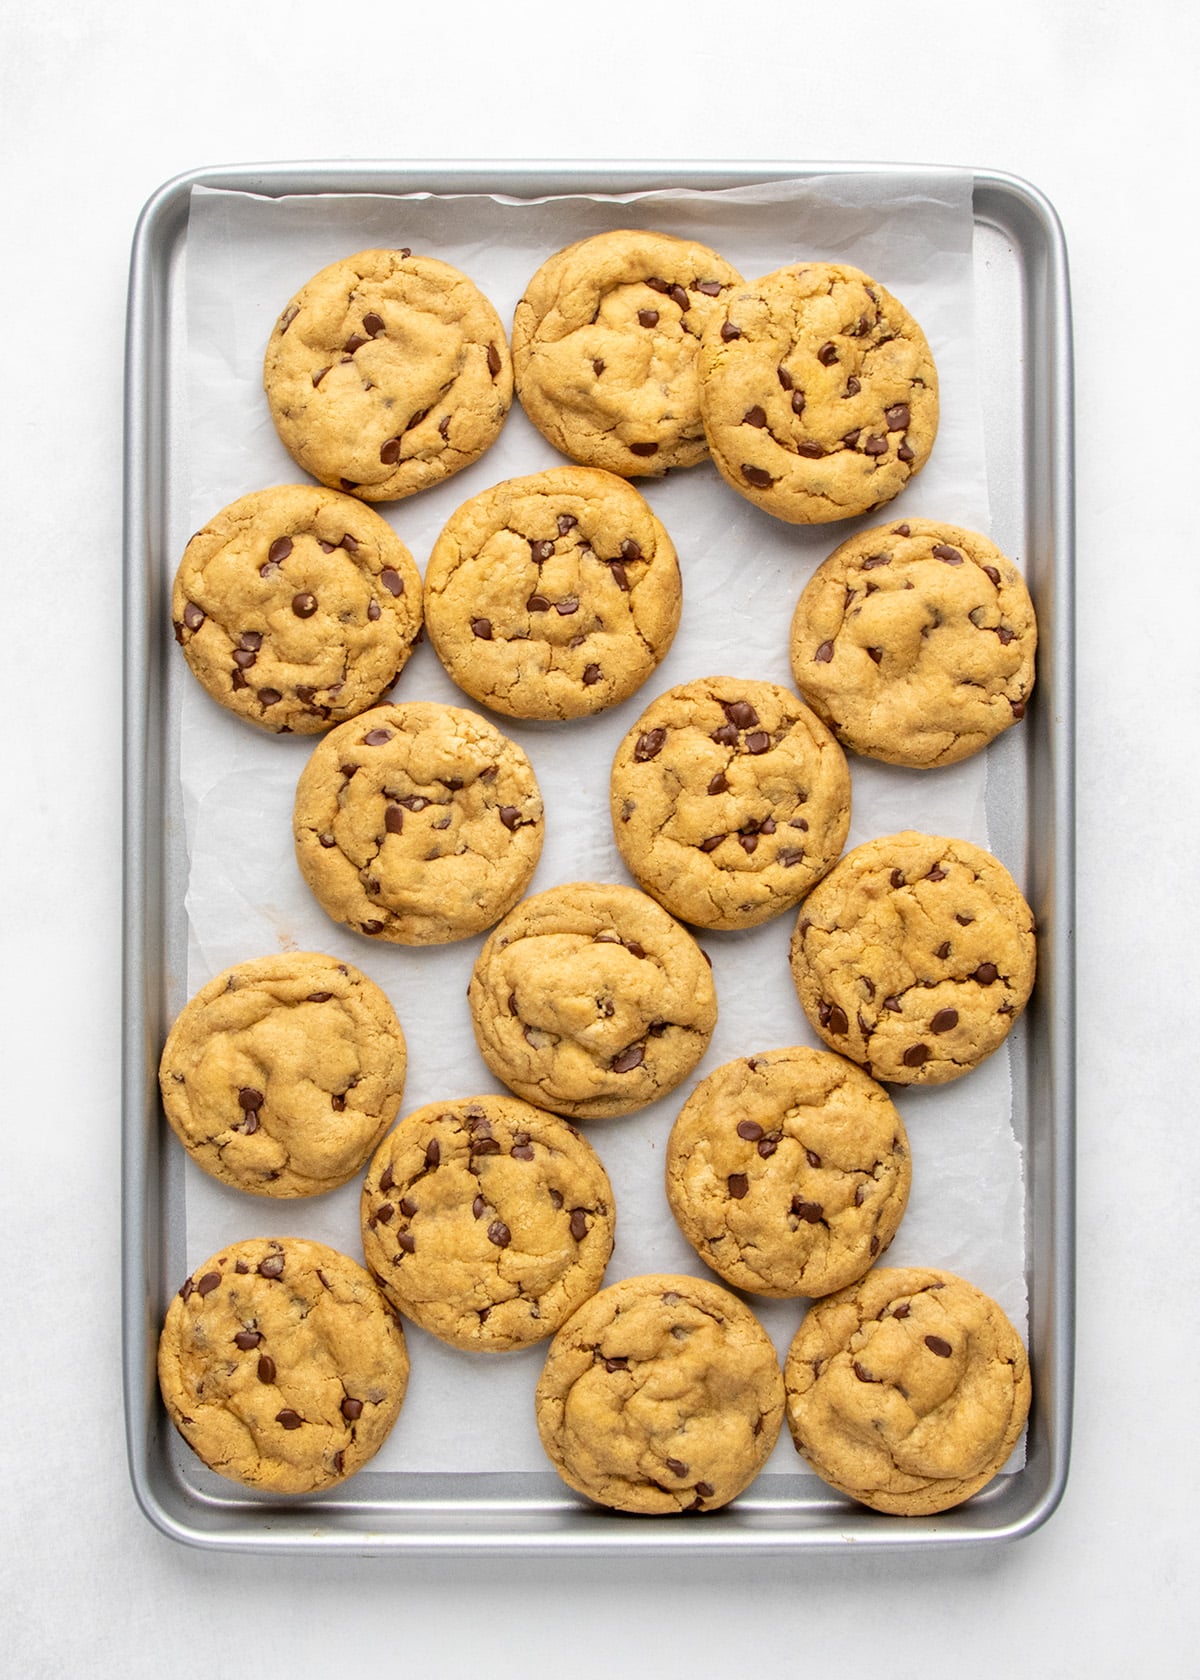
You can store these cookies at room temperature, uncovered, for 2 days and they will retain their texture. You can also store them in a sealed container in the refrigerator for up to 1 week. For longer storage, freeze them in a freezer-safe container for up to 3 months. They defrost quickly at room temperature.
-
Line a large rimmed baking sheet with parchment paper and set it aside.
-
In a medium-size mixing bowl, whisk together the protein powder, dry milk, baking soda, and salt until well combined.
-
Add the miniature chocolate chips, and stir to combine. See the bowl aside.
-
In a large mixing bowl, place the peanut butter, honey, egg, egg yolk, yogurt, vanilla extract and optional butter emulsion. Whisk until very smooth and well-emulsified. It should be thick but soft and creamy, not stiff.
-
Add the dry ingredients with the chocolate chips and mix with a silicone spatula until just combined.
-
Use a medium spring-loaded ice cream scoop or 2 spoons to divide the mixture into 8 equal portions, each about 50 grams.
-
Roll each piece of cookie dough into a ball between clean palms. Place on the prepared baking sheet about 2 inches apart from one another.
-
Preheat your oven to 325°F.
-
Let the dough sit at room temperature on the baking sheet while the oven preheats. This helps the cookies spread and bake more slowly and evenly.
-
Place in the center of the preheated oven and bake until the tops of the cookies are no longer shiny and the cookies are a very light matte tan color all over and beginning to brown on the edges, 8 to 10 minutes. The cookies will appear dry on top and reasonably firm on top, but would give way to any real pressure. Do not overbake them.
-
Remove from the oven and let the cookies cool for at least 10 minutes or until very stable before transferring them to a wire rack to cool completely. They will be very fragile when they’re still warm, and will settle into cracks and crevices as they cool.
Serving: 1cookie | Calories: 224kcal | Carbohydrates: 19g | Protein: 10g | Fat: 13g | Saturated Fat: 4g | Polyunsaturated Fat: 2g | Monounsaturated Fat: 5g | Trans Fat: 0.02g | Cholesterol: 57mg | Sodium: 244mg | Potassium: 155mg | Fiber: 1g | Sugar: 16g | Vitamin A: 121IU | Vitamin C: 0.3mg | Calcium: 67mg | Iron: 1mg
Nutrition information is automatically calculated, so should only be used as an approximation.

Source link