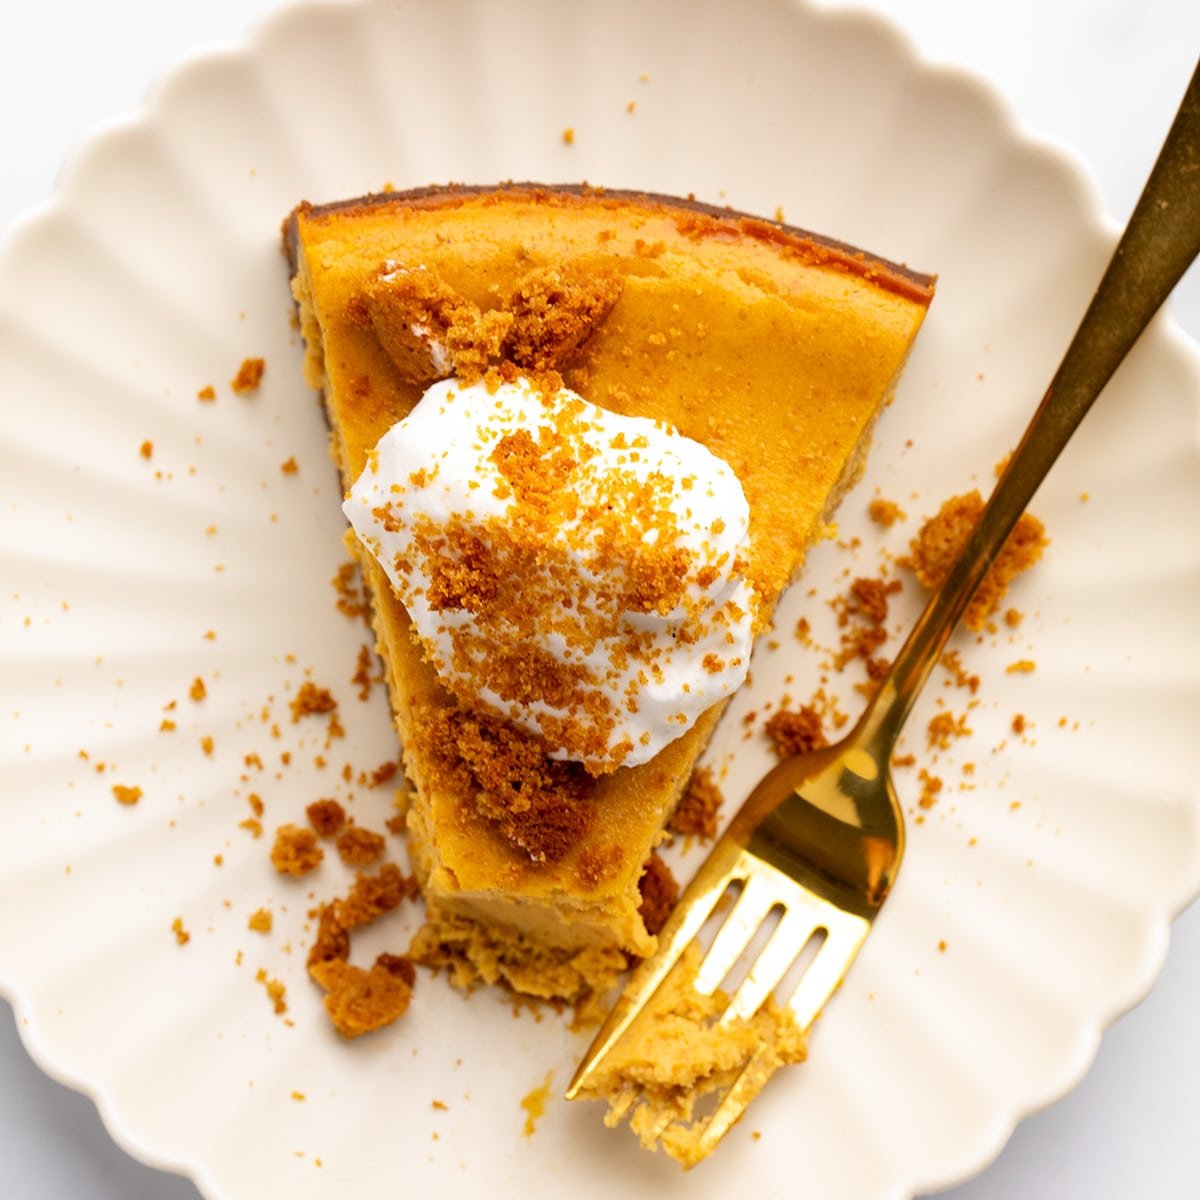
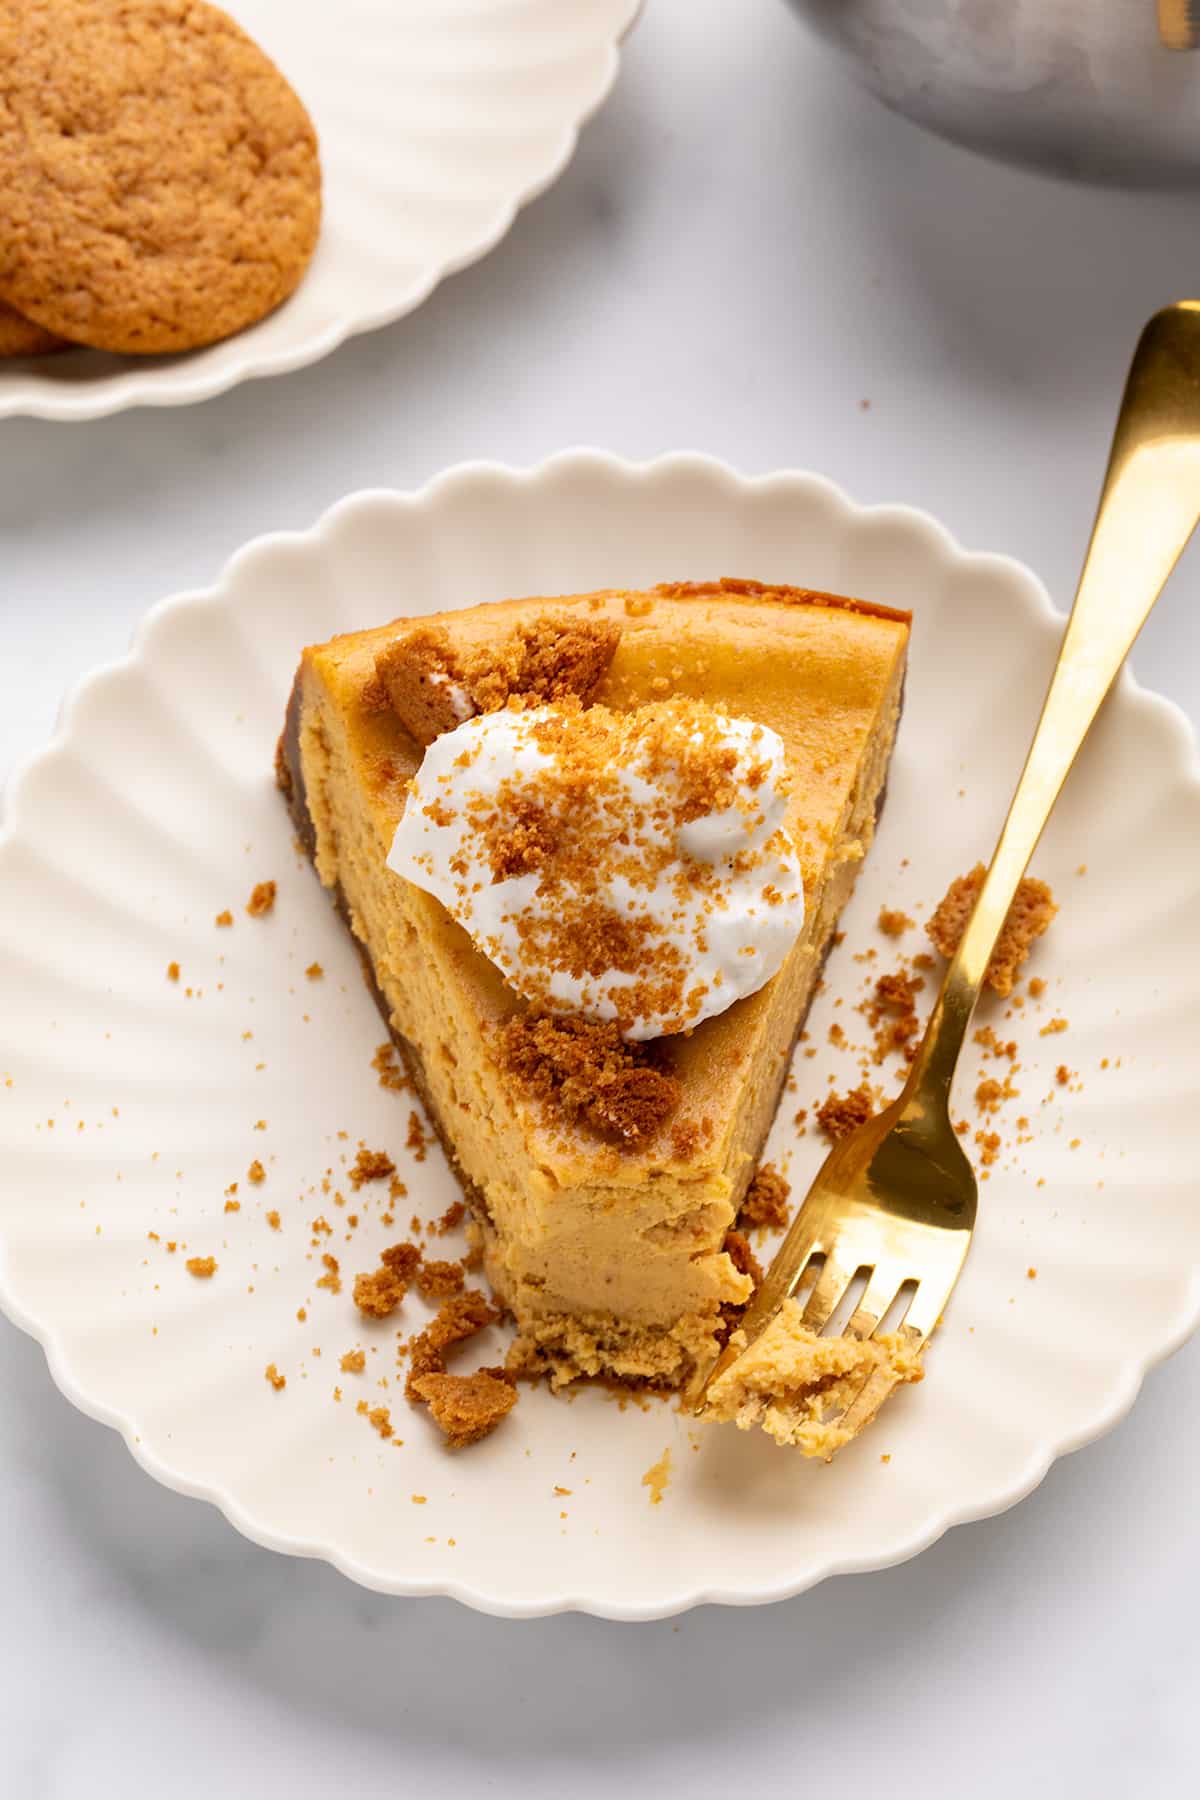
This gluten-free pumpkin cheesecake recipe is the ideal holiday dessert that combines the warm spice of pumpkin pie with the rich, creamy tang of a classic cheesecake.
While cheesecakes can seem intimidating, this one is designed to be foolproof—even without a water bath. Follow along to learn the simple techniques that guarantee a beautiful, crack-free finish every time.
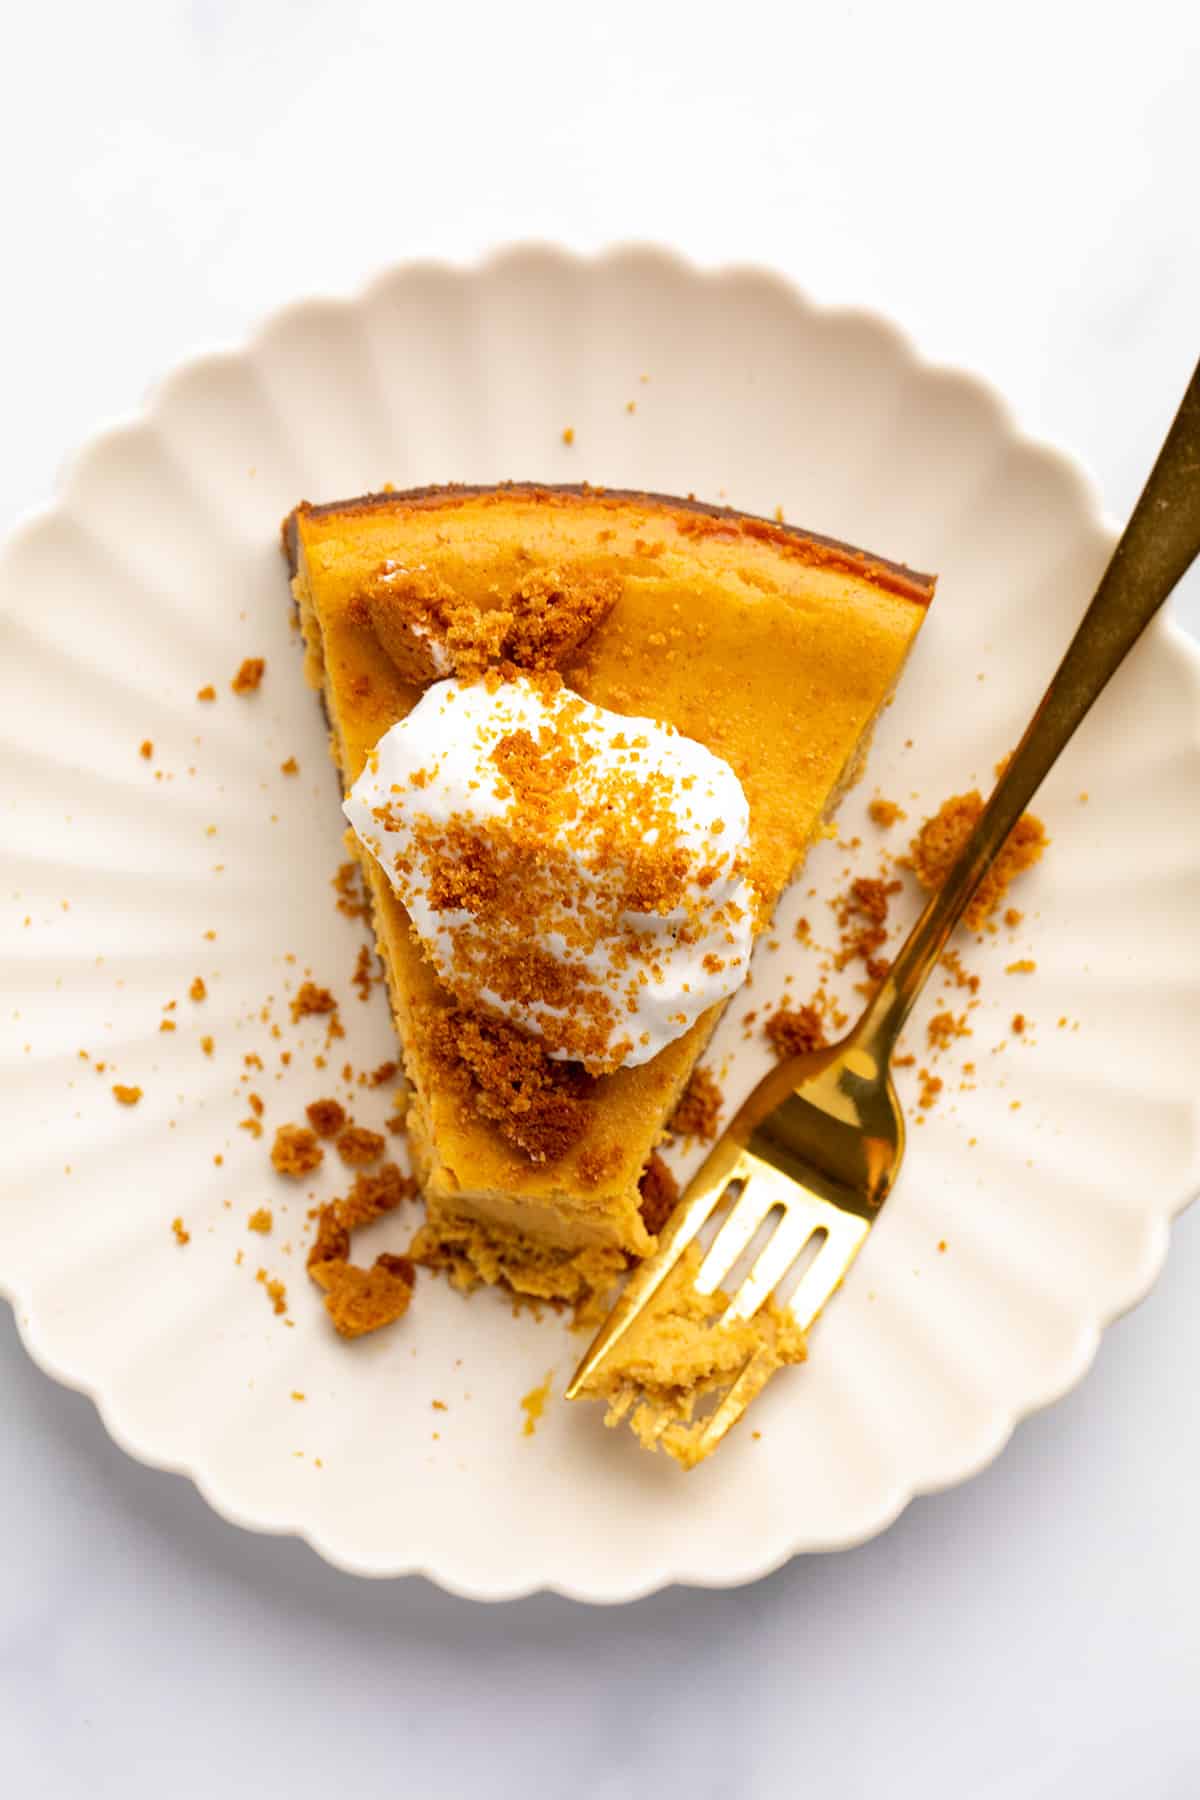
Why this recipe works
This cheesecake recipe achieves a rich, creamy texture by using full-fat, block-style cream cheese at room temperature, while pumpkin puree adds essential moisture for a cloud-like consistency. A small amount of gluten-free flour provides just enough structure to create a perfect slice, and a touch of molasses deepens the classic fall flavor.
The baking process itself is designed to be gentle and stable. A shallow pan of water placed on the bottom oven rack creates a warm, steamy environment to ensure a slow, even bake for a moist texture without cracks on the surface.
For extra insurance of a flawless finish on top and a fluffy texture inside, we beat the cream cheese and puree vigorously, but the eggs in gently at the end. Then, after baking, allowing the cheesecake to cool down slowly in the turned-off oven prevents any sudden temperature shocks, ensuring the surface remains perfectly smooth as it sets.
Key ingredients explained
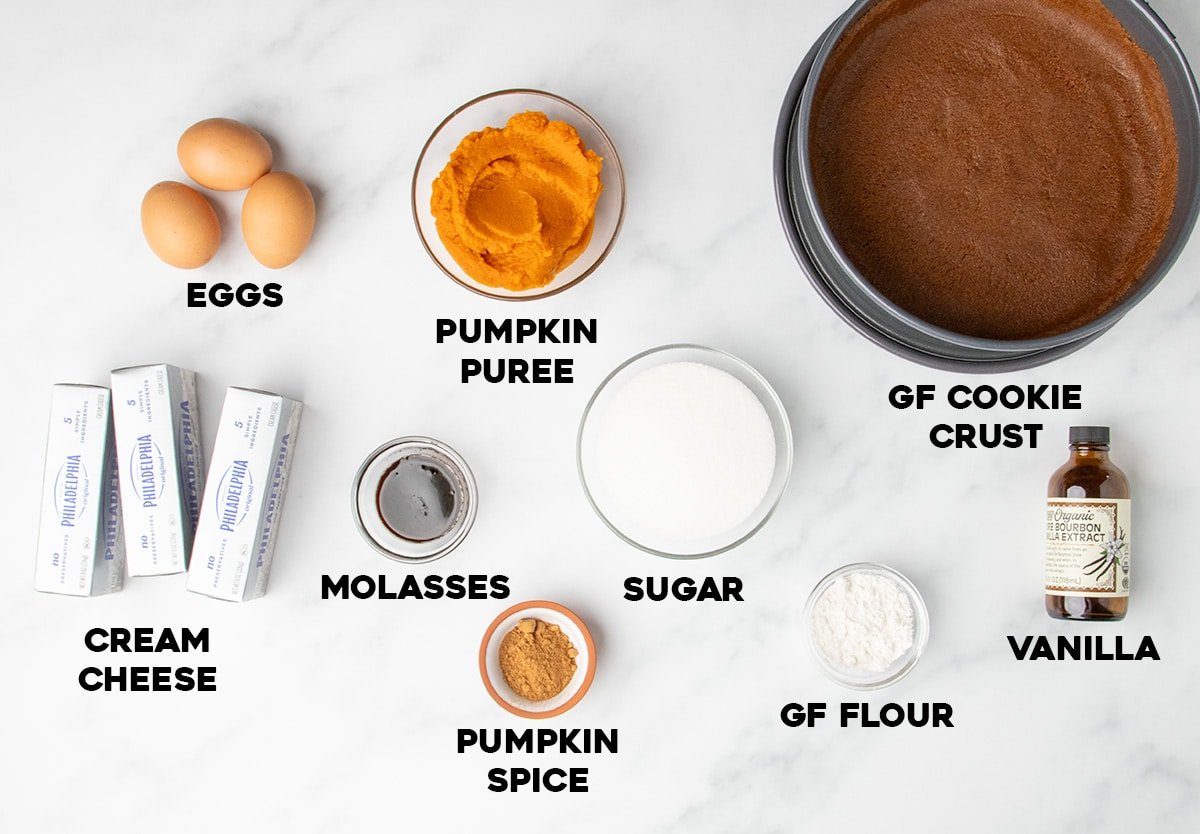
Here are the ingredients we use to make this light and fall-themed cheesecake, and the role each one plays:
- Gluten free cookie crust – A combination of crunchy gluten free cookies ground into a powder and melted butter. We’re baking the crust once it’s filled with the cheesecake mixture, so we don’t need to add more sugar to the mixture to help it hold its shape. Be sure to use full-flavored crunchy cookies like gluten free gingersnaps or graham crackers. If you’re making the cookies yourself, add to 2 teaspoons pumpkin pie spice or ground cinnamon to the cookie mixture for more flavor.
- Cream cheese – Be sure to use full fat, block-style cream cheese. Philadelphia brand is a gluten free classic, and always makes a creamy, smooth and deeply flavored cheesecake.
- Gluten free flour – With the addition of moisture-filled pumpkin puree, this is a softer cheesecake then our classic gluten free cheesecake, so adding a couple teaspoons of gluten free flour helps provide a bit more structure. Any finely ground all purpose gluten free flour, with or without xanthan gum, will work.
- Pumpkin puree – Adds color, some flavor, and plenty of moisture to make this a creamy, cloud-like cheesecake.
- Molasses – Adds color, and even with just 1 tablespoon, adds depth of flavor.
- White sugar – Adds sweetness, locks in moisture, and makes the cream cheese creamier by preventing the cream cheese from solidifying during baking. When beaten well with the cream cheese, adds air into the batter for a lighter texture.
- Pumpkin spice – A well-balanced mixture of ground cinnamon, ginger, allspice, cloves and nutmeg, adds the aroma and flavor that we all associate with pumpkin baked goods.
- Vanilla – Adds complex depth of flavor.
- Eggs – Provide structure, binding and help the cooled cheesecake set up into a custard that’s firm enough to slice cleanly.
How to make gluten free pumpkin cheesecake
The full recipe instructions are in the recipe card below. This guide outlines the key steps in the process and helps you understand each of the techniques I use:
1. Prepare the crust
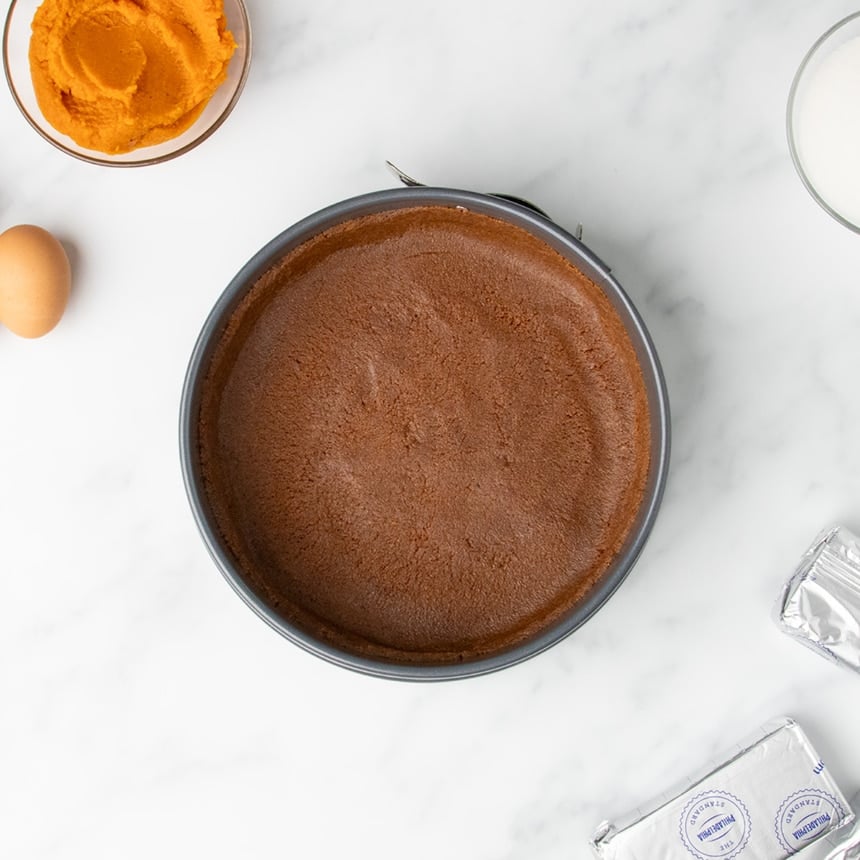
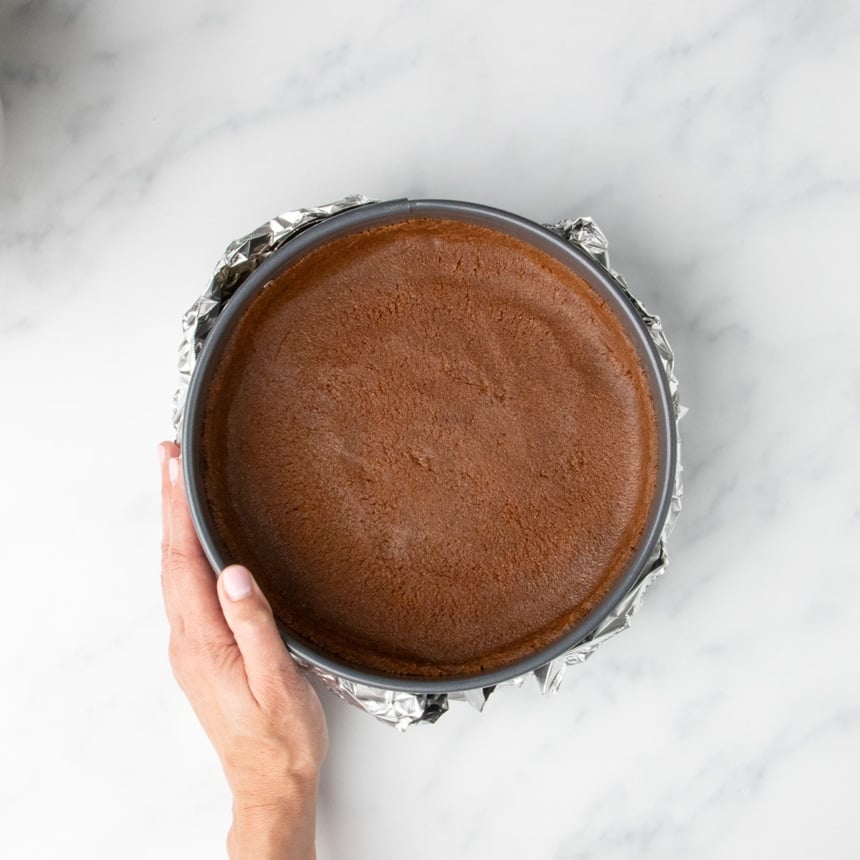
Combine finely ground crunchy gluten-free cookie crumbs with melted butter. The final texture should be similar to wet sand, which ensures the crust holds together. Press this mixture firmly and evenly into the bottom and halfway up the sides of a greased 9-inch springform pan.
💡For more details, including full step by step images, see our gluten free graham cracker crust recipe.
2. Mix the filling
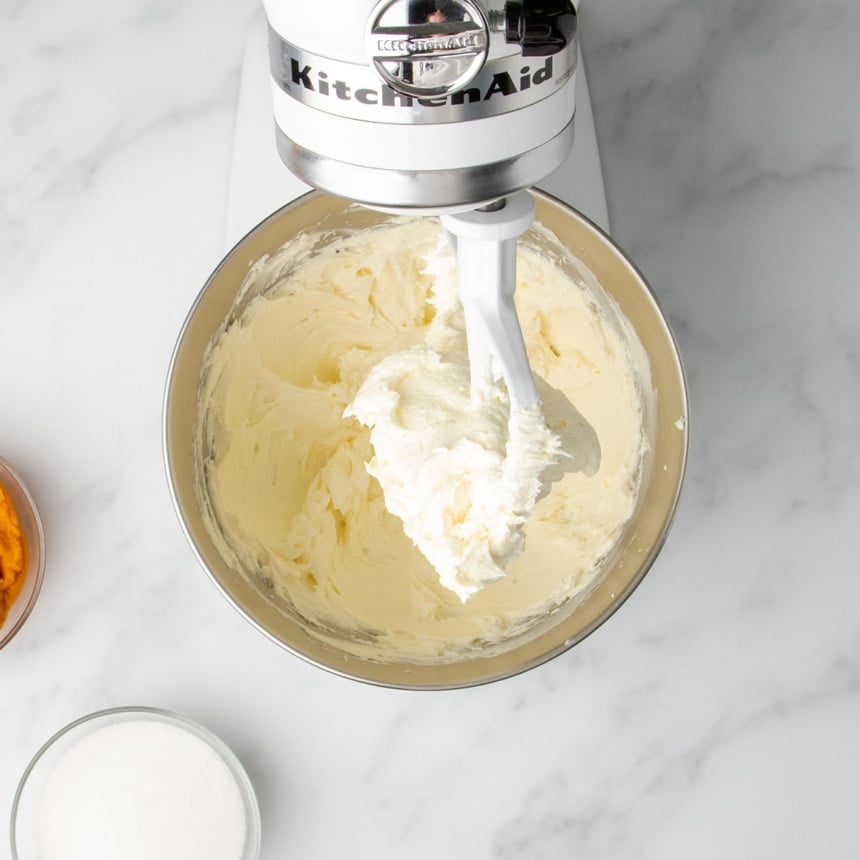
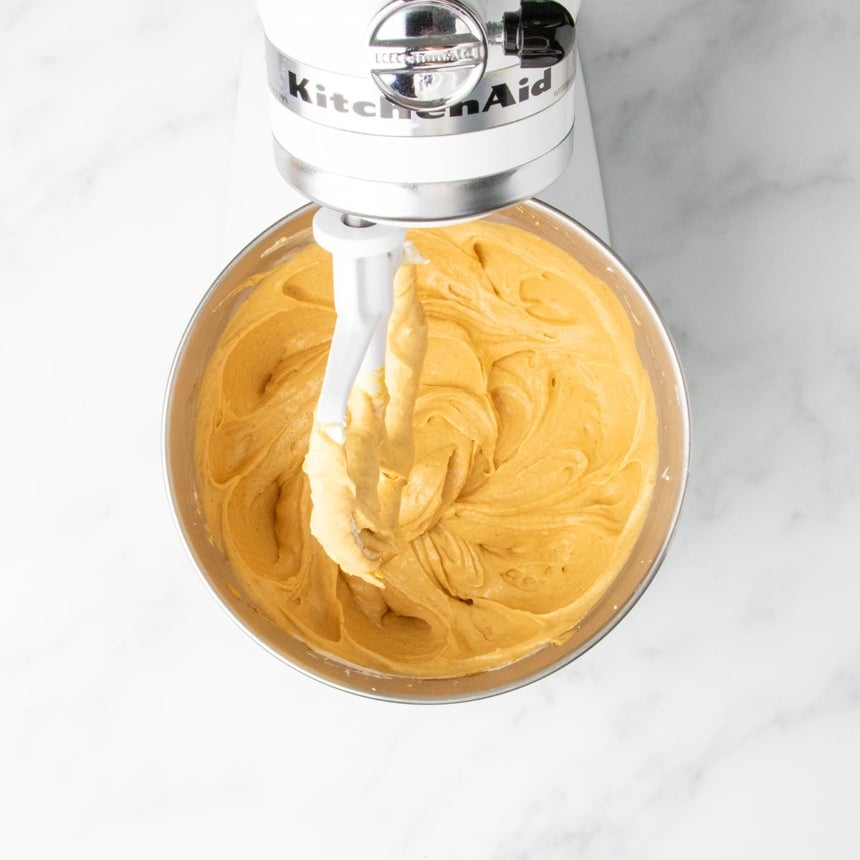
For a smooth filling, the order of ingredients is important. Start by beating the room-temperature cream cheese with the gluten-free flour until the mixture is completely smooth. Using cold cream cheese will result in a lumpy batter, so keep beating until it’s smooth.
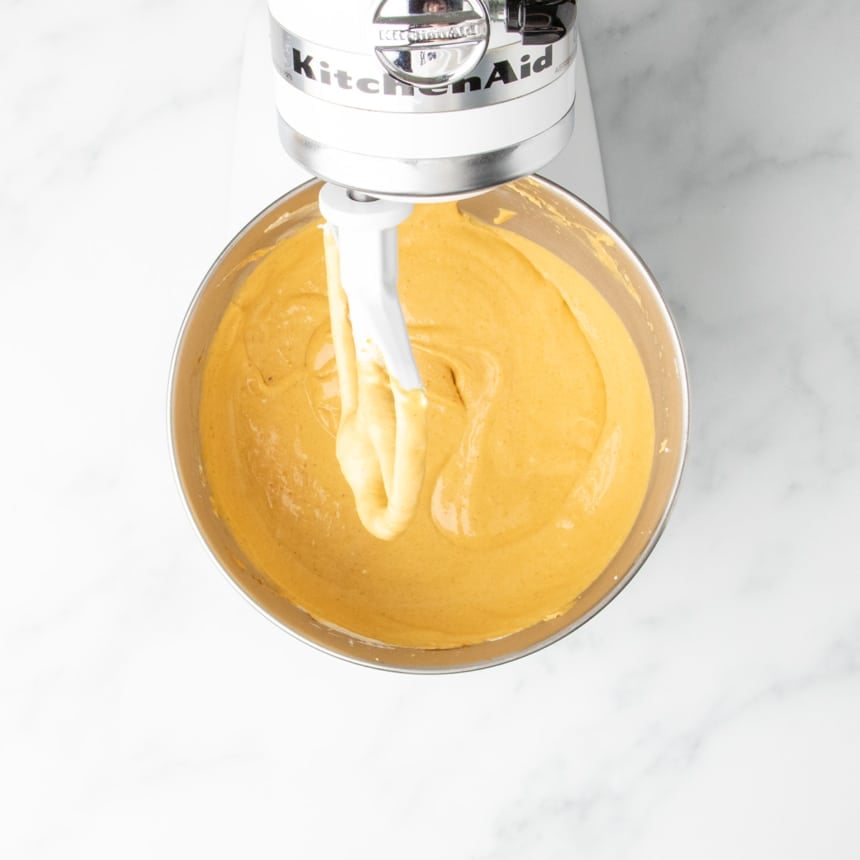
Next, add the pumpkin puree, sugar, molasses, vanilla, and spices, mixing until fully combined. Add the eggs last and beat only to combine fully without whipping. The mixture should be smooth and silky. Whipping the eggs vigorously can cause the cheesecake to crack during baking.
3. Assemble the cheesecake
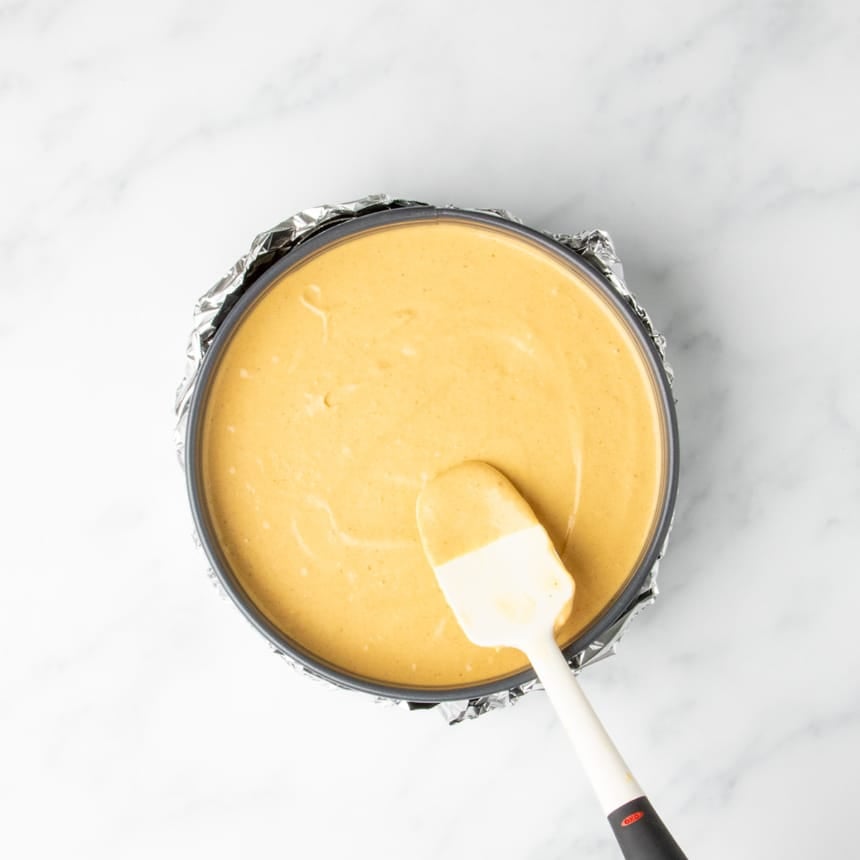
Wrap the bottom of the springform pan in foil to catch any leaks from the pan during baking. Pour the smooth, creamy light orange-colored filling into the prepared pan. Bang the pan a few times firmly on the counter to break any large air bubbles which could also lead to cracks in the cheesecake.
4. Bake and cool properly
Sudden temperature changes are a primary cause of cracks in cheesecake. To create a humid baking environment for a gradual, stable baking, place a shallow pan of hot water on the bottom rack of your preheated 350°F oven. This steam helps the cheesecake bake with gentle, even heat.
If you forgot to include the pan of water while the oven was preheating, add it now and use boiling water. Adding cool water to the oven will lower the oven temperature.
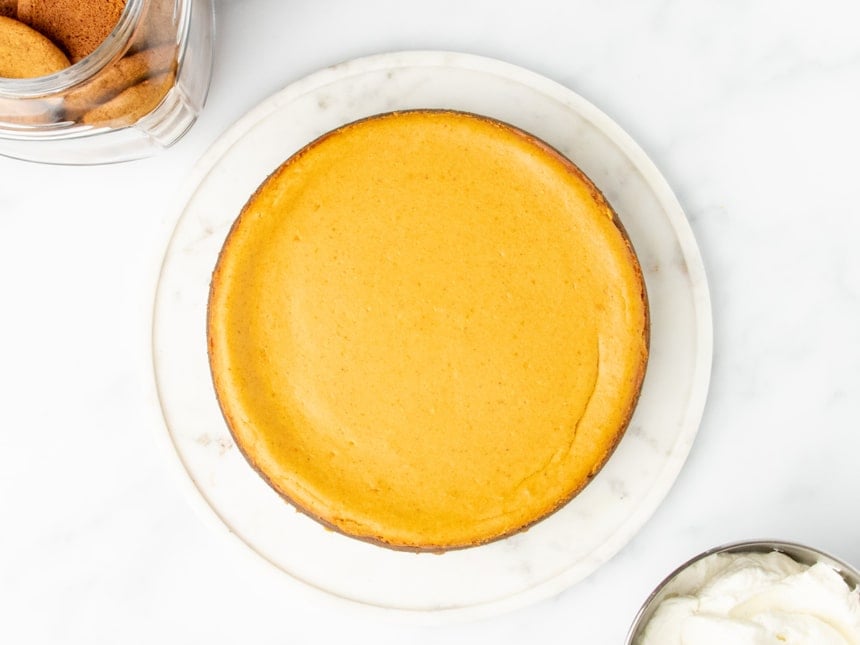
Place the cheesecake on the center rack and bake for approximately one hour. The cheesecake is ready when the edges are set and the center maintains a slight, uniform jiggle when the pan is nudged.
A slow, gradual cooling process is essential for a smooth surface. Turn off the oven, prop the door open slightly, and allow the cheesecake to cool inside the oven for 20 to 30 minutes. This step minimizes the risk of the surface cracking as it cools.
Expert tips
Select the proper pan
A nonstick 9-inch springform pan is best for the structure and clean removal of cheesecake. This recipe is portioned for a 9-inch pan; if using an 8-inch pan, reduce all filling ingredients by approximately one-third to prevent overflow.
This Cuisinart nonstick springform pan is ideal. Nothing sticks to it so it unmolds quickly and easily without any greasing.
Maintain a stable oven temperature
Do not open the oven door during the baking cycle. The resulting rapid change in temperature can destabilize the filling and cause the surface to crack. Wait until the full baking time has elapsed before checking the cheesecake.
After baking, turn off the heat and prop the oven door open with a heat-safe utensil. This allows the cheesecake to cool down gradually for at least 30 minutes, another critical step in preventing cracks.
Don’t overbake
A properly cooked cheesecake will still have a soft, slightly jiggly center when it is finished baking. The outer portion will appear set, while the middle two to three inches will move in a controlled, uniform way when the pan is gently shaken.
The cheesecake continues to cook from residual heat and will set fully as it cools. Baking until the center is completely firm will result in an overcooked cheesecake with an undesirable texture and flavor.
Let it cool completely
The cheesecake must be cooled completely before slicing or decorating. After the initial cooling period in the turned-off oven, allow it to cool to room temperature on a countertop. Transfer it to the refrigerator to chill and set completely, which typically takes about 4 hours.
Use a hot knife for clean slices
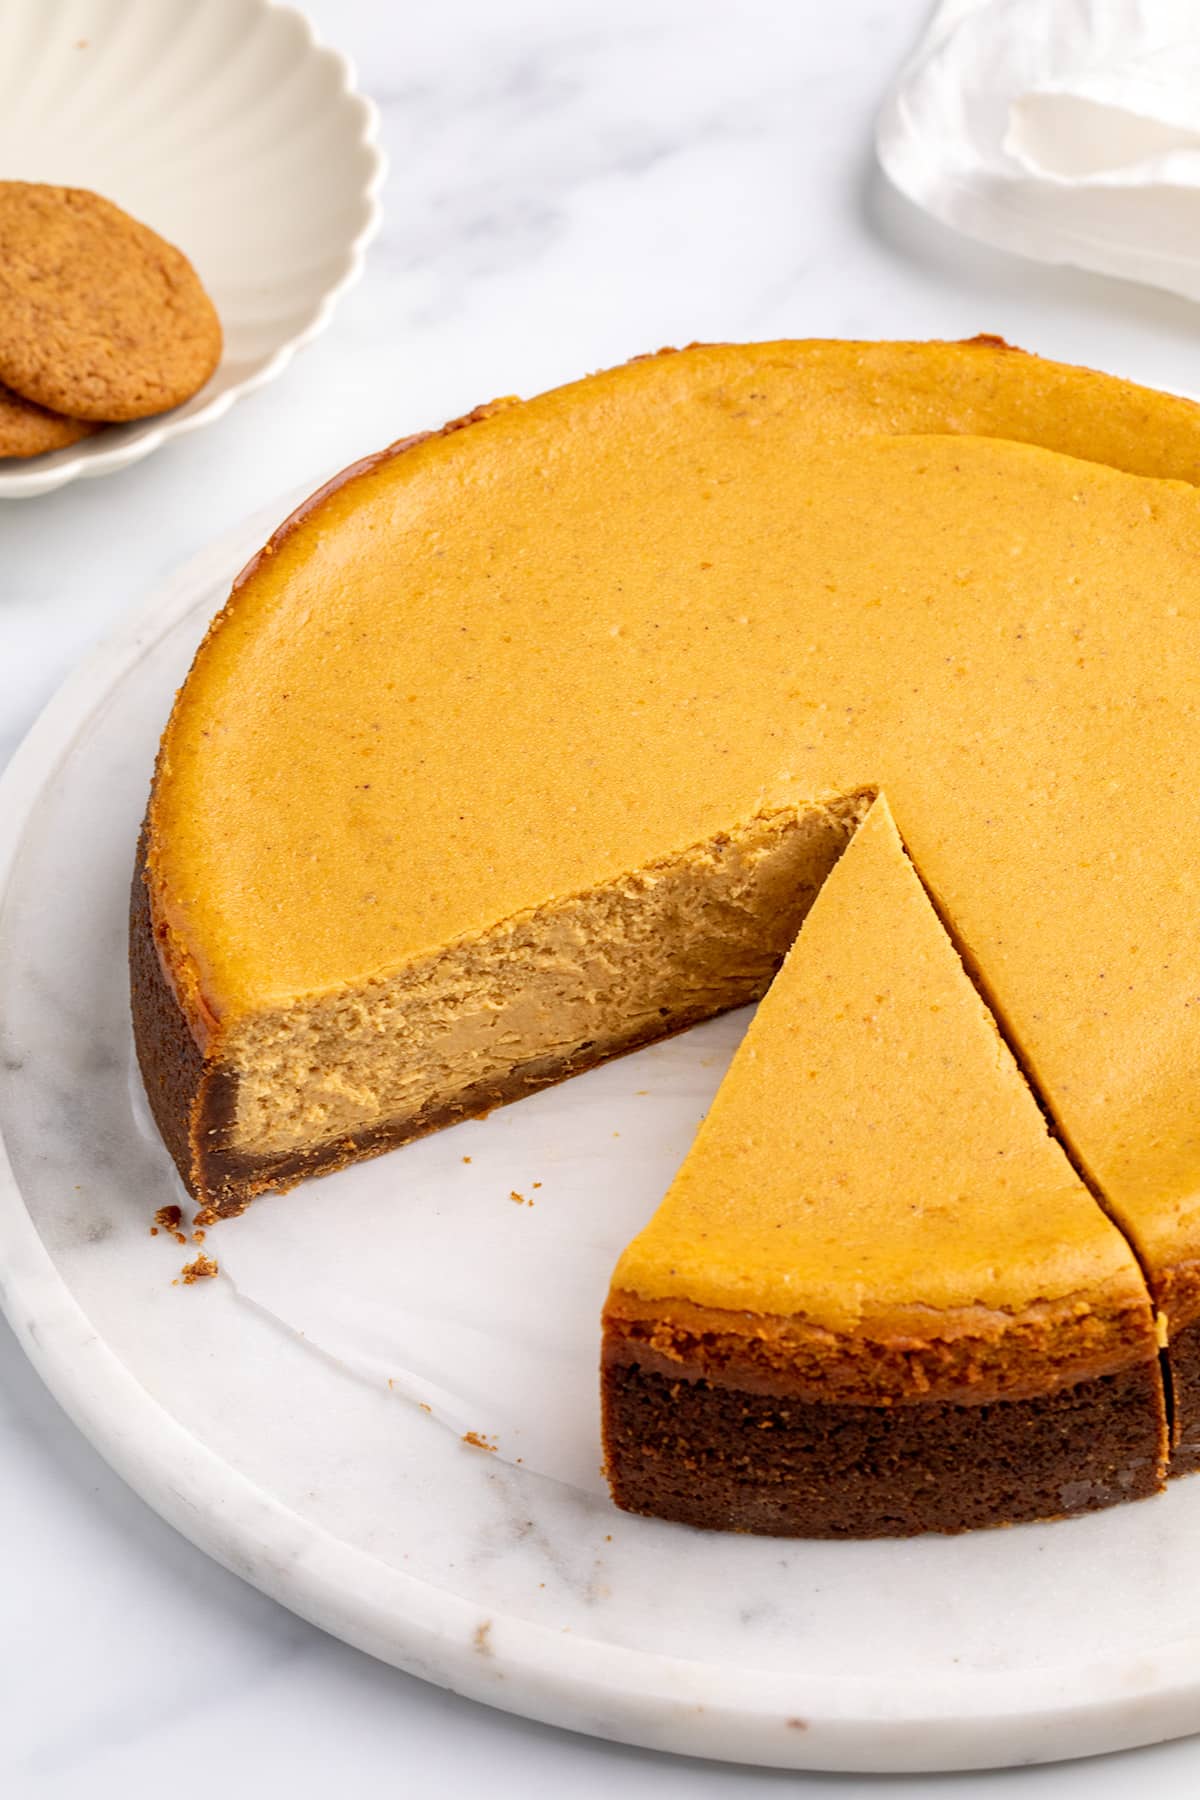
To achieve clean, smooth slices, dip a long, sharp knife into hot water and wipe it dry. Cut a slice, then wipe the knife clean. Re-dip the knife in hot water and wipe it dry again before making the next cut. Repeating this process for each slice prevents the filling from dragging as you slice.
Ingredient substitutions
Cream cheese and eggs add smooth texture, taste, and plenty of structure, so replacing them can be difficult. Here are some suggestions:
Egg-free
Avoid chia eggs or flax eggs, which will add an unwanted grainy texture. Try using 75 grams of aquafaba in place of the 3 egg whites, and 3 tablespoons (27 grams) cornstarch mixed into a slurry with 6 tablespoons (90 ml or 84 grams) lukewarm water.
Dairy free
Try switching the cream cheese for block-style non-dairy cream cheese (Violife brand might work) and the butter for a block of non-dairy butter.
For the cheesecake filling
Prevent your screen from going dark
-
Grease a 9-inch springform pan well and set it aside.
-
Place a shallow pan in the oven on the lowest rack, leaving the center rack open. Pour warm water 3/4 of the way up the sides of the shallow pan.
-
Preheat your oven to 350°F.
Make the crust
-
In a large bowl, place the cookie crumbs and melted butter and mix until the crumbs are moistened.
-
Press the crumbs into the bottom and halfway up the sides of the prepared pan. Set the pan aside.
Make the filling
-
In a large bowl with a hand mixer or the bowl of a stand mixer fitted with the paddle attachment, place the cream cheese and flour. Beat on medium, then medium-high speed, until light and fluffy (about 3 minutes).
-
Add the sugar, molasses, vanilla, pumpkin puree, and pumpkin spice, and beat on medium speed until just combined. Increase the speed to medium-high and continue to beat until well-combined (another 2 minutes).
-
Add the eggs, and beat on medium speed just until combined. Do not whip.
-
Wrap the bottom of the springform pan tightly with aluminum foil to prevent any leaking.
-
Pour the filling out of the bowl and on top of the crust in the prepared pan. Spread into an even layer, and bang the pan a few times firmly straight down on the counter to break any large air bubbles.
Bake the cheesecake
-
Place the cheesecake in the center of the preheated oven, with the pan of water just below it on the lower rack.
-
Close the oven door, and bake for about 1 hour, or until most of the cake is set, but the center is still somewhat loose when shaken from side to side.
-
Turn off the oven, crack the oven door a bit, leaving the cake inside. Allow to sit for about 30 minutes.
-
Remove the cake from the oven and place on a wire rack to cool to room temperature.
-
Place the pan in the refrigerator to chill until set (about 4 hours).
-
Unmold the chilled cake and loosen the bottom from the pan. Transfer carefully to a serving platter.
-
Slice with a hot, wet knife for clean slices, wiping the knife after each slice.
-
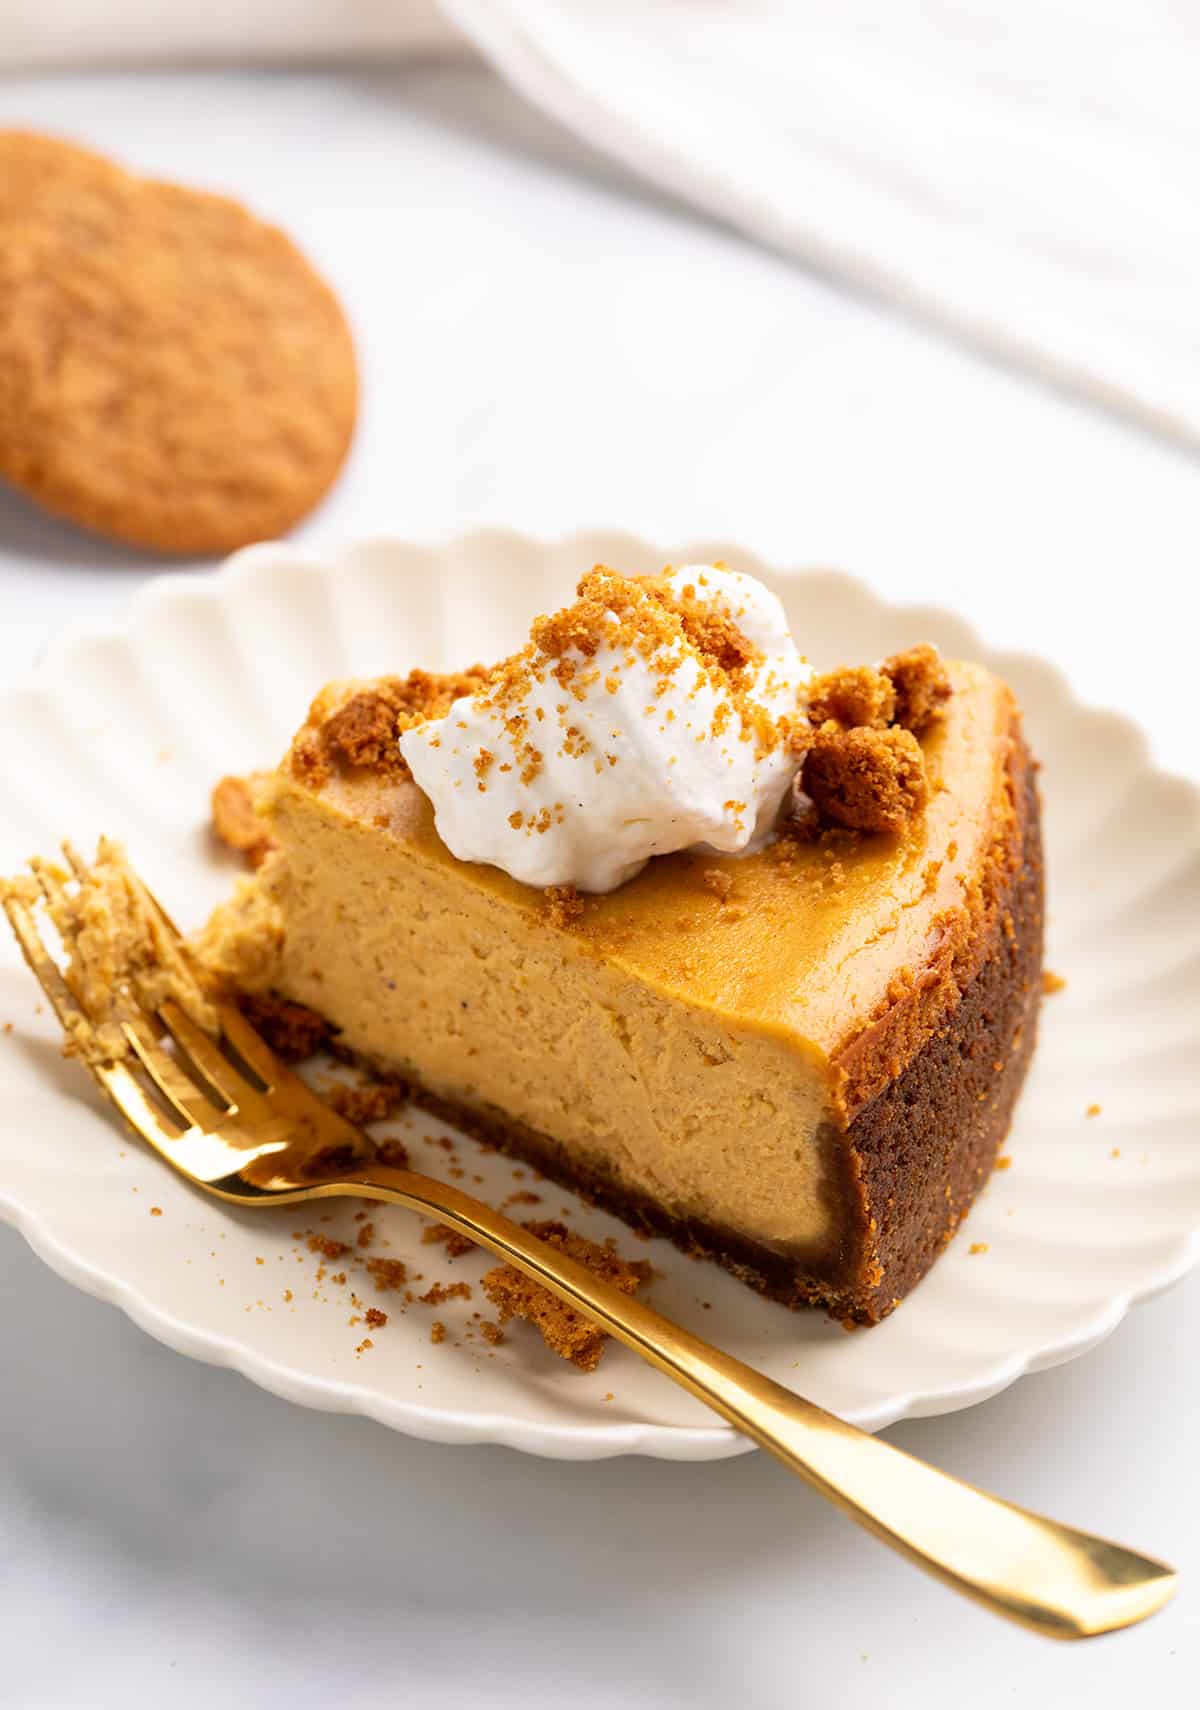
Top with whipped cream and cookie crumbles, as desired, before serving.
To make your own, combine freshly . In its place, if you don’t have the spice blend or all the ingredients, try using apple pie spice blend, which is similar, or just 2 teaspoons ground cinnamon if that’s all you have.
Nutrition information note
Approximate nutrition information does not include any toppings.
Serving: 1slice | Calories: 619kcal | Carbohydrates: 48g | Protein: 9g | Fat: 45g | Saturated Fat: 25g | Polyunsaturated Fat: 3g | Monounsaturated Fat: 12g | Trans Fat: 0.3g | Cholesterol: 170mg | Sodium: 362mg | Potassium: 260mg | Fiber: 1g | Sugar: 35g | Vitamin A: 6278IU | Vitamin C: 1mg | Calcium: 115mg | Iron: 2mg
Nutrition information is automatically calculated, so should only be used as an approximation.
Storage instructions
Store the cheesecake or any leftovers in an airtight container, or at least covered, in the refrigerator for up to five days. Serve chilled.
For longer storage, wrap the whole cheesecake or individual slices in freezer-safe plastic wrap and freeze for up to 3 months. Defrost in the refrigerator before serving.
FAQs
Yes, you can use real pumpkin puree. Cut a pumpkin in half, scoop out the seeds, pierce the skin a few times with a fork and bake, face down, on a lined baking sheet at about 375°F. Bake in the oven until the flesh is tender, about 1 hour. Scoop out the flesh and puree it. If your puree seems at all watery, drain off the excess liquid first.
Yes, if you don’t have a springform pan, try using a tart pan with a removable bottom. It must be at least 11 inches in diameter. Otherwise, try lining the bottom and sides of a 9-inch square cake pan. It will be harder to get the cheesecake out of the pan, but not impossible once fully chilled.
You can add 1 tablespoon (14 grams) packed light brown sugar or 1 tablespoon (21 grams) honey instead.
Yes! The only store-bought gf cookie crust I’ve seen is by Mi-Del, though, and it’s in a pretty shallow aluminum pan. To be safe, I’d reduce the filling ingredients by about 1/3 by reducing the yield from 8 slices to 5.
You use about half of a 15 ounce can of pumpkin puree. You can add 1 ounce of smooth applesauce to the other half to make 8 ounces and make another pumpkin cheesecake. You can also make our gluten free pumpkin roll cake with the remaining puree. Or open a 28 ounce can of pumpkin puree so you have enough for this cheesecake plus gluten free pumpkin pie or gluten free pumpkin muffins.
Source link